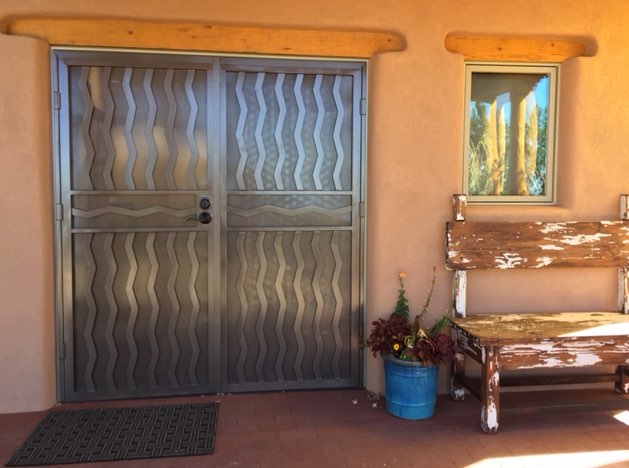
Entrance to the studio
Many a quilter dreams of having a dedicated studio space. Often reality does not allow such dreams, while children, work, and other obligations take precedence. When the time and budget does allow for a personal studio space, there might be a number of things to consider that just may not have been on your radar. This is the last of four studio visits where we present obstacles, ideas, and tips from fellow quilters who have generously shared their studio designs from an idea to a finalized space. We would like to thank Alex Anderson, TQS member Ckbellneville, Cheryl S. See, and Nancy Arseneault for so generously sharing their studio build information. We hope that their ideas, tips and suggestions will help you to design the studio of your dreams.
After a house purchase in Santa Fe, Nancy Arseneault, who has been quilting for forty years, began to take a serious look at finding a dedicated studio space. With no room in the house to accommodate several sewing machines, a long arm, as well as a design and work space, the idea of an addition blossomed. Santa Fe, however, has fairly strict building codes and restrictions when it comes to building, as did the Home Owners Association. Trying to see out her vision, while working through the maze of constraints with two organizations, was a bit of a challenge. But in the end, a lovely, calm and well organized studio space was indeed achieved.
How did you approach the project?
I started with a General Contractor that I liked and thought understood the regulations dictated by my Home Owners Association (HOA). I had my list of desires that he said would not be a problem. But, it became very apparent that he did not. I learned my lesson to always get everything in writing when making decisions when it comes to a contractor. So, I selected another builder who had previously completed work on our residence. While I worked with the HOA, the builder handled all of the other elements of the construction. Due to the fact that the house is built into a hill, meant that there was not space for an addition, so the plan was redisigned as a small casita. I also wanted to save an existing scrub oak, so the casita is in an L-shape.
What were the 'must have elements' of the studio?
It was an absolute luxury to have a project that I could build from start to finish. Over the course of my quilting years, I have worked in a variety of spaces that were very small or guest bedrooms. This new space was something that I could design myself for the things that were important to me as an artist. As I prefer to work in a calm and minimalist space, my desires were for a clean looking and easy to clean space. While working, I prefer to have three machines out, a large ironing space, a large design wall, a cutting table, and good lighting. "Think Dr. office," I told the builder, "I want it to look clean and clinical."
As I usually work on only one or two quilts a year, I don't have a big fabric stash. I gave most of my quilt stash away to my local guild, so the storage that I do have is dedicated to holding large quilt batting and quilts.
Tell us about the process. How long did it take and what was your budget?
We broke ground on April 4 and didn't finish until Aug 10. There was a pause in the work due to spring snows. The stucco house is 725 sq. feet. It is considered a small guest house/art studio and as such increased the value of our property. To stay within HOA restrictions, there is only a small 1/2 bath and no kitchen facilities. The majority of the budget of $135,000 went towards building a structure from the ground up, as we were essentially building a small house, with all that that entails.
Was there anything that you had to eliminate from your wish list?
Due to the expense of the rest of the studio work, I was not able to inclued WiFi, but my cell phone does. It is actually a blessing. I an not distracted by the ping of emails or most phone calls when working. It would have been nice to have a small kitchen in the space for the occasional cup of coffee, but HOA restrictions did not allow this.
Describe the completed studio and how you feel about the space.
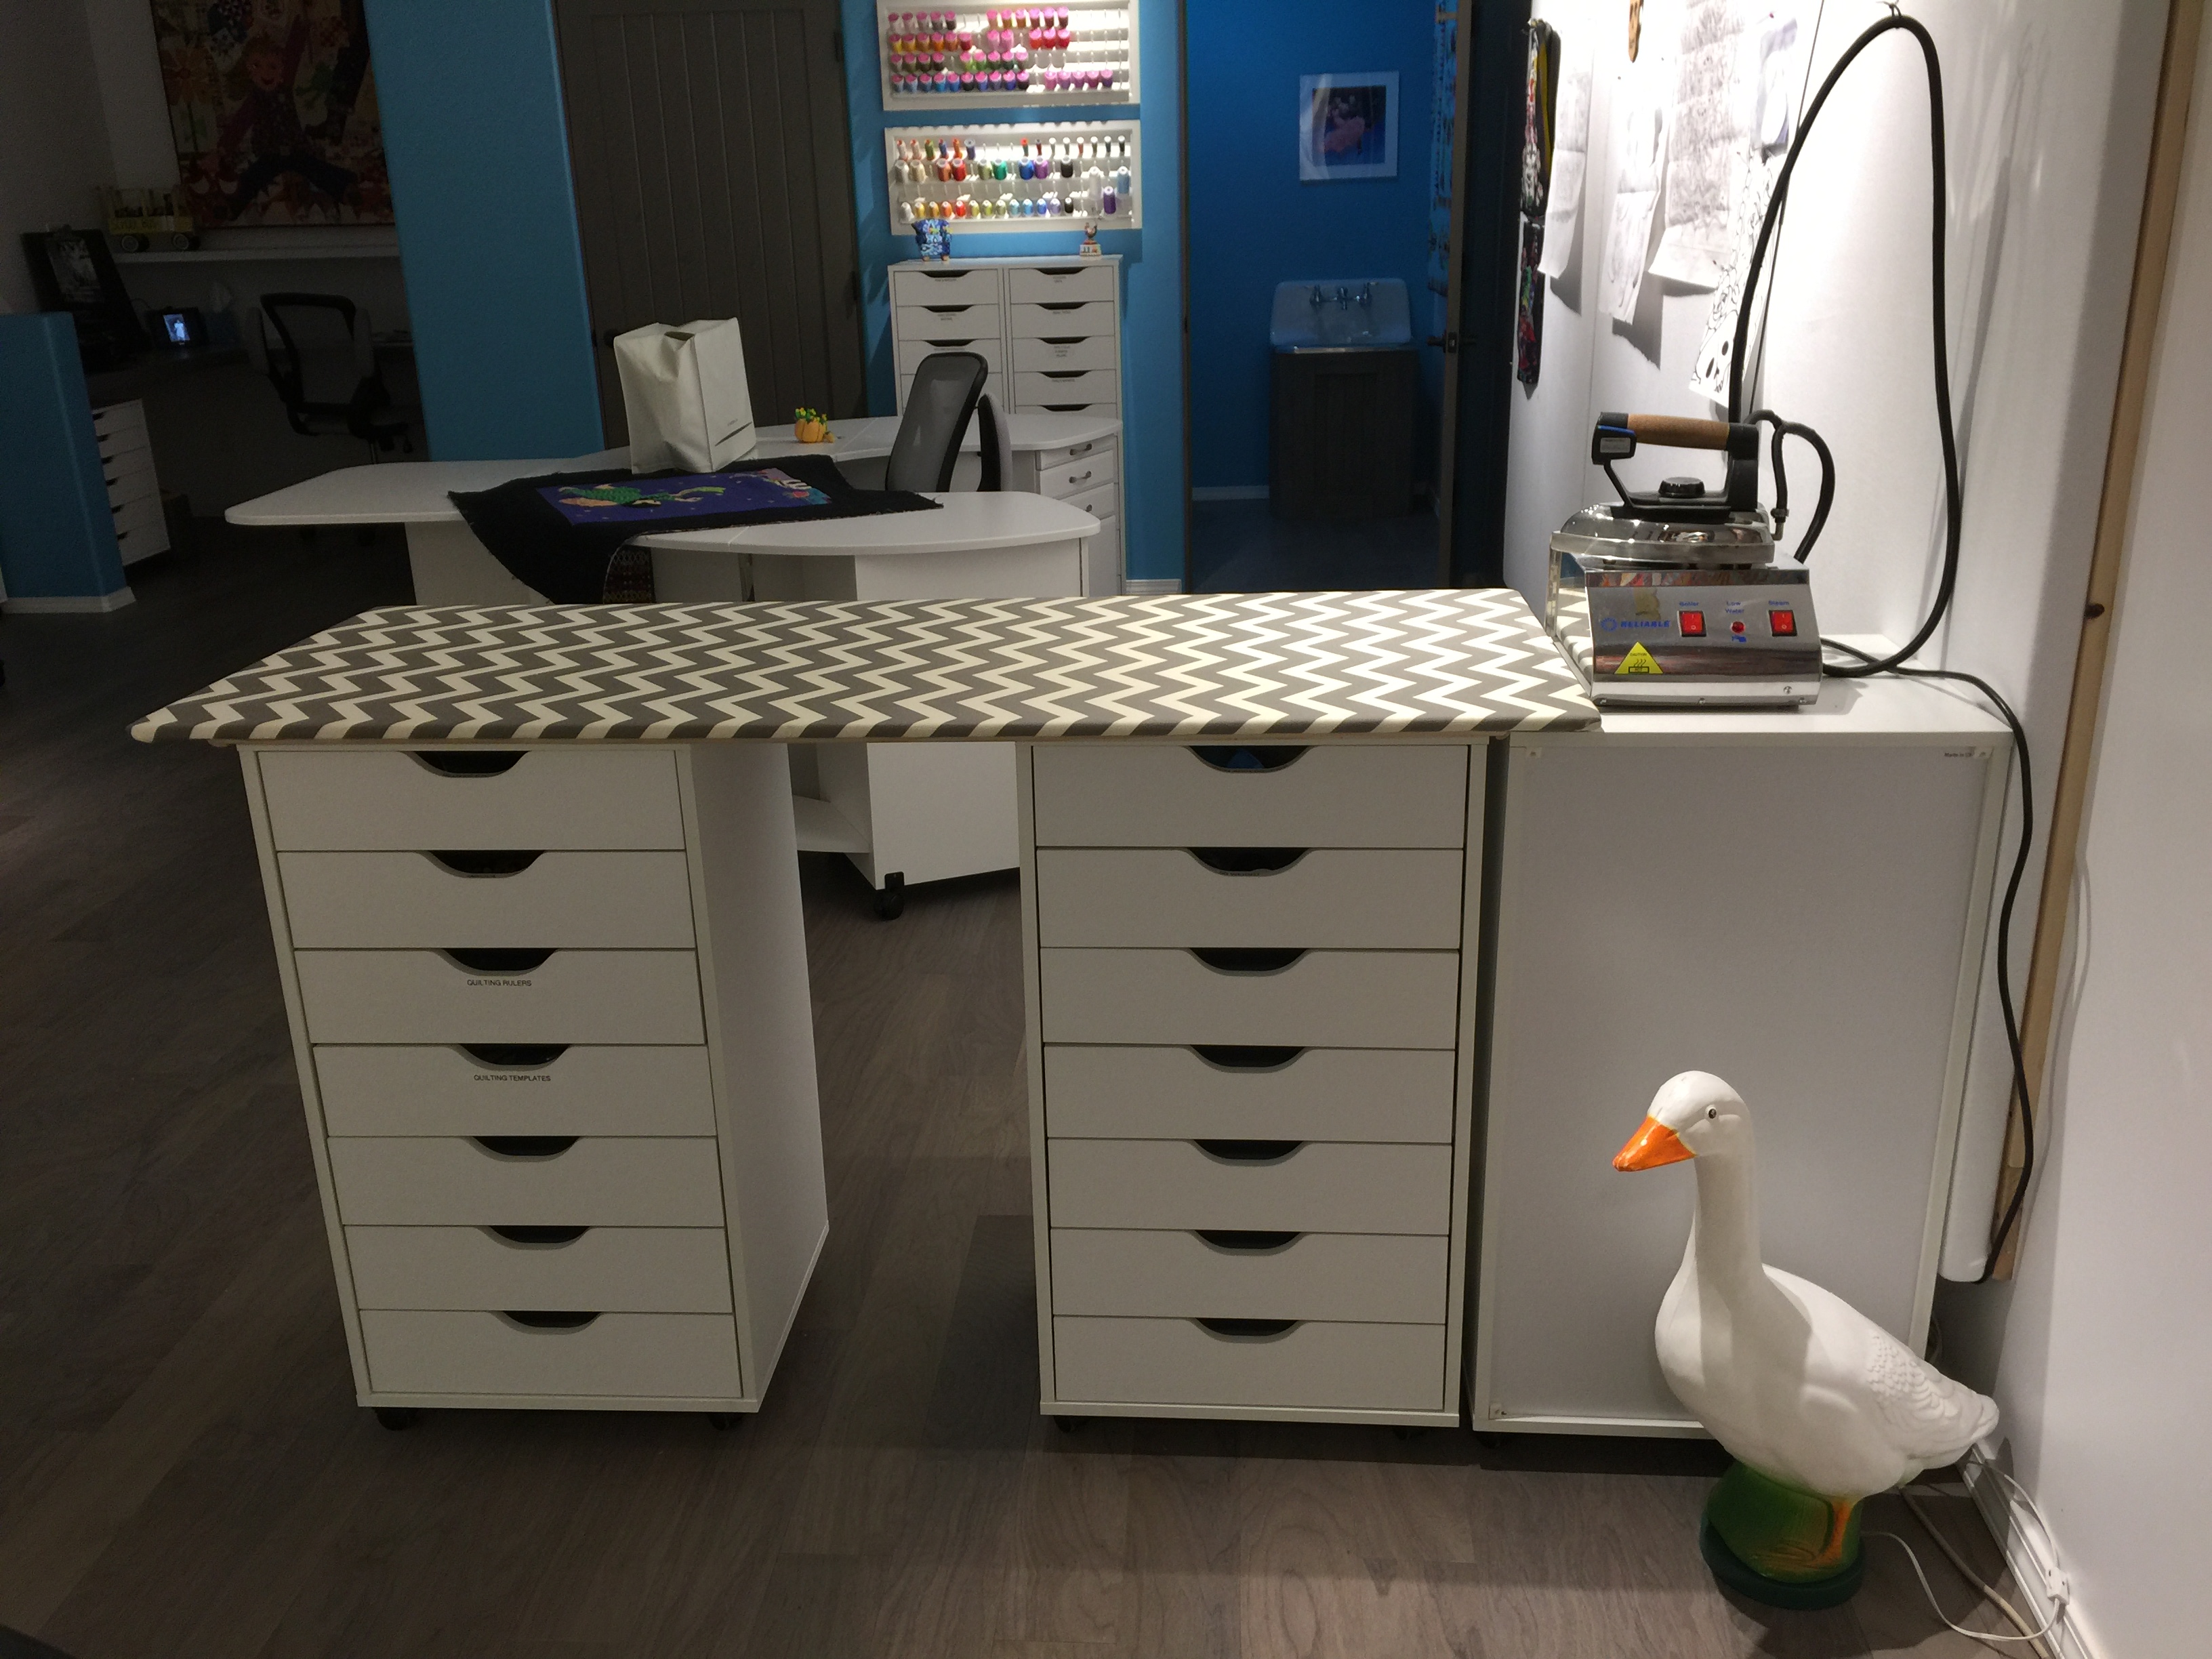
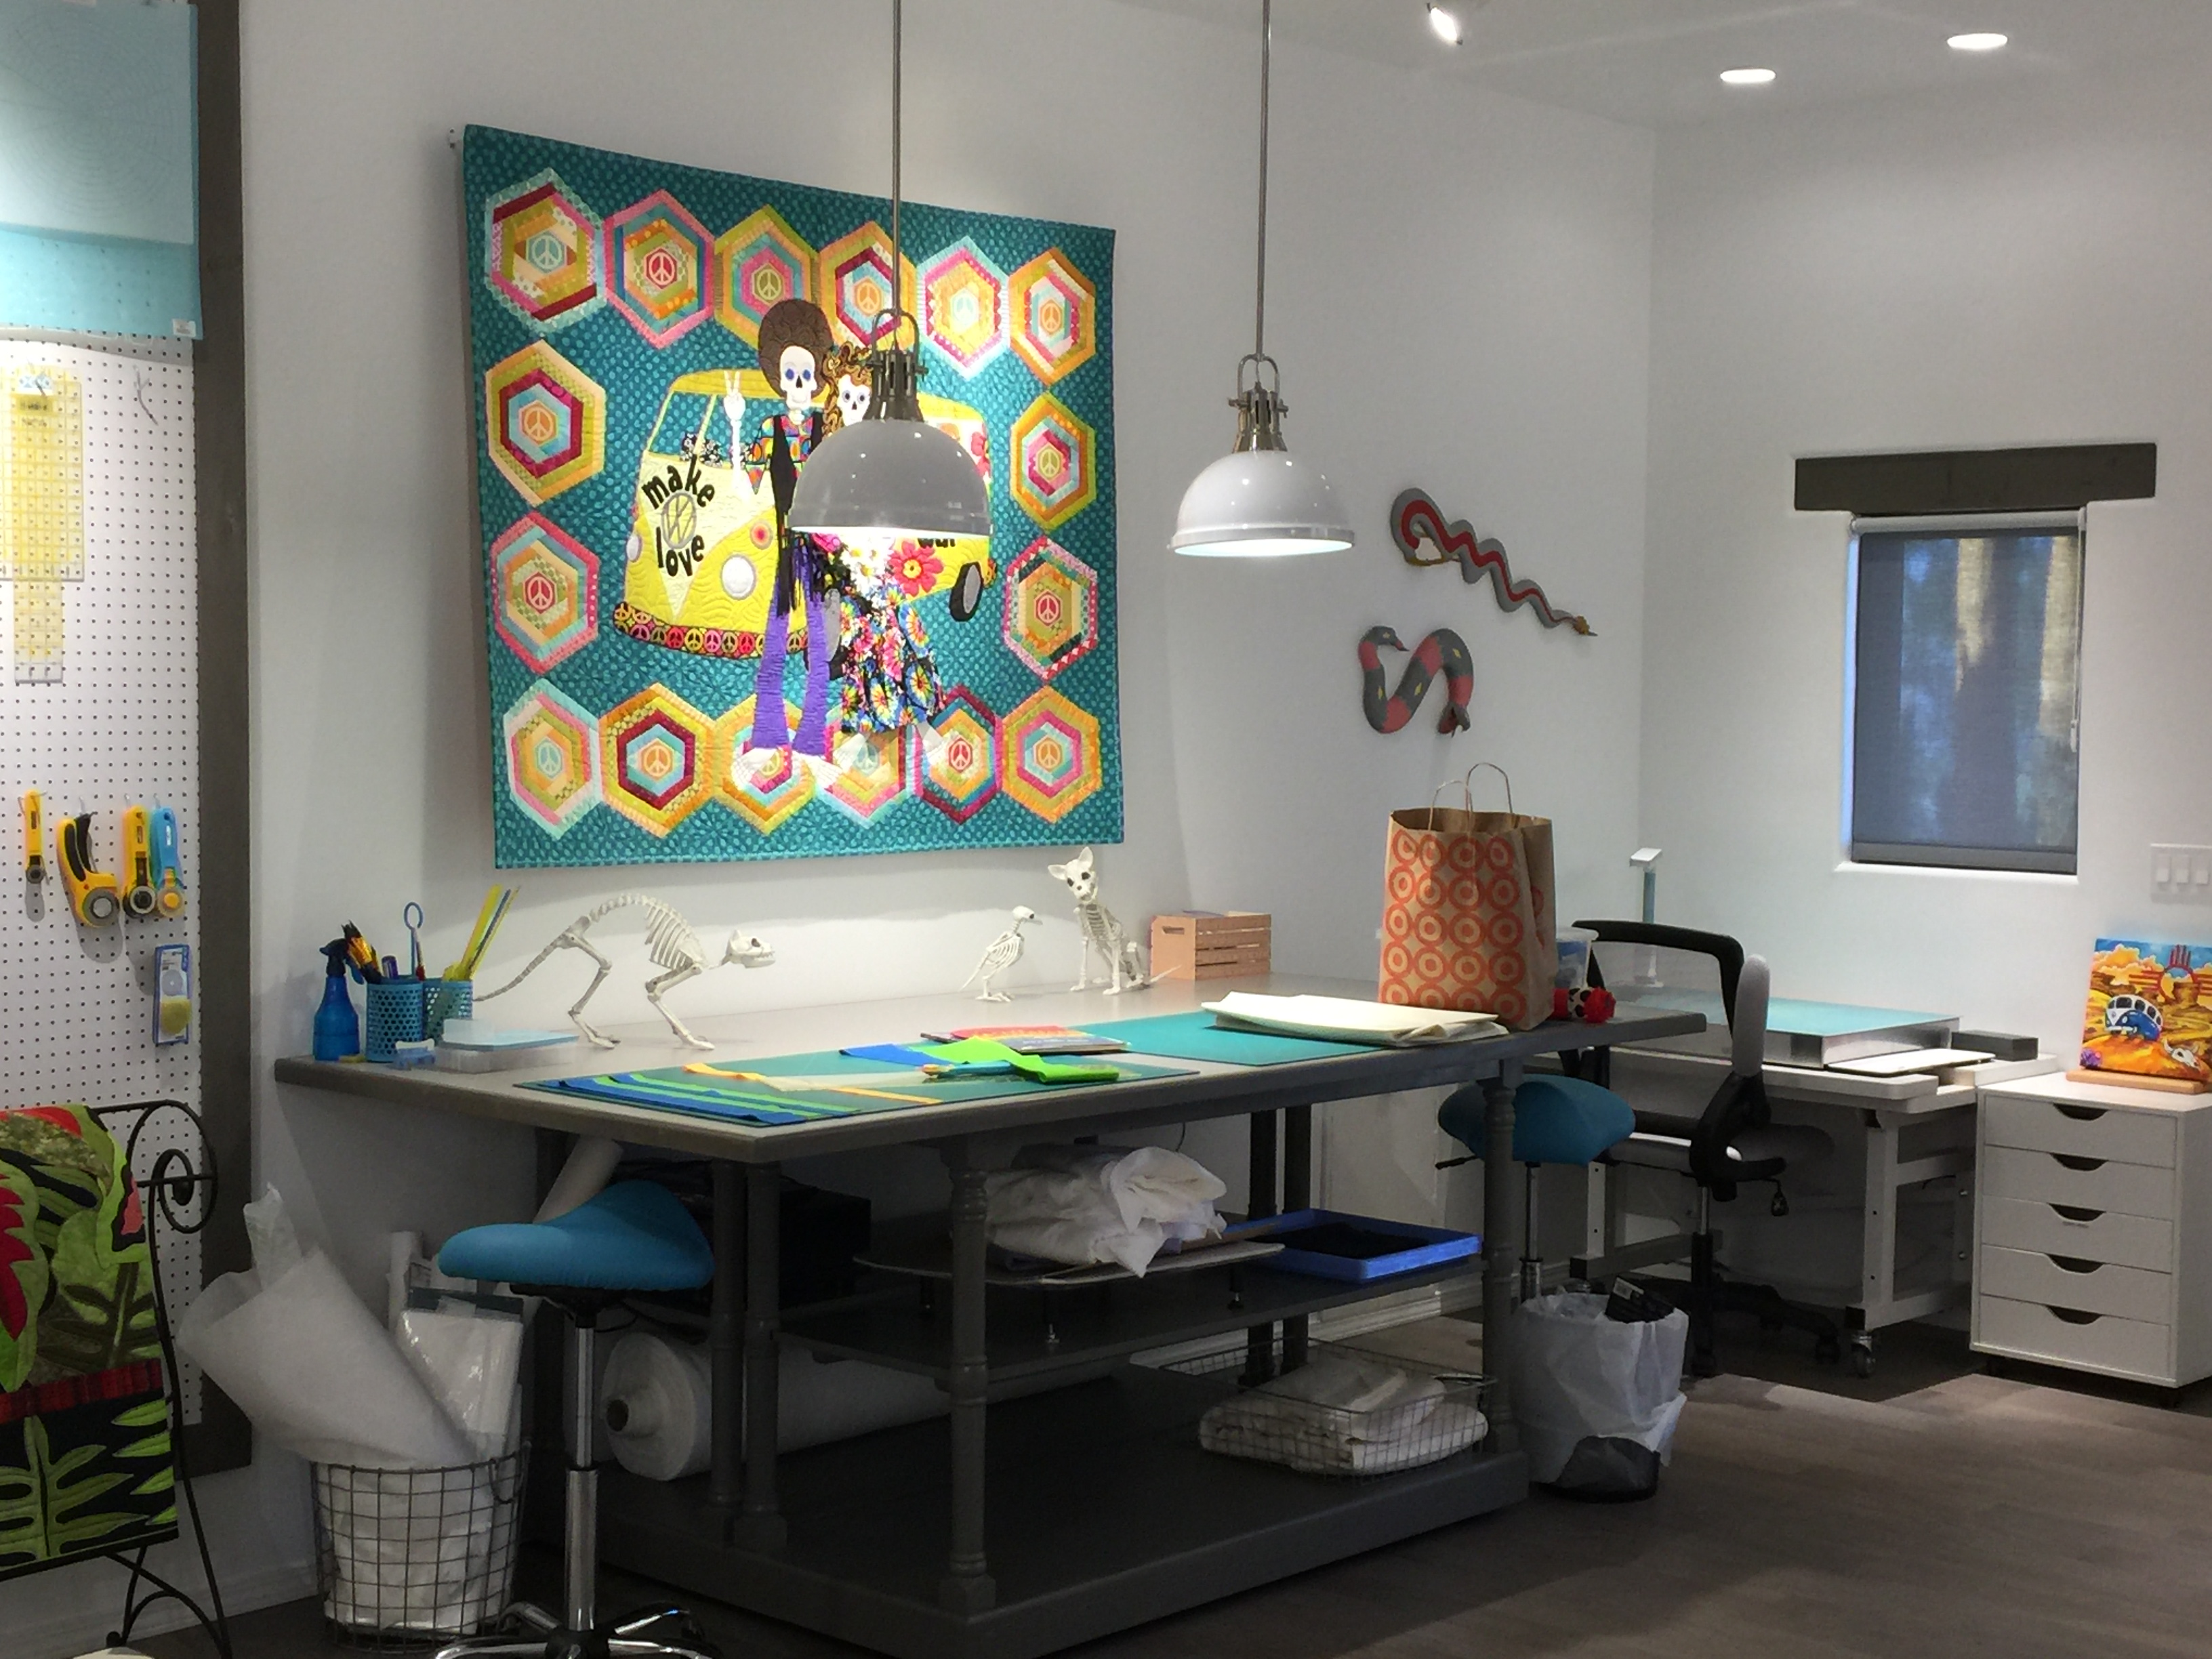
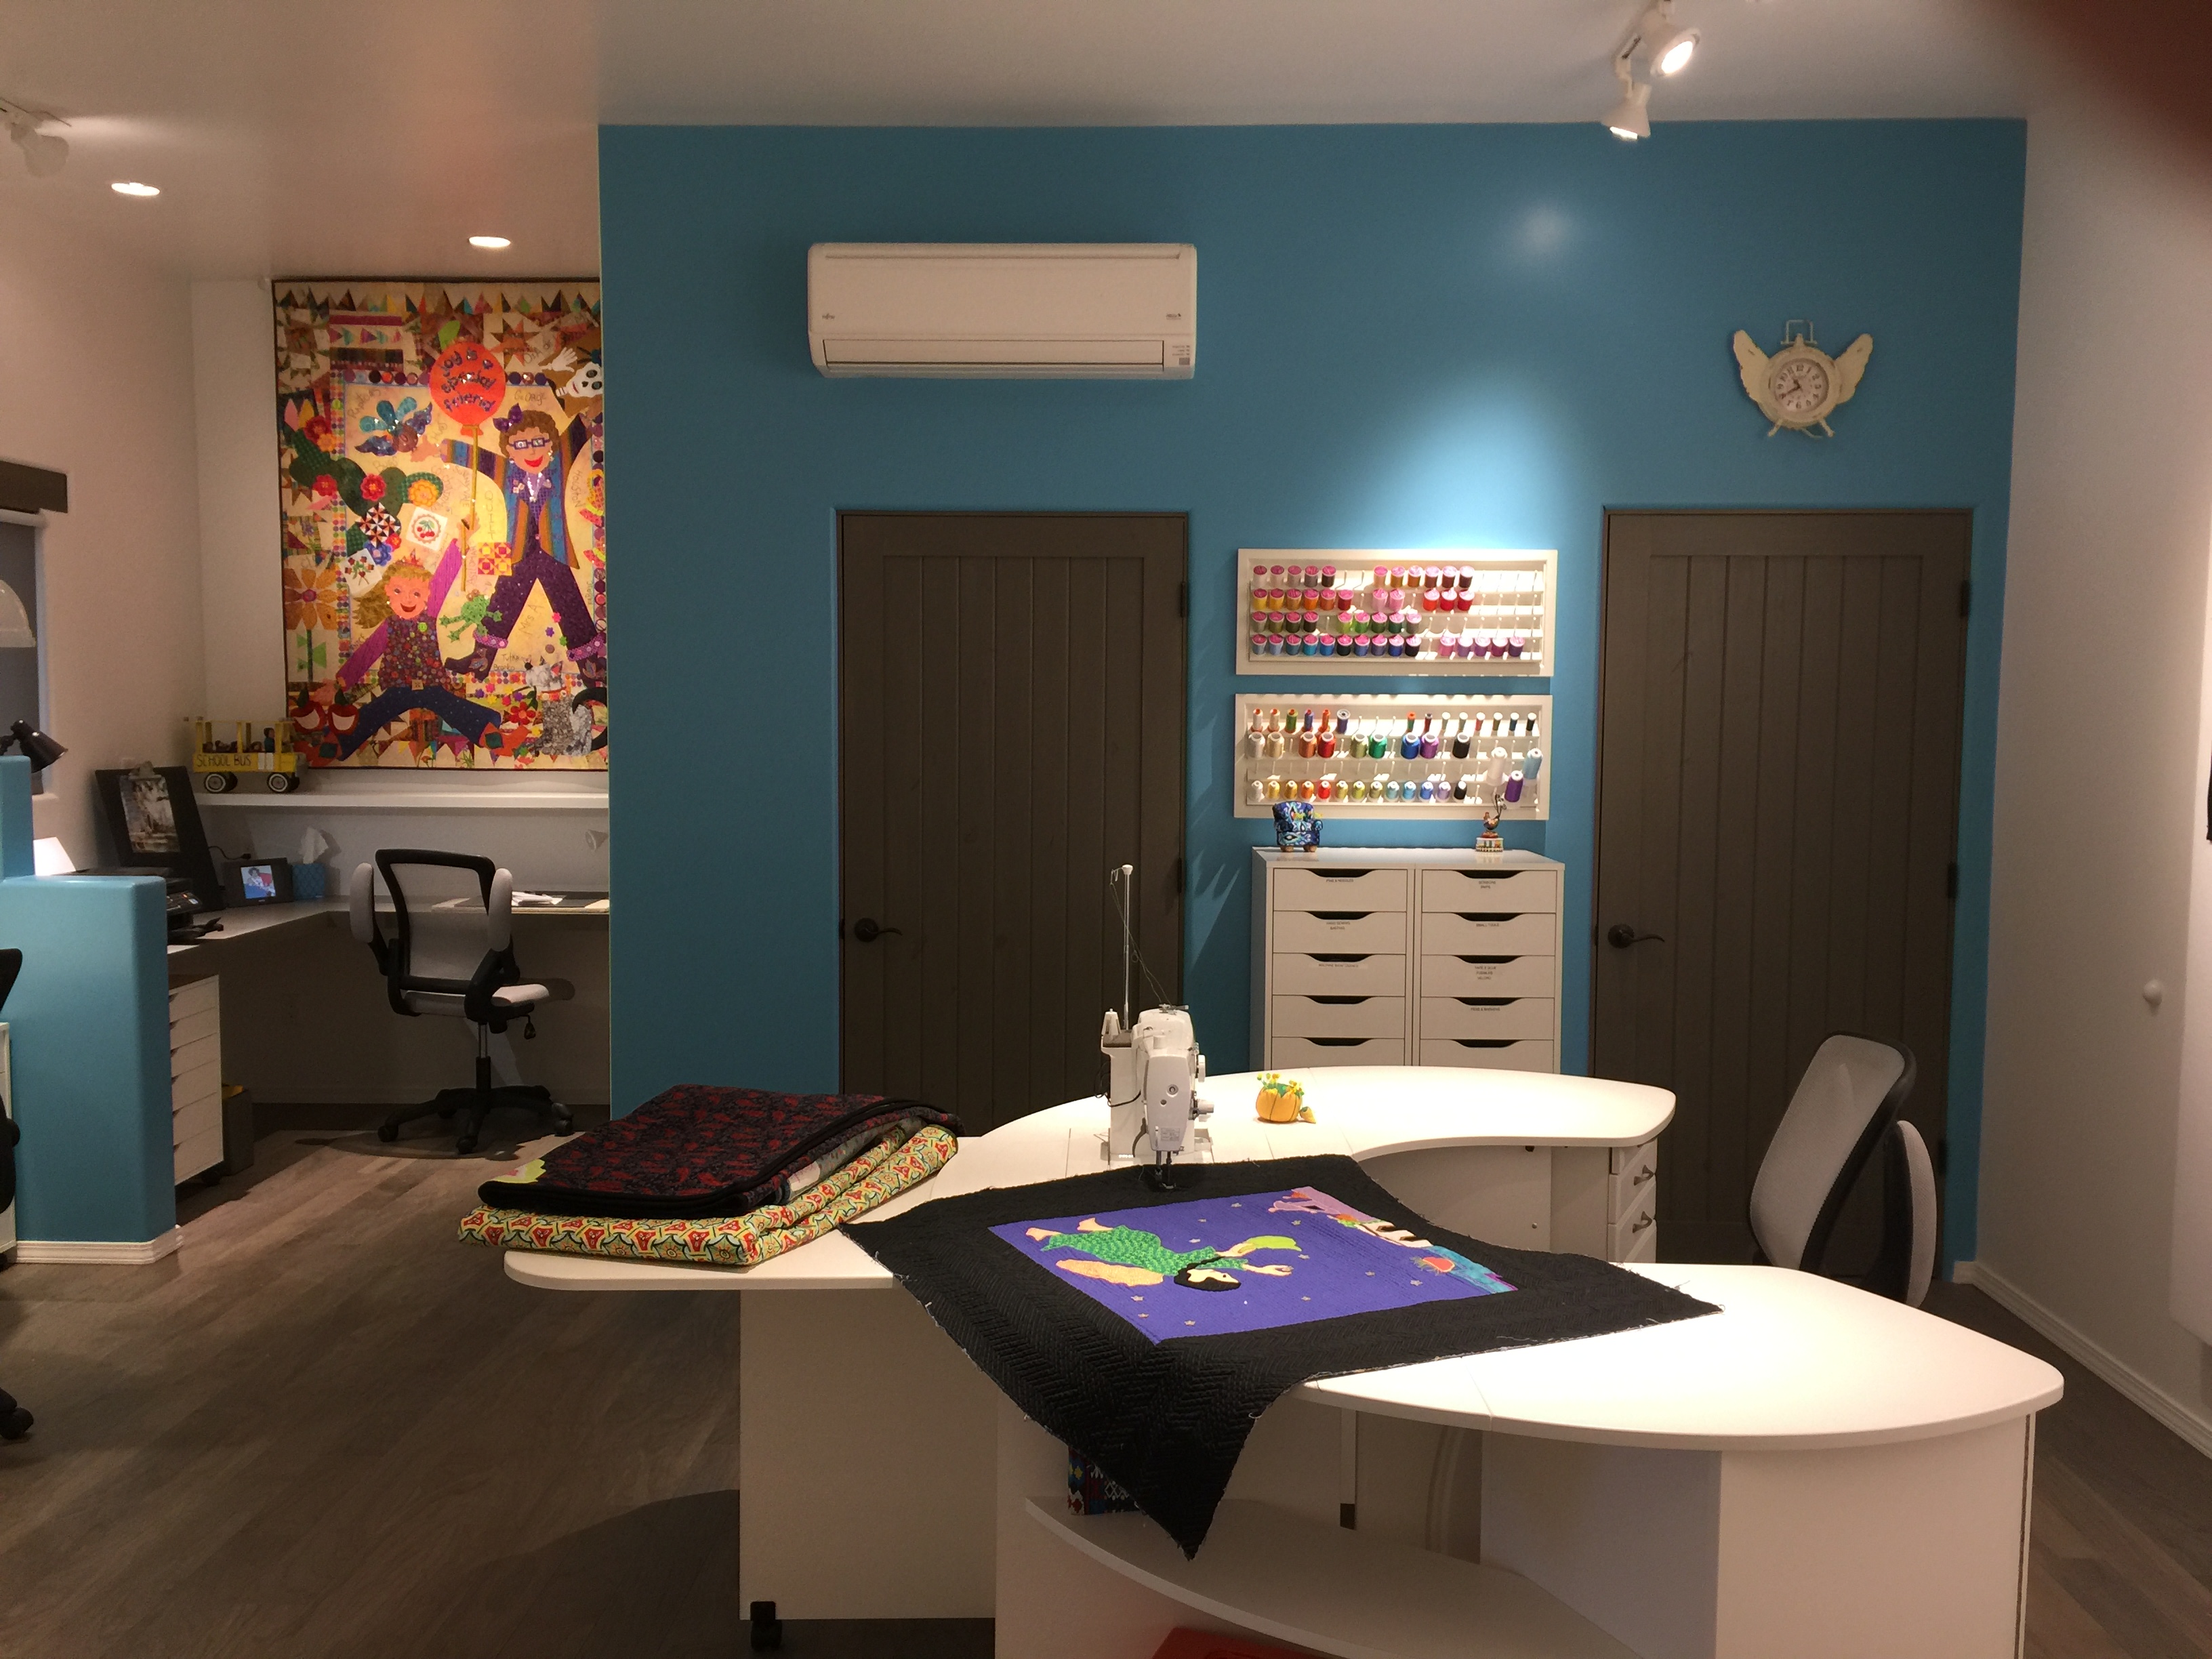
The studio is a calm and serene space where I can retreat to work for hours at a time. As it is only a few steps from the house, for me, it is like entering a whole other world. Keeping a calm and serene design esthetic was instrumental in the choice of decorations and quilts that occupy the space. I feel very blessed to have a space such as this.



.jpg)

Thanks for complimenting the quilts. It was nice to have enough wall space to hang some of them. The floors are gray. They are not really hardwood OR laminate, they're some kind of engineered hardwood that could be refinished once or twice if they need it. I don't have the brand name available right now. They are tongue and groove boards that nest together over a thin plastic base layer like laminate floors do. So far, they have been easy to keep clean with just a swifter.
These were black & had 2 shelves underneath. They are 36" high. I had the guys paint them gray to match the flooring & woodwork in the studio. We attached the two bases together & put casters underneath so I can easily move the table away from the wall for access all around when I'm blocking. This is also helpful when there are other quilters working in the studio with me. The full length storage underneath the table is great. I use IKEA baskets & can even store a roll of batting there. The contractor made a 4 x 8 foot top from the same melamine we used on the desk top. It's not hard to make. A handy person could either repurpose table legs as I did or build a sturdy frame from scratch. I'd advise locking, industrial strength casters
Peg
RSS feed for comments to this post