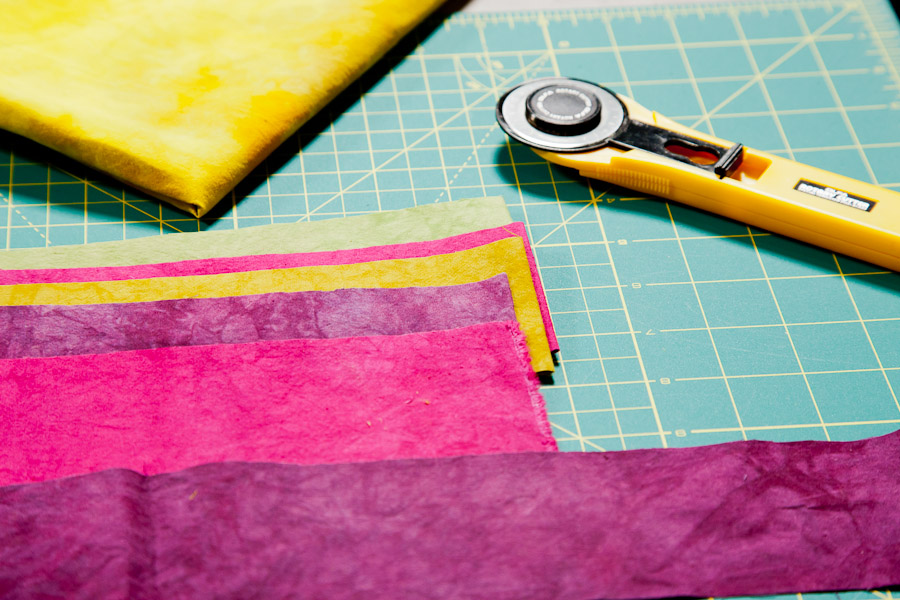
(Photo by Gregory Case Photography)
This week's homework is to go through your rotary cutting mat collection. A rotary cutting mat is one of those basic workhorse tools that every quilter should have in their workspace. As you go through your collection, take note of cutting mats that you have, their condition and what you might need. Exactly how many cutting mats and what type does one quilter really need? Well, that depends on each individual. Some quilters prefer a basic group of cutting mats, while others love having a wide range.
Rotary mats come in a variety of sizes, colors and specialities (rotating & folding). Whether you like a cutting surface that is green, gray, yellow, pink, white or blue mat is your personal preference, but keep in mind that some surface colors might be more visually difficult/distracting for you personally, so do a bit of research before investing in a specific brand.
Quilters Select cutting mats offer a light/dark grey side with two sets of corresponding numers to keep your place when cutting Olfa mats are green on both sides, but only one side has pre-marked measuring lines. Some quilters prefer to use the non-measuring side. Do you often work with patterns in metric measurements? Havel's Sewing offers a mat in hot pink with metric measurements one one side and inches on the other. While June Tailor offers a mat that is a two-sided cutting mat and pressing surface in one.
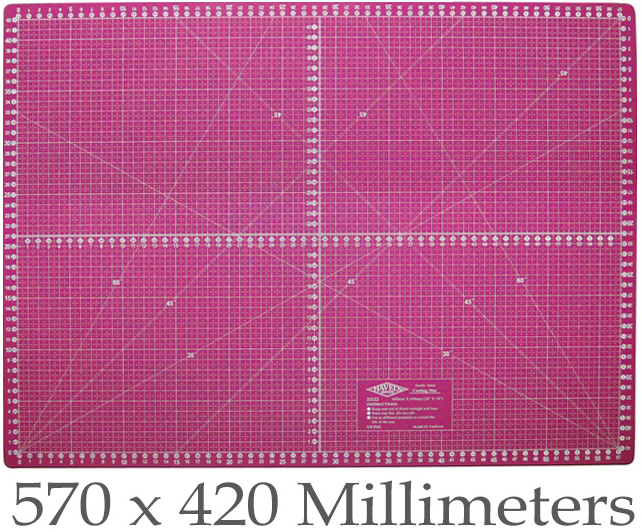
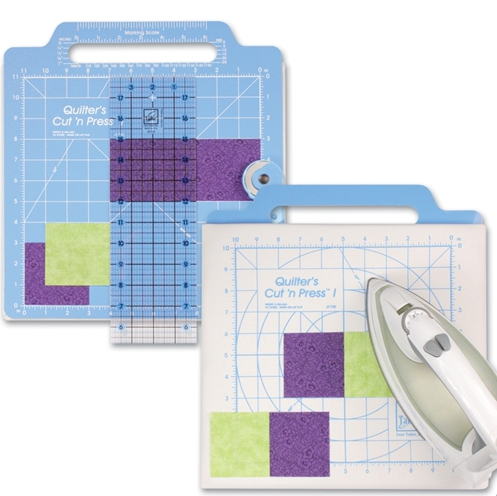
(Havel's Sewing) (June Tailor)
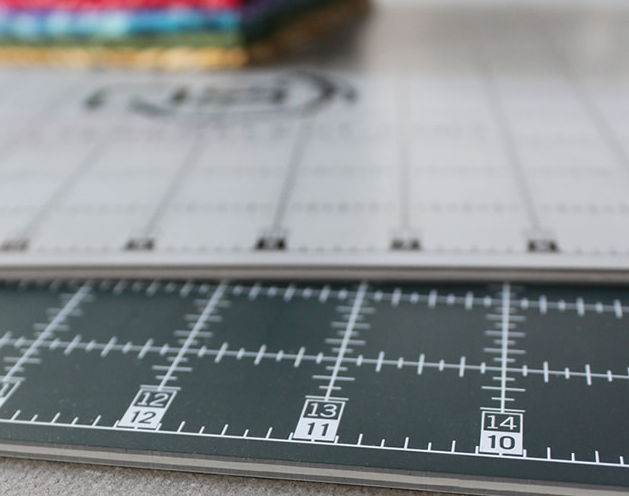
(Quilters Select)
A good basic set of rotary cutting mats that you will get the most use in your work space should include the following:
12" x 18" - good for class or travel

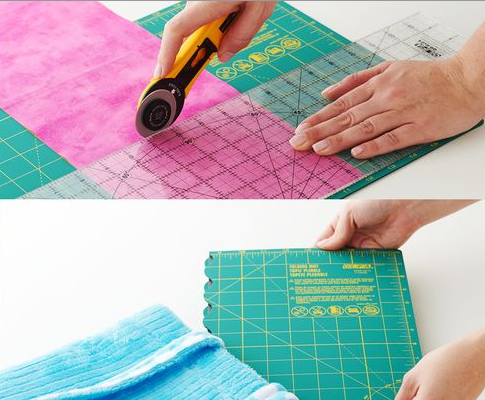
Don't have a lot of dedicated space for cutting or want to take a cutting mat to a class/retreat? Olfa offers a folding cutting mat in two sizes. The smaller fits nicely into a tote.
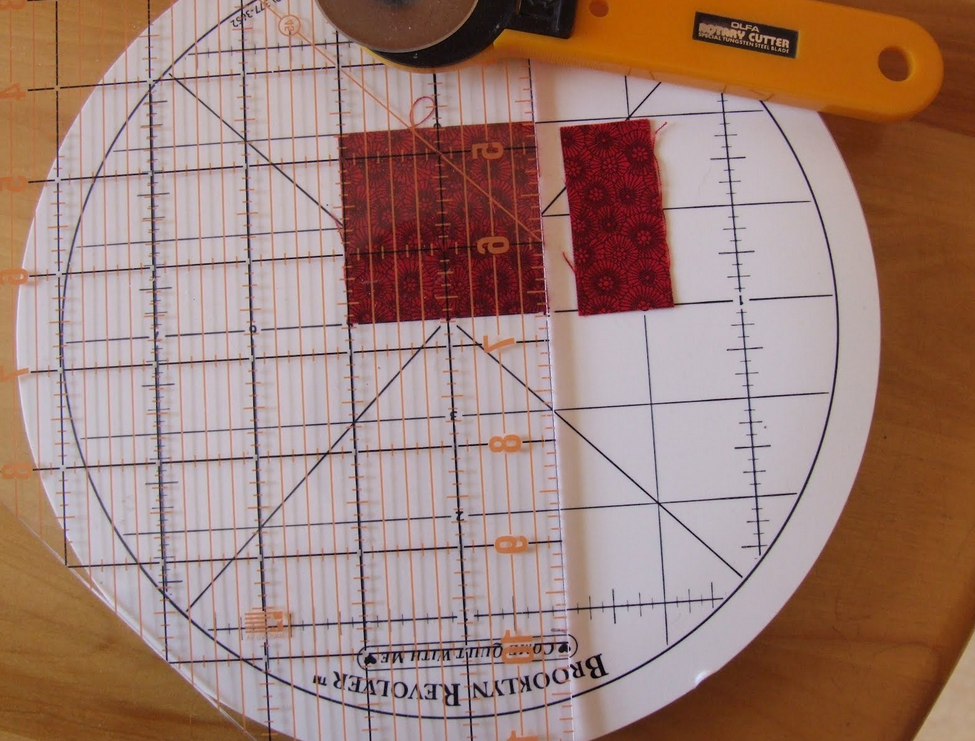
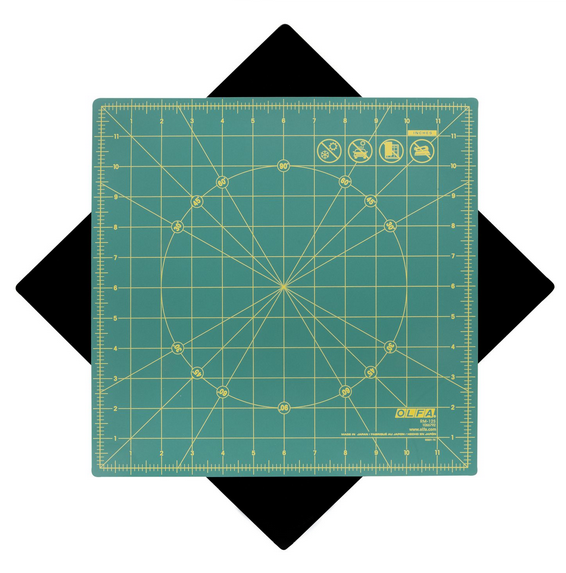
(Brooklyn Revolver) (Olfa Rotating Mat)
Round and square rotating cutting mats are also an option for those who don't like to shift or lift fabric pieces as they cut. These smaller cutting mats also fit easily into a tote for a retreat or class.
Rotary Mat Care:
No matter what mats you decide to have in your sewing space, like other tools that need cleaning, your rotary cutting mat also needs care and maintenance.
- Remove lint, bits of threads and fuzz off your mat by using a gum art eraser that can be purchased at a local art supply store.
- Use a small plastic net scrubby (the kind you find in the kitchen cleaners area), gently rub in a circular motion to remove imbedded items.
Did you know that your cutting mat needs moisture just like your skin. Who knew? Kelly Hanson from National Quilters Circle has a great tutorial for cleaning your mat:
- Soak the mat flat for 15-20 min in a container or tub with a mixture of 1/4 cup (60ml) white vinegar to 1 gallon of cool water (just under 4 liters). The mat must lay flat the entire time.
- After soaking, add a small amount of very mild detergent (such as Palmolive, Ivory) into the cool water.
- Using a mushroom brush, gently brush the entire surface of the mat and rinse in cold or cool water.
- Place wet mat between two lint free towels on a flat surface and blot dry.
Broken or damaged Mat:
- If your mat is broken beyond repair, why not repurpose the better sections of it? Using an older rotary cutter, cut a smaller mat. This will require some elbow grease. It may take several cuts to get the original mat to snap apart and break off. This smaller mat can be used in a pinch by your machine or at a class.
While we don't recommend this method for fixing a warped cutting mat, Charley Hanney of Olfa Deal's says this works about 85% of the time. This might be worth a try before going out to purchase a new one.
- Get a piece of heavy plywood 3/8"-1/2" thick. Make sure it is not warped.
- Lay the plywood on concrete, and ONLY concrete, in a totally all day sunny area. The concrete is imporatnt
- Put the damaged mat on the plywood.
- Using HEAVY PLATE GLASS (NOT WINDOW GLASS) which you may find on a table top, a dresser top, or shelf glass Any combo, and cover the mat so that mat is completely covered. Not just the affected area...THE WHOLE MAT. The glass can extend over teh edges of the mat.
- Leave this set up in the totally sunny area all day. No moving, no peeking, just leave it alone.
- Early the next day, after the mat has cooled overnight, your mat should be straight.



.jpg)
Kathy Strabel Camas WA
Loved the kitchen floor idea especially the quilting part! :
Cover the drain with plastic or find a drain cover at the hardware store.
RSS feed for comments to this post