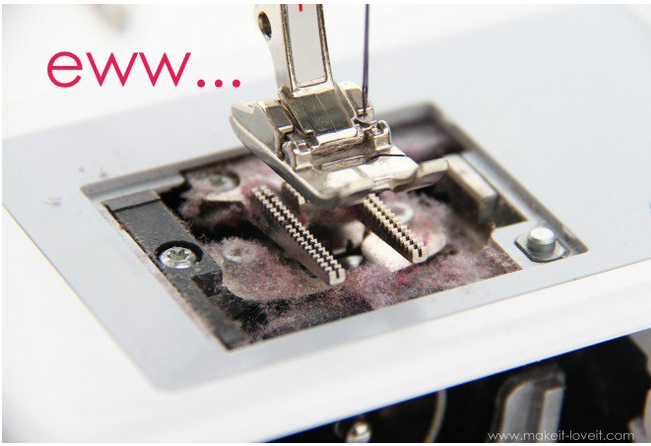
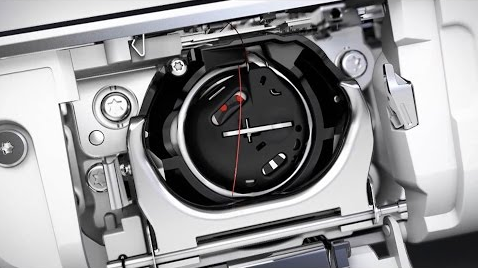
(Image from Make It & Love It) (Image from BERNINA)
Are the dust bunnies under your couch rivaling the ones in your sewing machines and other studio machines? Dust bunnies can be ignored for a while, but not those in your machines. Do you remember the last time these work horse tools had a good cleaning? If you can't, it means that they are in need some very needed TLC. It's time to go from "ewww" to "oooh" on a regular basis.
This week's workout is to clean and prep all of your machines so that they will perform at their best. Or better yet, Sewing/embroidery machines and other items such as Serger's should receive an annual professional cleaning. If you don't have a sewing deadline looming, this would be a good week to take these machines in for a servicing.
The basics on Cleaning and Oiling your sewing machine:
- Turn off and unplug your machine.
- Set your machine needle in the up position.
- Gather your owners manual, a small brush (a make up or paint brush work), tweezers and oil recommended for YOUR machine.
- Remove and discard (in a safe receptacle) your machine needle.
- Remove the presser foot so that you will have easier access for cleaning.
- Remove the throat plate to reveal all of those dust bunnies and bits of thread that have been lurking out of sight.
- Using your brush and tweezers, carefully remove all of the lint and thread bits.
- DO NOT USE COMPRESSED AIR, as this will force items further inside your machine. Also, avoid the habit of blowing into the machine, as the moisture in your breath is not good for all those moving parts.
- If you are able, remove the bobbin housing and bobbin. But...remember (by taking a photo if necessary) the position of the bobbin housing to avoid frustration later when you reassemble the unit.
- The tension disk is another dust and thread collector which is easily cleaned with a lint free cloth lightly pulled through the same way you would thread the machine.
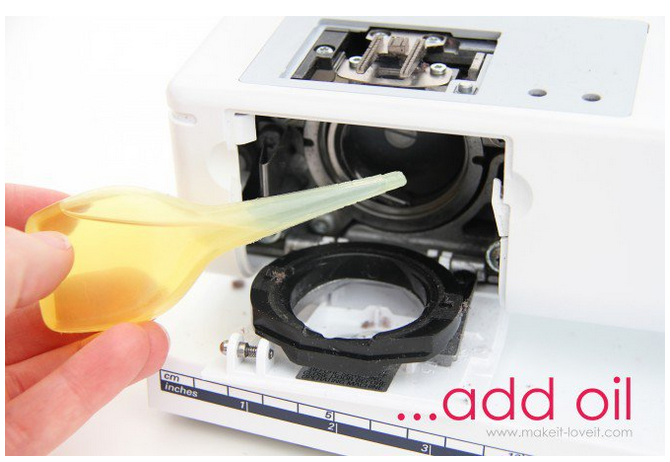
- Add just a few drops of oil. Just to be on the safe side, we recommend following the instructions of your owner's manual for areas that require oil.
- The outside surface of your machine can also use a cleaning to remove dust and dirt and keep your machine sparkling.
For more tips on cleaning and maintaining your machine visit Make It & Love It.
If you have a machine with a top-loading bobbin, check out this tutorial for cleaning your machine from Whipstitch:
Cleaning your serger:
Sergers create a huge amount of lint and fibers, so it is recommended that you should do cleanings more often. Just like sewing machines, sergers come in a variety of brands, so be sure to check your owner's manual for help and information regarding cleaning and oiling. The basics of cleaning are very much like those for a sewing machine:
- Turn off and unplug your machine.
- Set your machine needle in the up position.
- Gather your owners manual, a small brush (a make up or paint brush work), tweezers and oil recommended for YOUR machine.
- Remove and discard (in a safe receptacle) your machine needle.
- Remove the presser foot so that you will have easier access for cleaning.
- Remove the throat plate to reveal all of those dust bunnies and bits of thread that have been lurking out of sight.
- Using your brush and tweezers, carefully remove all of the lint and thread bits.
- DO NOT USE COMPRESSED AIR, as this will force items further inside your machine. Also, avoid the habit of blowing into the machine, as the moist aire is not good for all those moving parts.
- If you own a small vaccum cleaner use this to clean out as much as possible.
- Clean the outside surface of the machine to keep it sparkling.
For more tips on cleaning and oiling your serger check out this tutorial from Whipstitch.
Now that you have your machines clean and ready to go, why not whip up a nice cover to keep the dust off. Here are a couple of ideas to get you going:
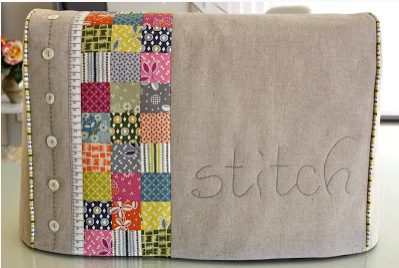
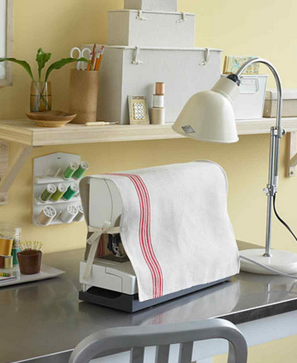
(Machine cover by Bloom) (Linen dishtowel with ties (Martha Stewart)
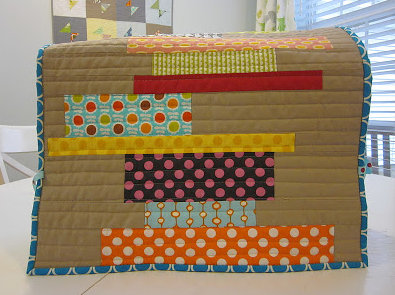
(Stacked book design by s.o.t.a.k)


.jpg)
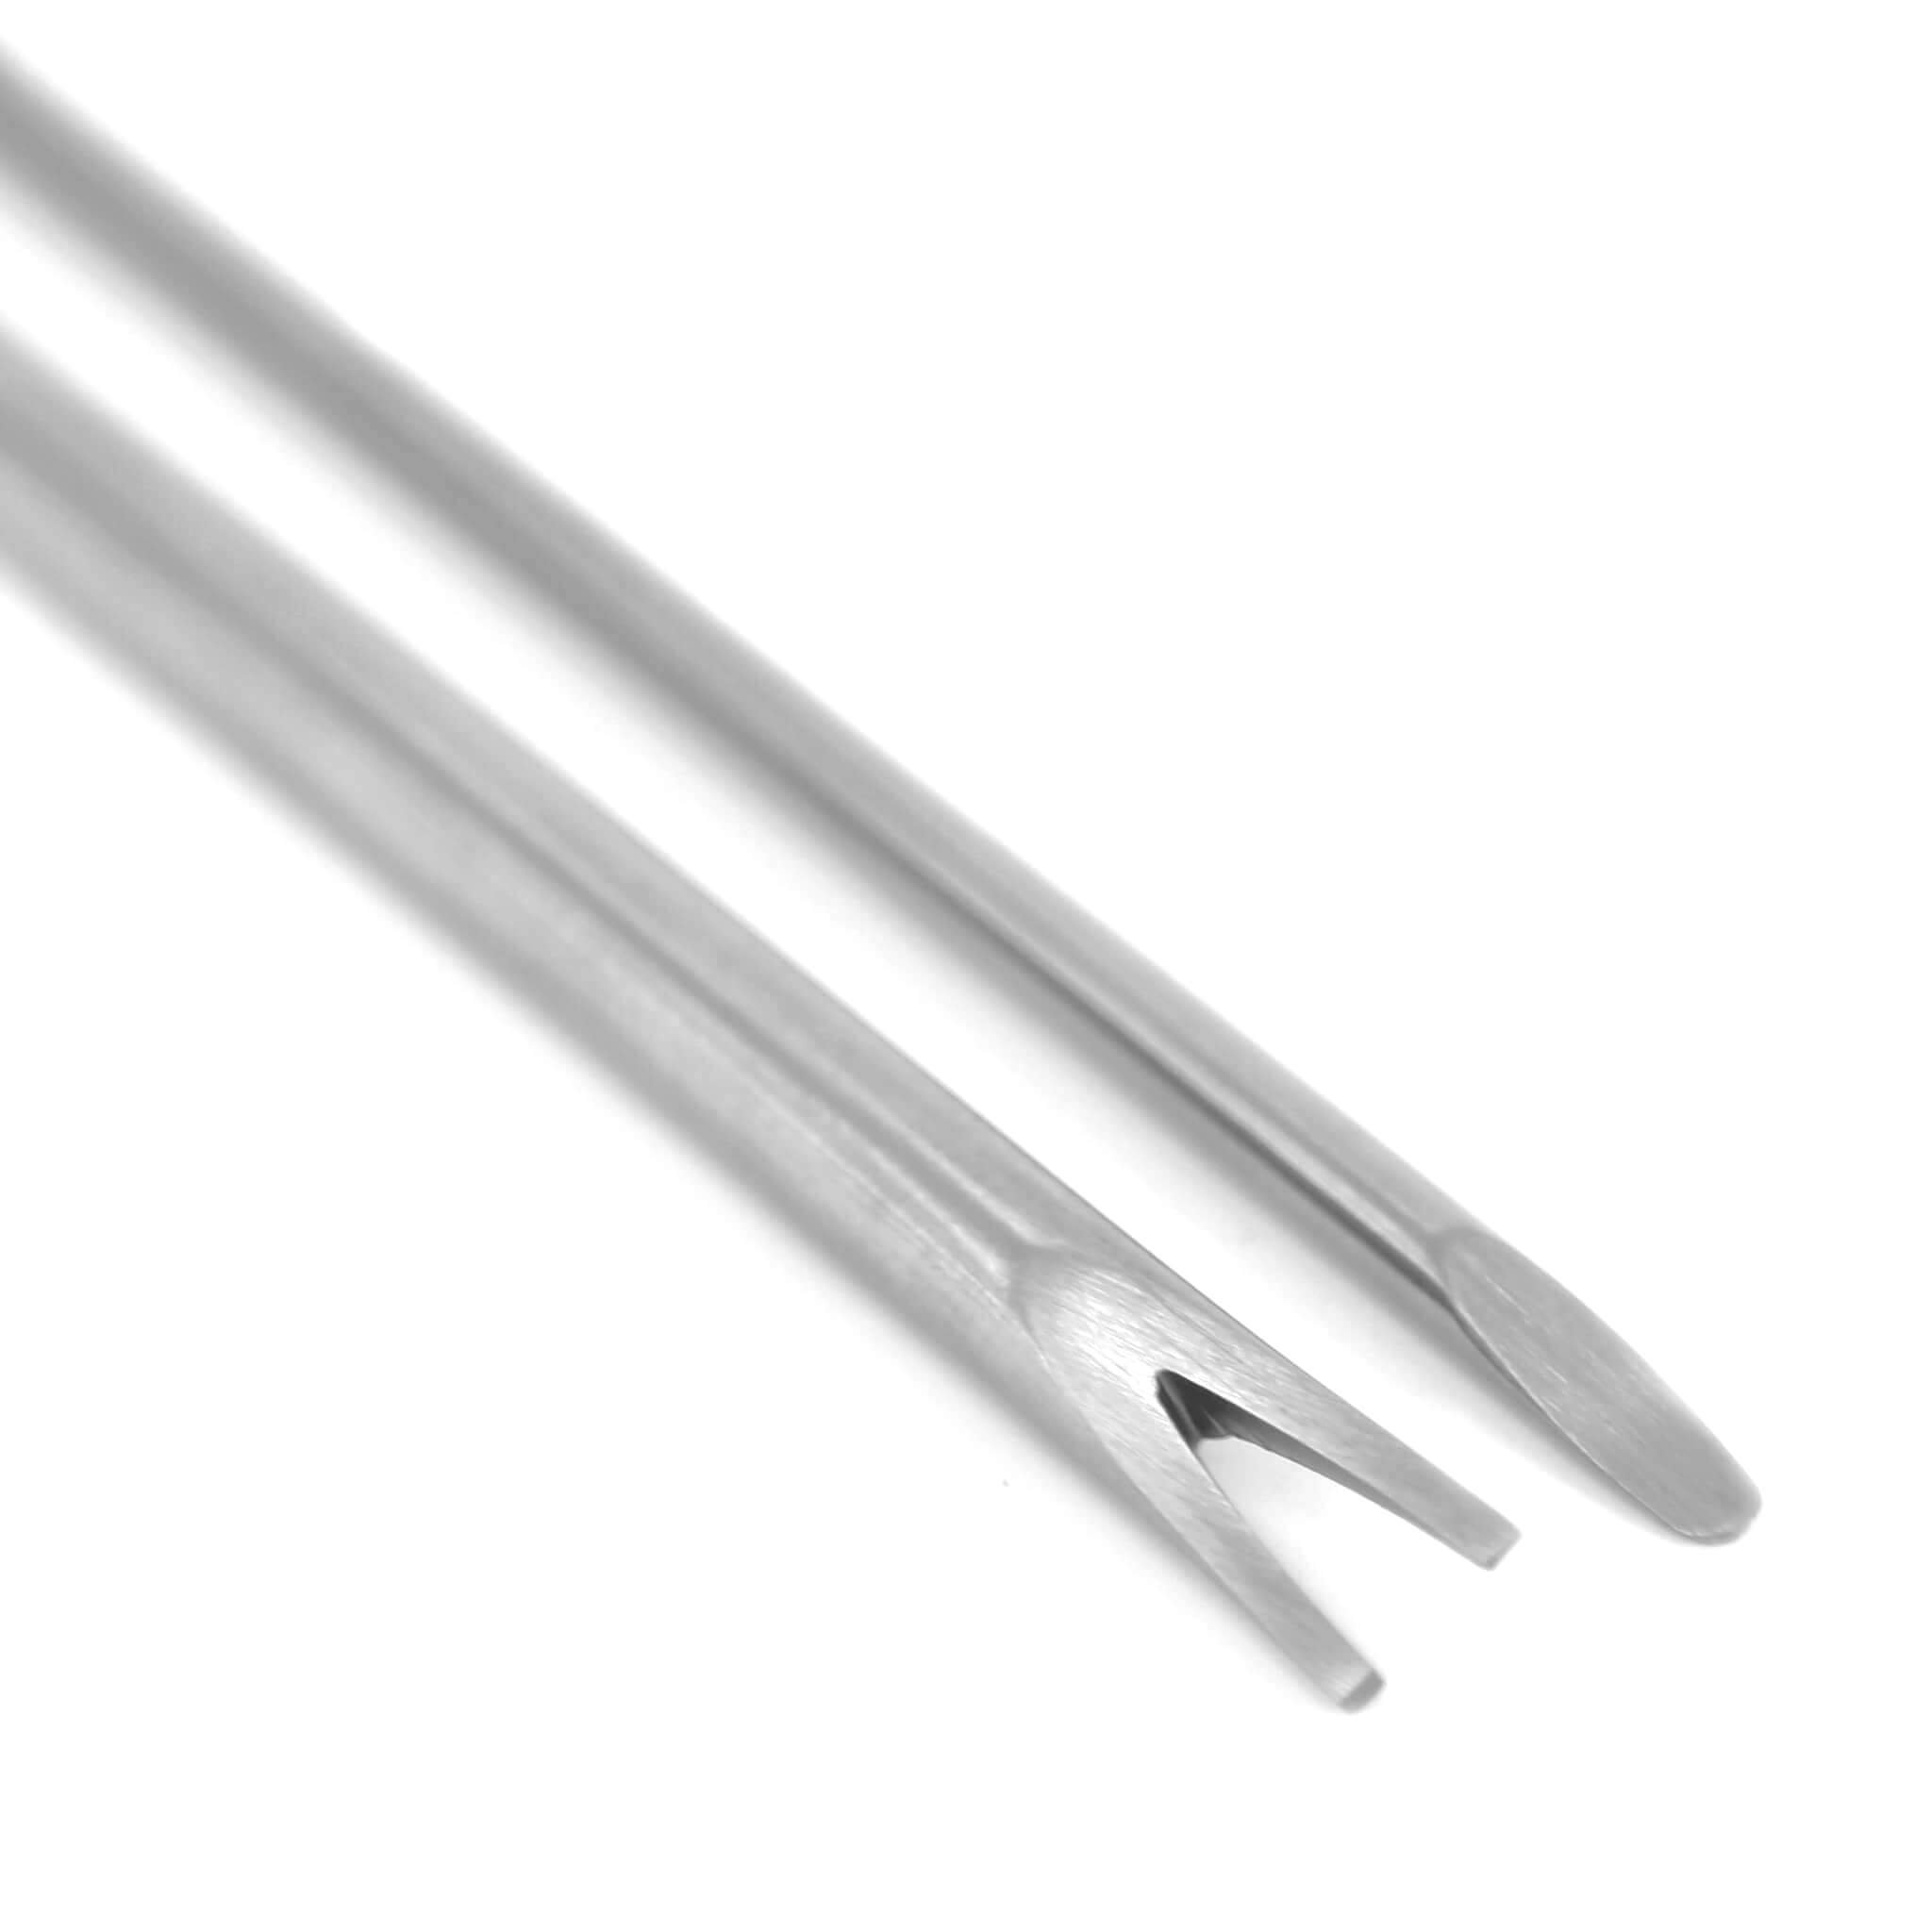
While we do not recommend using compressed air when cleaning your machines, we thought that the rest of the tips in the videos were well worth sharing. So, bottom line. Clean regularly, but NO compressed air.
Lilo
RSS feed for comments to this post