2

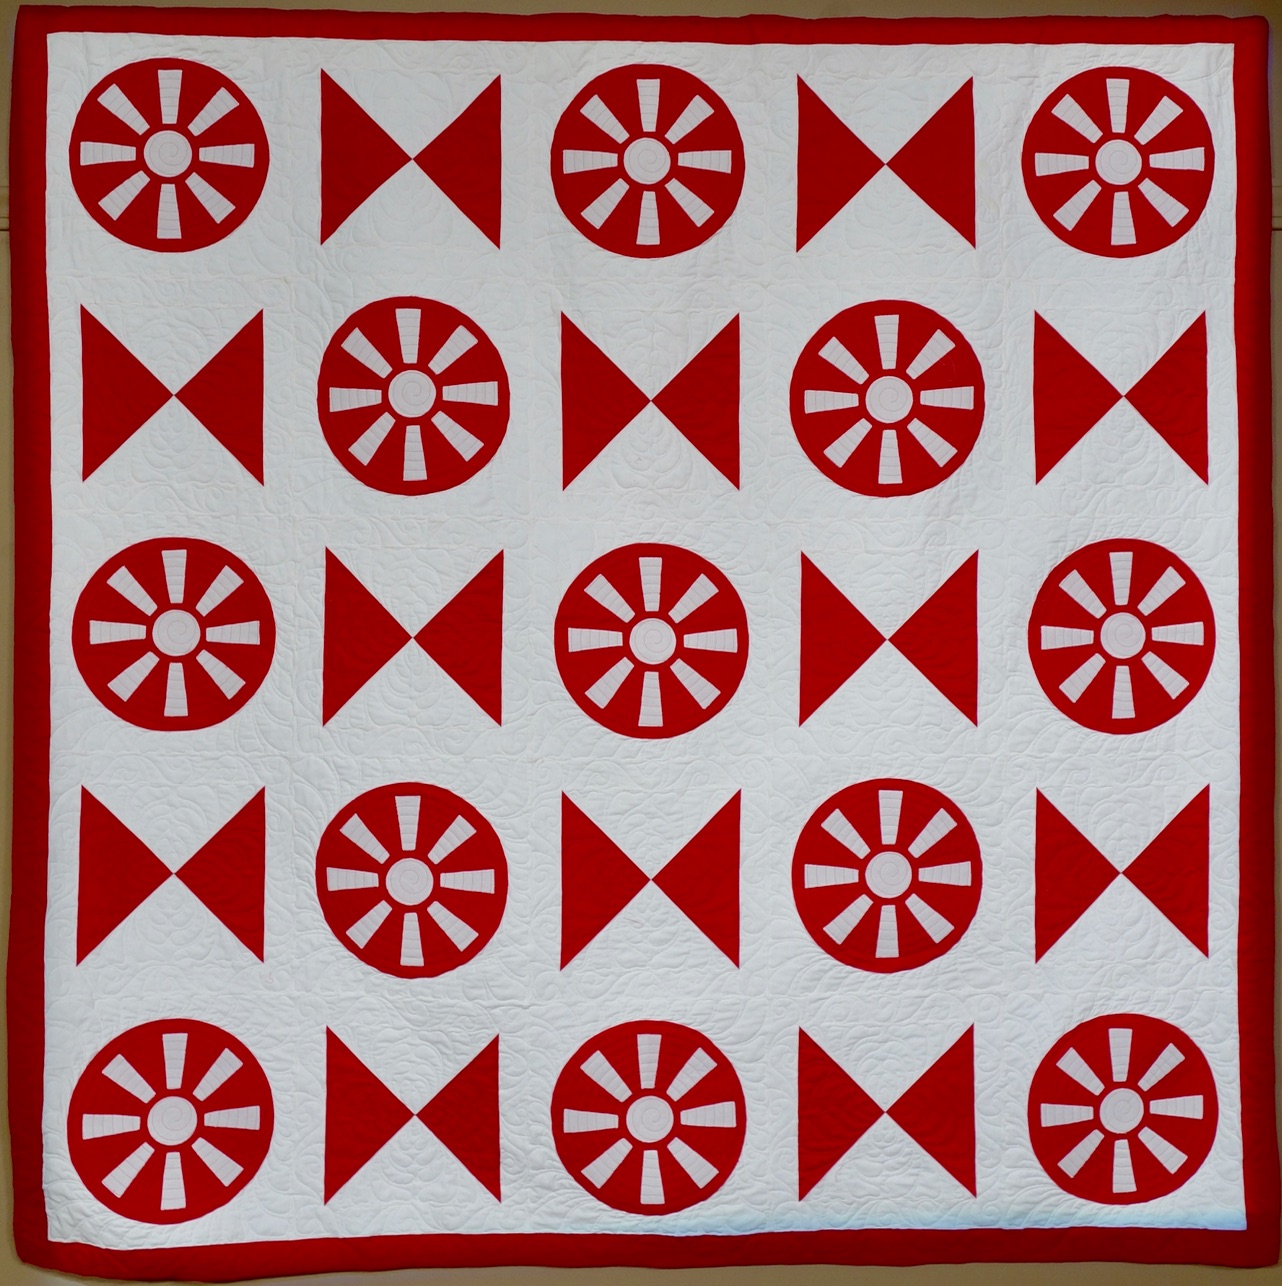
We think it's pretty obvious how this quilt got its name. What do you think?

Watch Linda Pumphrey in Show 2212: For the Love of Red and White.

ChristmasCandybyLindaPumphrey - 36 Pieces Non-Rotating

ChristmasCandybyLindaPumphrey - 100 Pieces Non-Rotating

ChristmasCandybyLindaPumphrey - 289 Pieces Non-Rotating

ChristmasCandybyLindaPumphrey - 36 Pieces Rotating

ChristmasCandybyLindaPumphrey - 100 Pieces Rotating

ChristmasCandybyLindaPumphrey - 289 Pieces Non-Rotating

Original Photo: Mary Kay Davis

  0

We think it's pretty obvious how this quilt got its name. What do you think?

Watch Linda Pumphrey in Show 2212: For the Love of Red and White.

Original Photo: Mary Kay Davis

  33

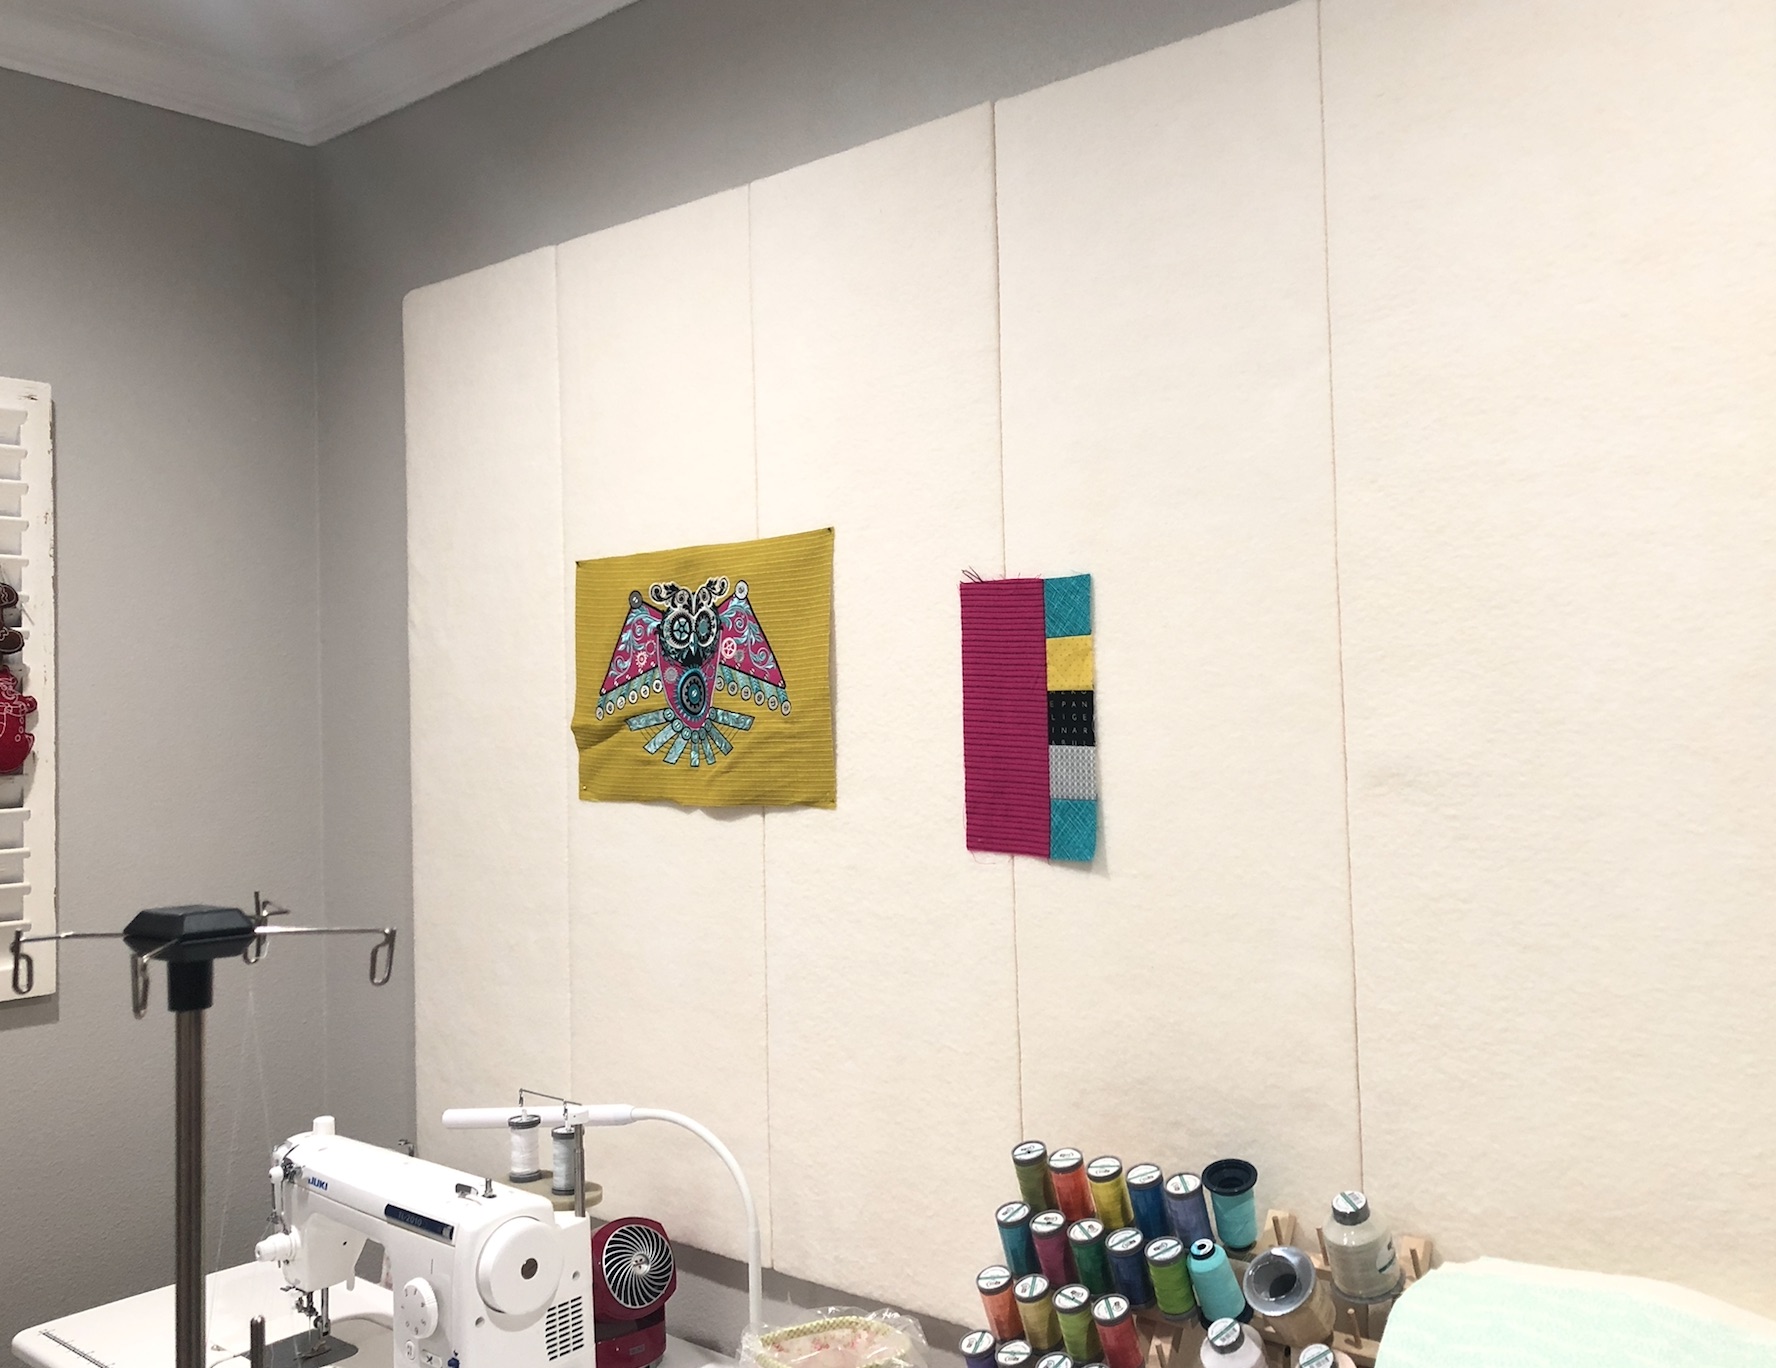
Hope Yoder is back with an easy tutorial on how she made a design wall for her cozy quilting space.

First, what is a design wall? I would liken it to an old fashioned felt board. Remember the felt boards used in school or the small quiet games made of felt? A quilting design wall is usually made of cotton batting and can be on a loose portable structure or a fixed structure. How to use it. As you cut your blocks of cotton quilting fabrics you can finger press (or pin) them to the design wall and the fabric clings to the cotton batting. This allows you to rearrange your blocks, take a step back and check out your masterpiece. Arrange, step back, look and repeat.

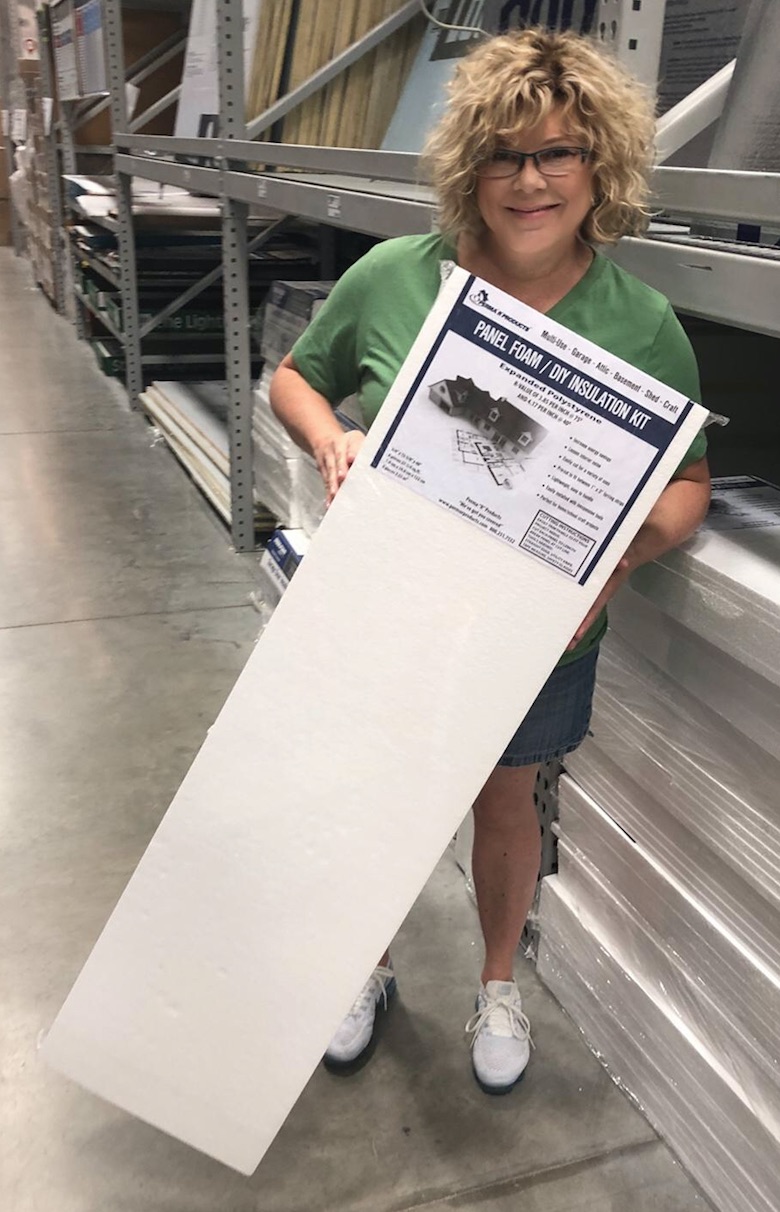
If you search for quilting design walls, you can find a wide variety of directions on how to make them. Here, I’ll share with you how I made mine using supplies I purchased from our local Lowes store. I had plenty of wide cotton batting in my sewing room and the extra supplies I purchased at Lowes came to under $35.00.

MATERIALS USED

·       Embellish™ Angel Loft Batting

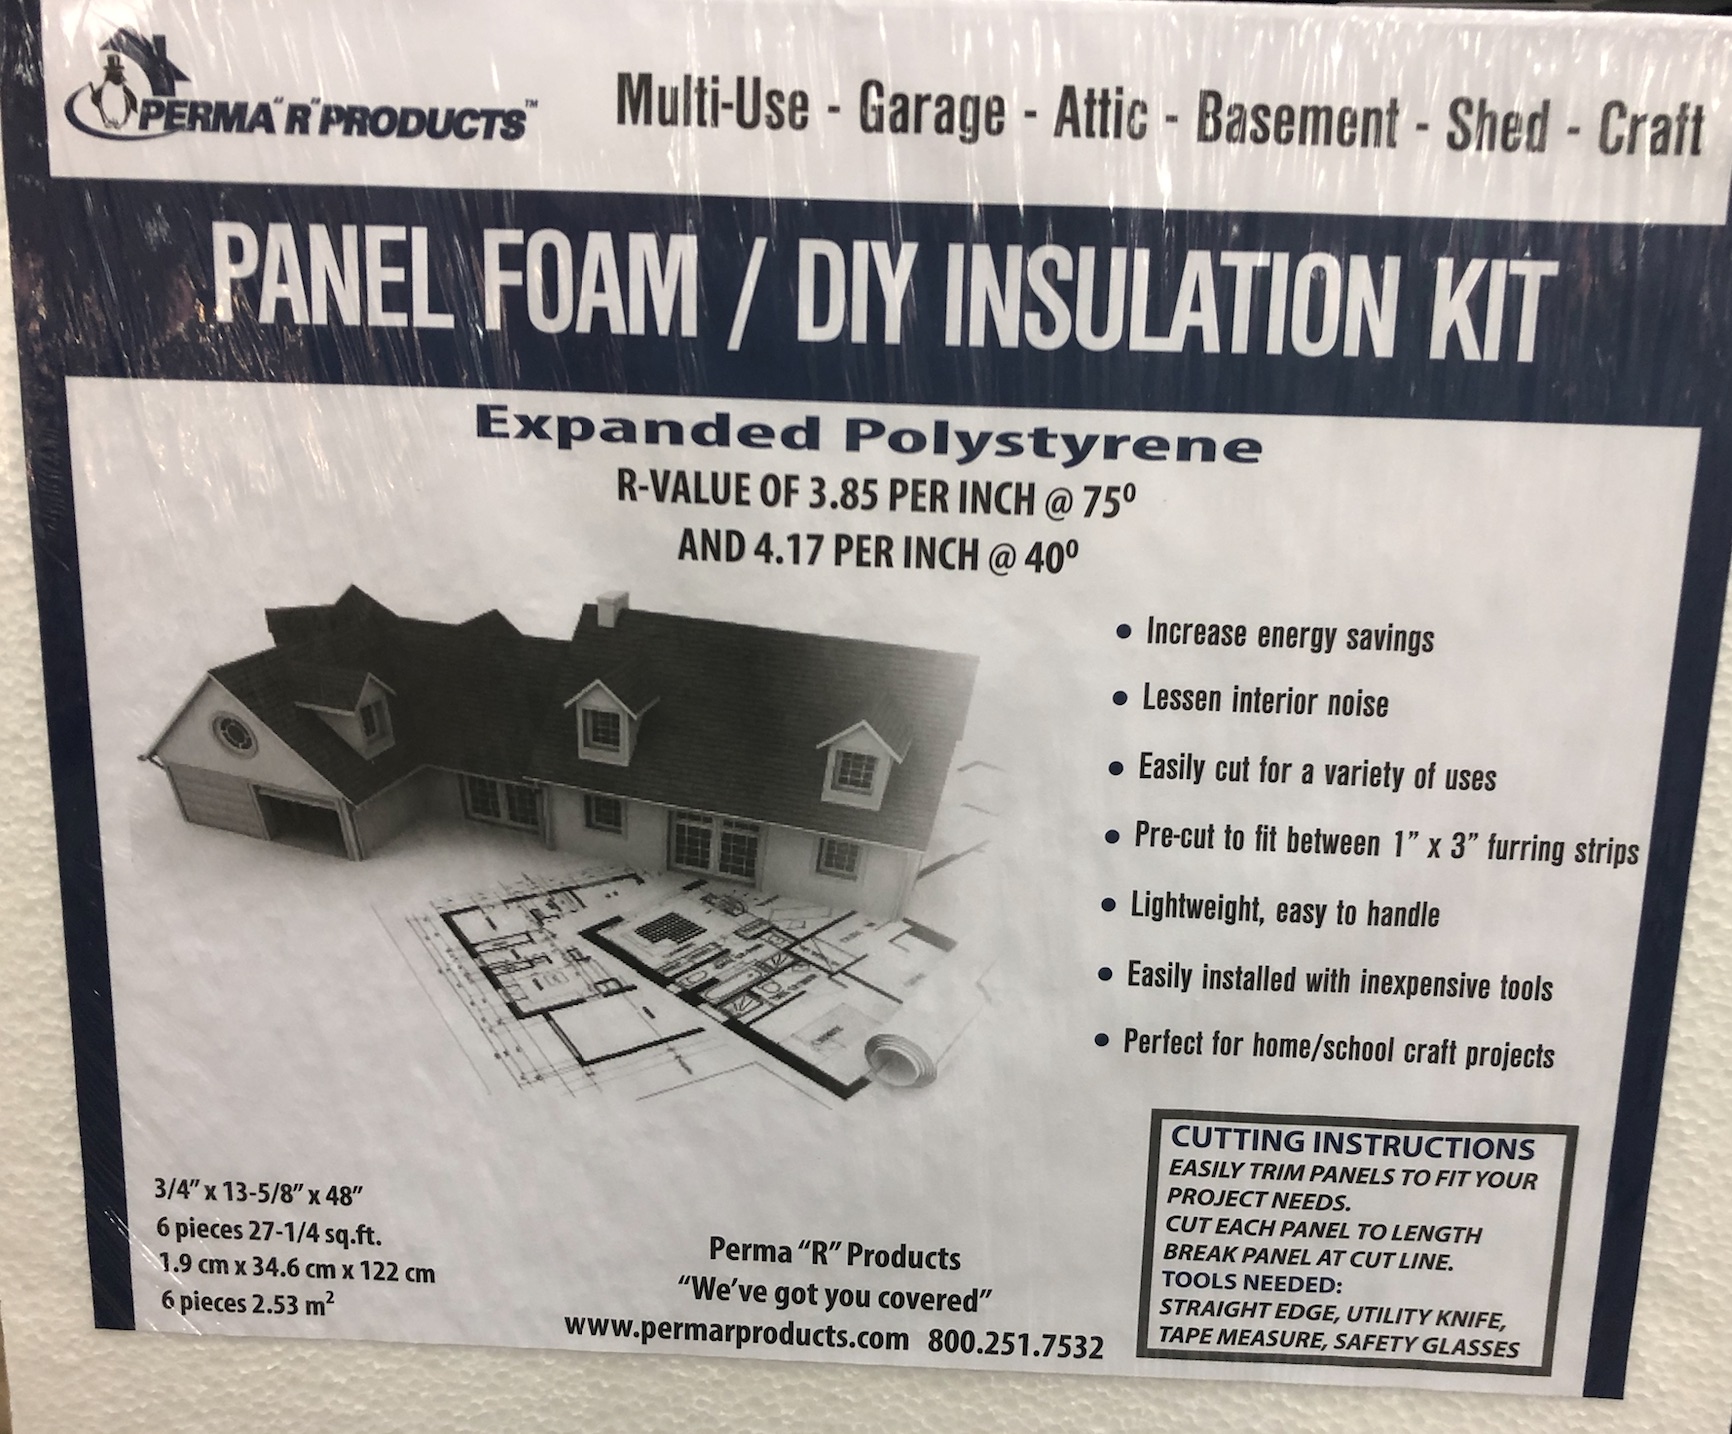
·       Panel Foam/DIY Insulation Kit 
 

·       Duct Tape

·       3M Command™ Brand Picture Hanging Strips Value Pack 
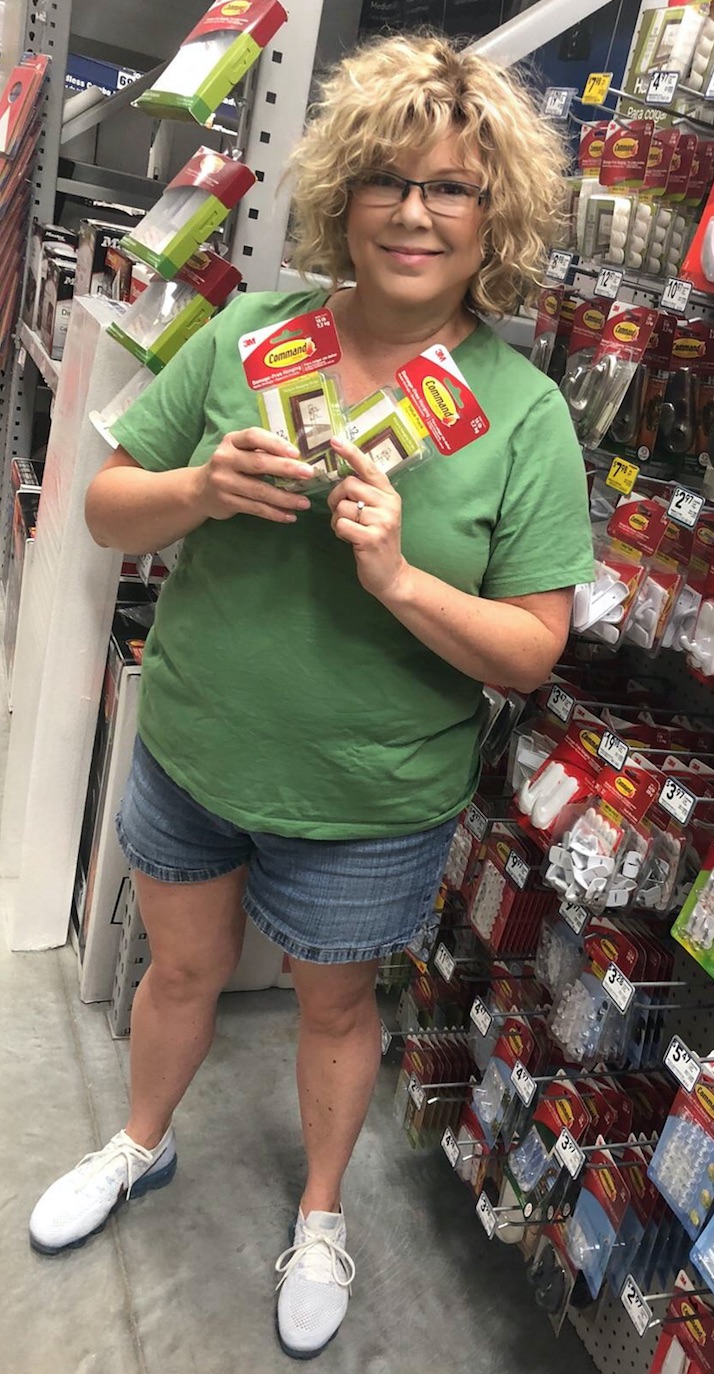
·       Level

DIRECTIONS

·       Measure you wall space and decide how many panels you will use from the foam kit. I used 5 of the 6 panels.

·       Cut pieces of batting that are 4” longer and wider than the foam.

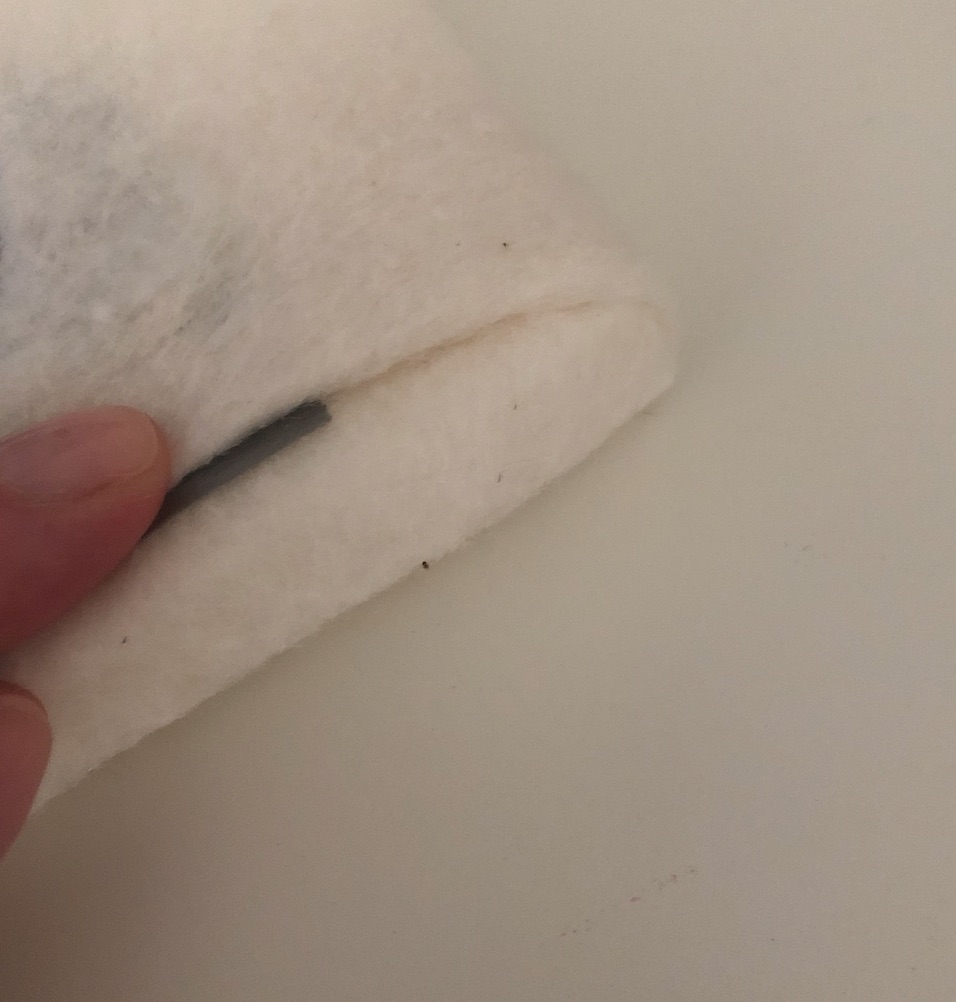
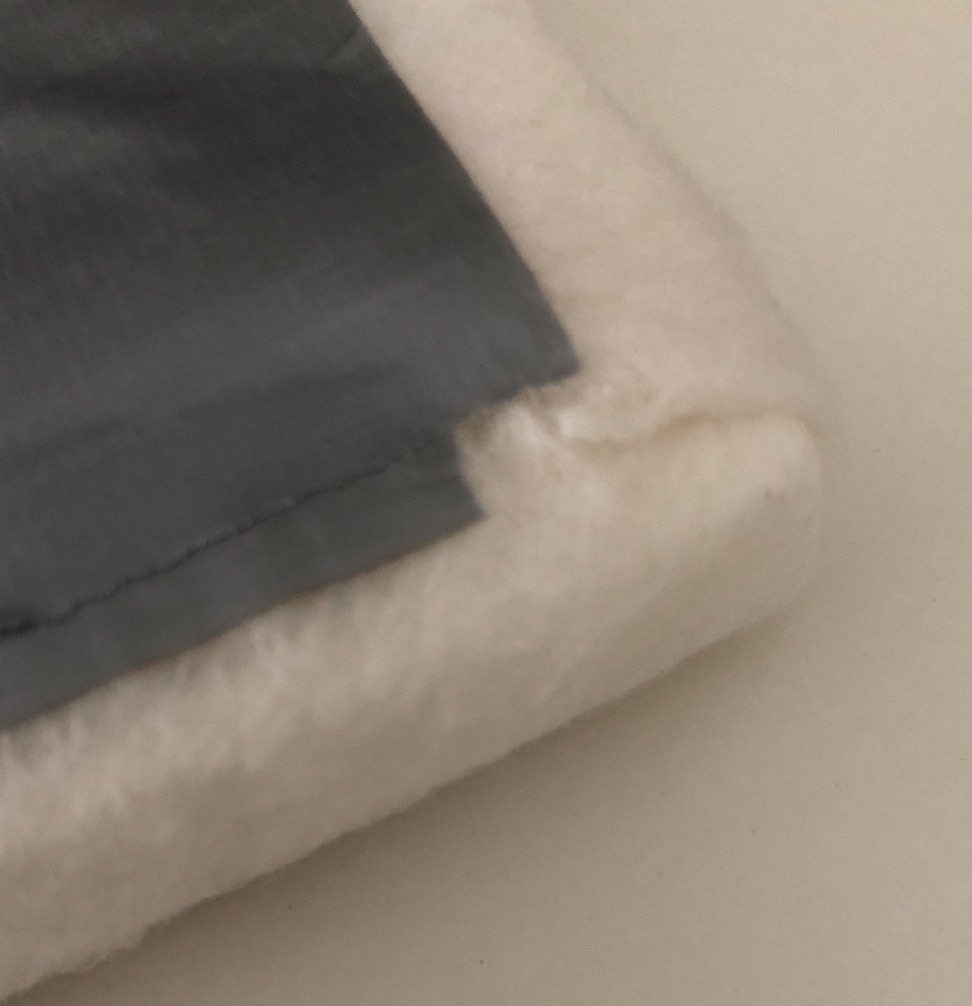
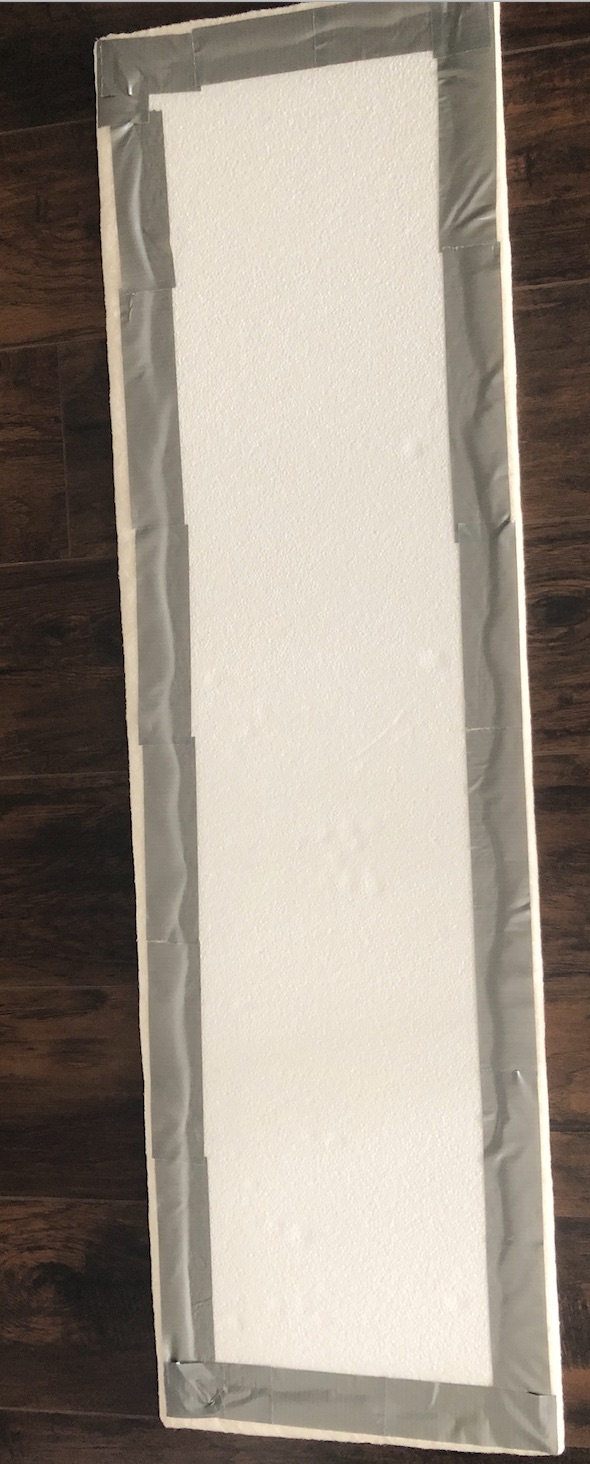
·       Cover each piece of foam with batting, wrapping it to the back and have a friend help duct tape the batting on the wrong side. 
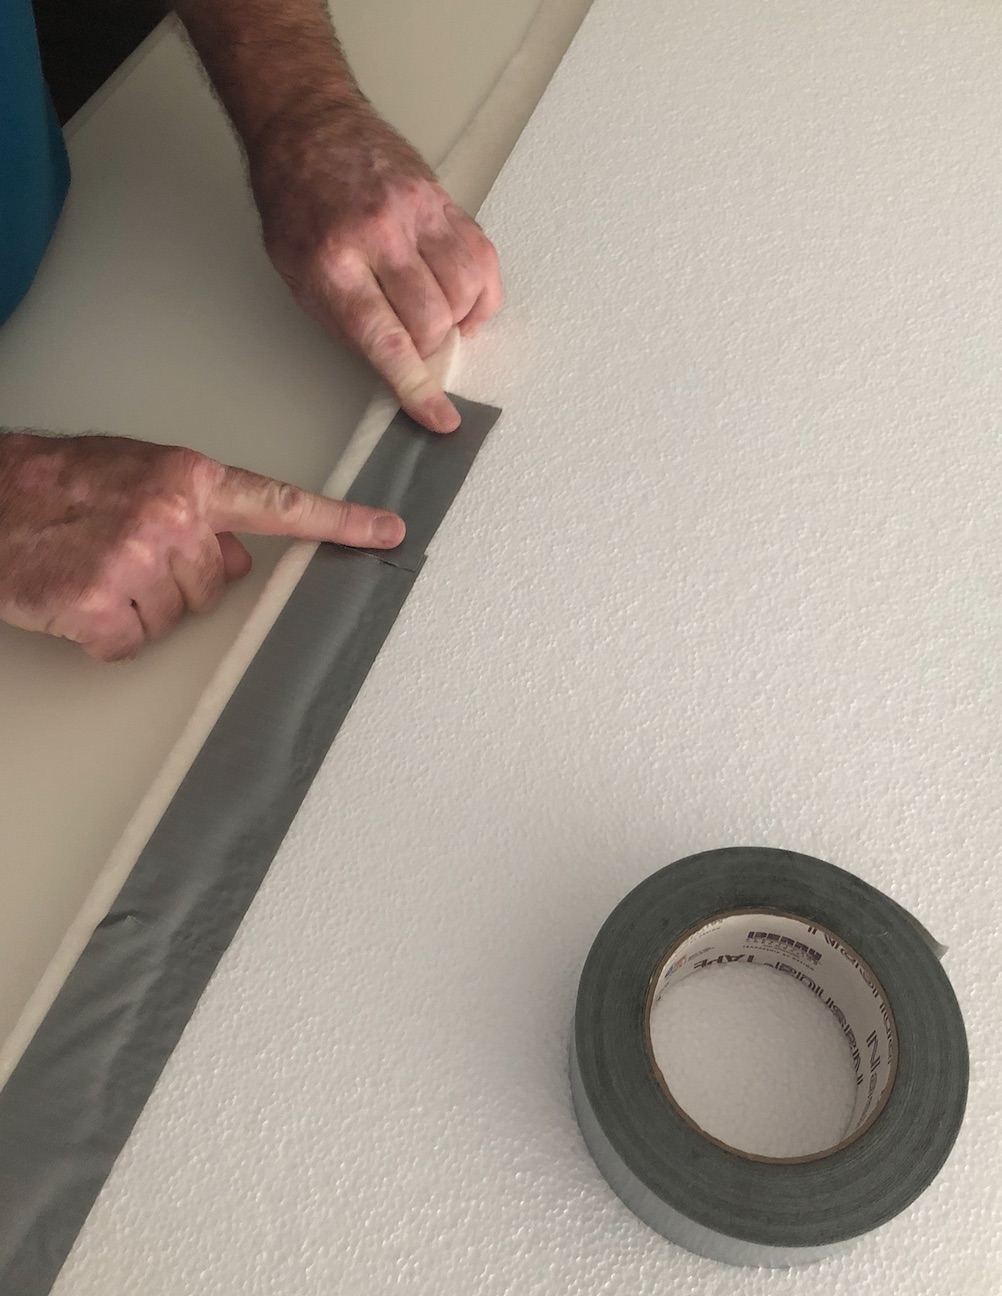
   

·       Follow the directions on the 3M Command™ package and apply two strips at the top and two strips at the bottom of each foam panel. Remove the release paper from the 4 strips.
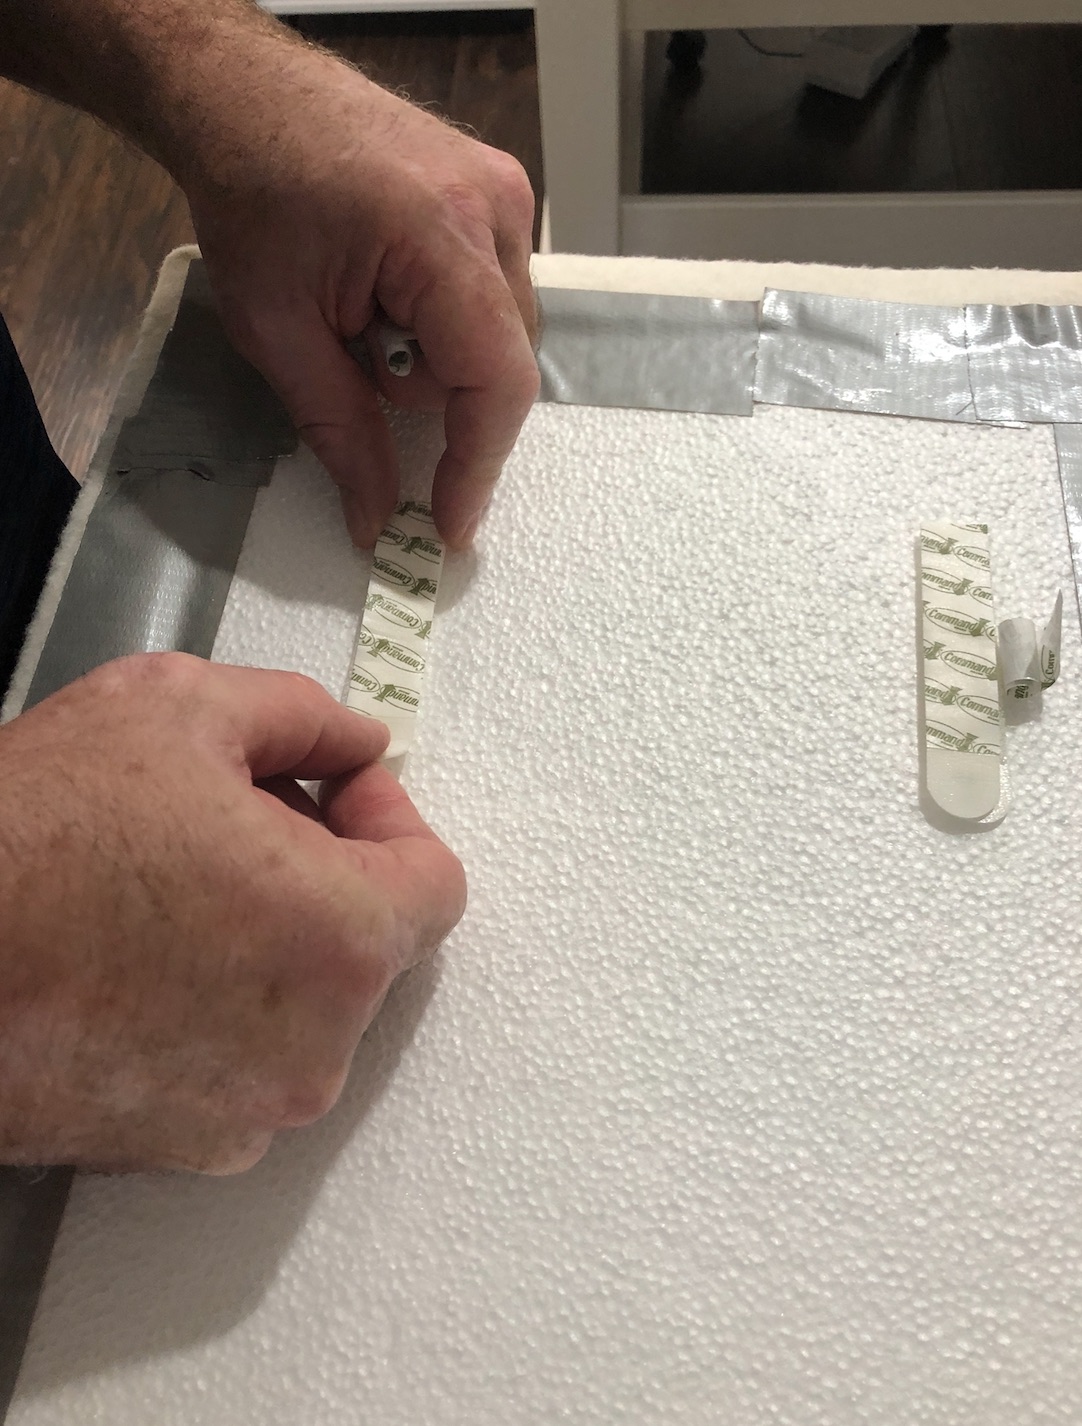
·       Use a level to make sure the top of the first panel is straight before pressing the batting covered foam panel to the wall. 
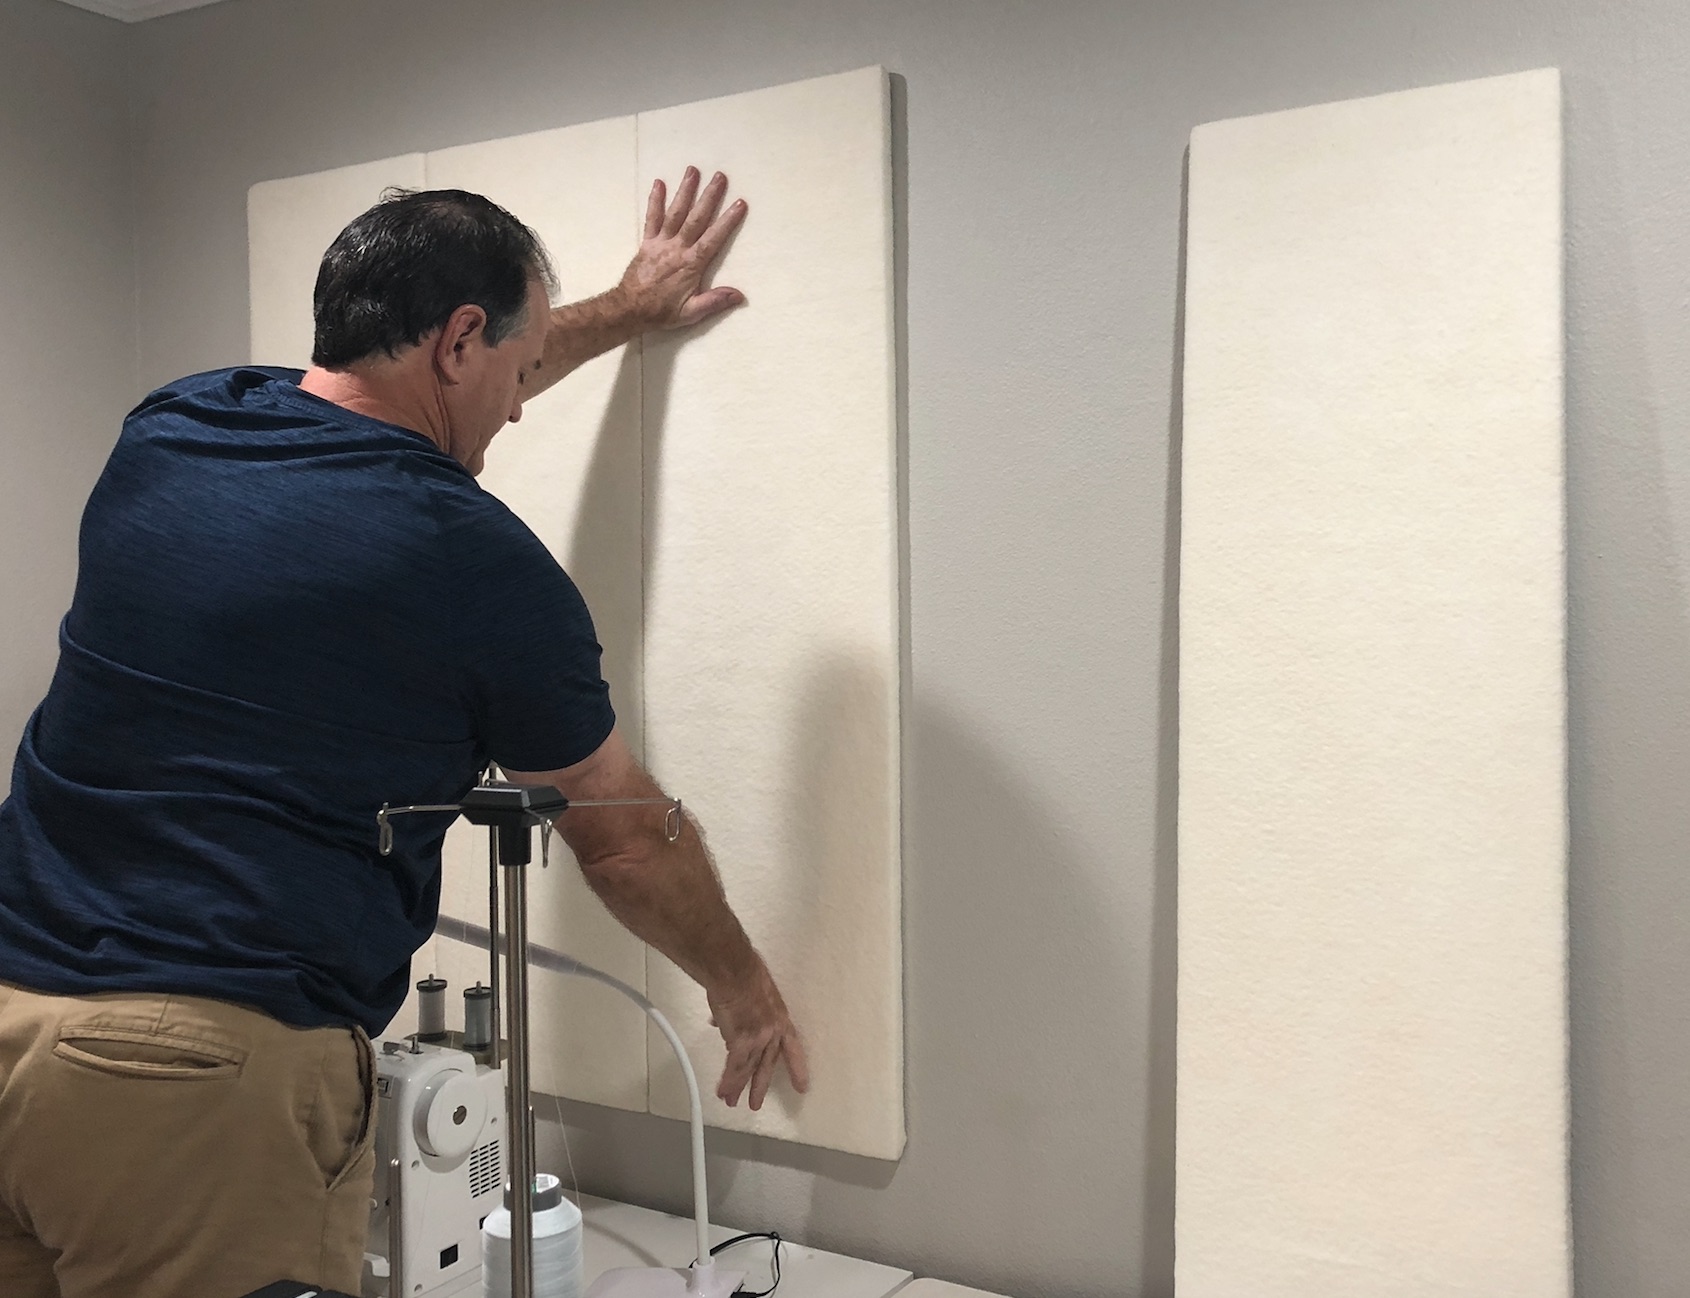
·       Take each of the other panels and apply the same way, butting each piece of foam to the next.
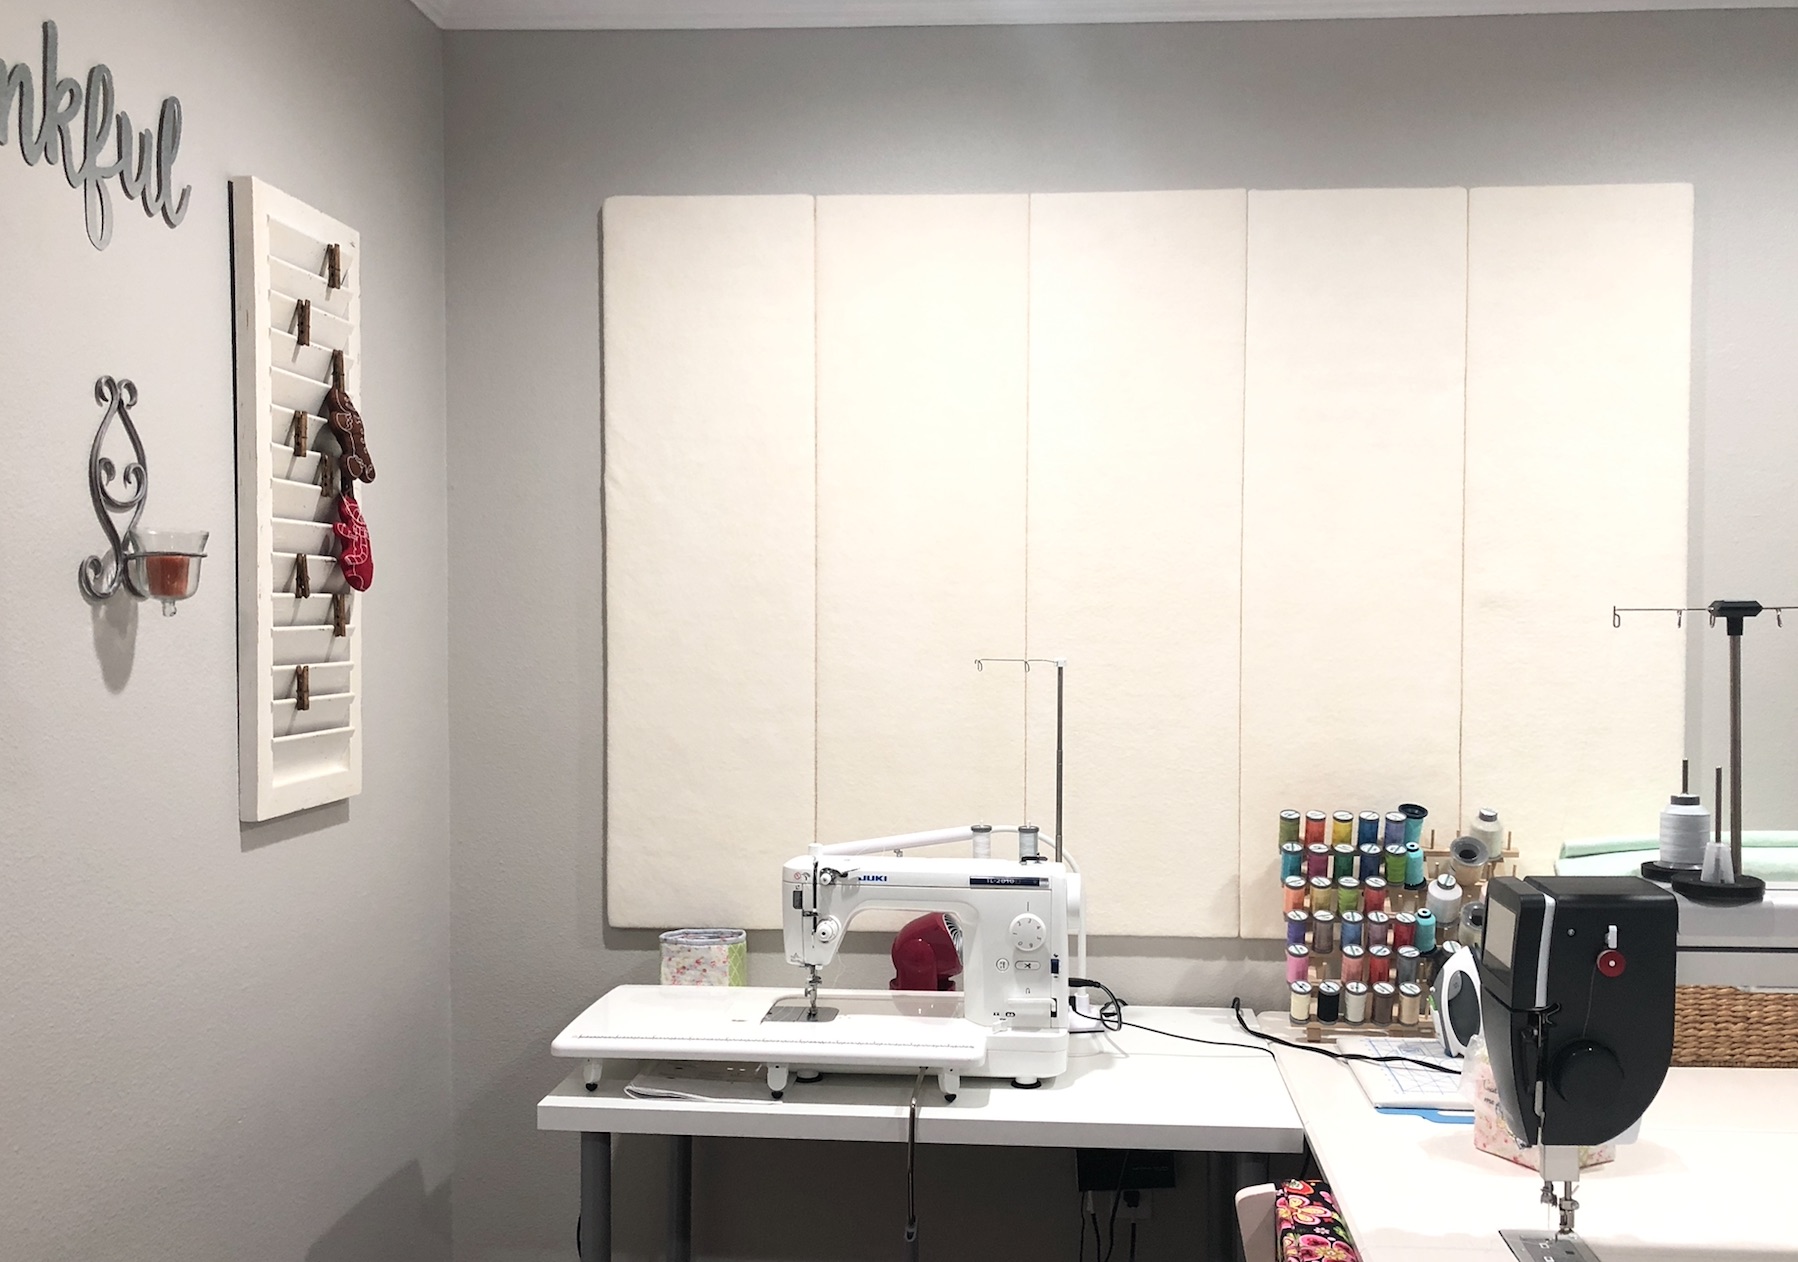
 

Some observations about my design wall:

·       It’s nice and neat and esthetically pleasing, fitting in nicely with my cozy quilting space

·       Each foam panel is wrapped individually with the batting

·       Each foam panel is placed right next to the previous panel with no empty space between the panels

·       The panels are super light-weight and won’t fall off the wall when using the 3M Command™ picture hanging strips.

Until next time, happy crafting! Hope Yoder.

Here's where you can find Hope:
  4

The Row by Row Experience® began in 2011 with 20 quilt shops. You can learn all about it in Show 1811: Row by Row. This year's theme is Sew Musical. The Row by Row Experience begins June 21, 2018 and ends September 4, 2018.

  1
 
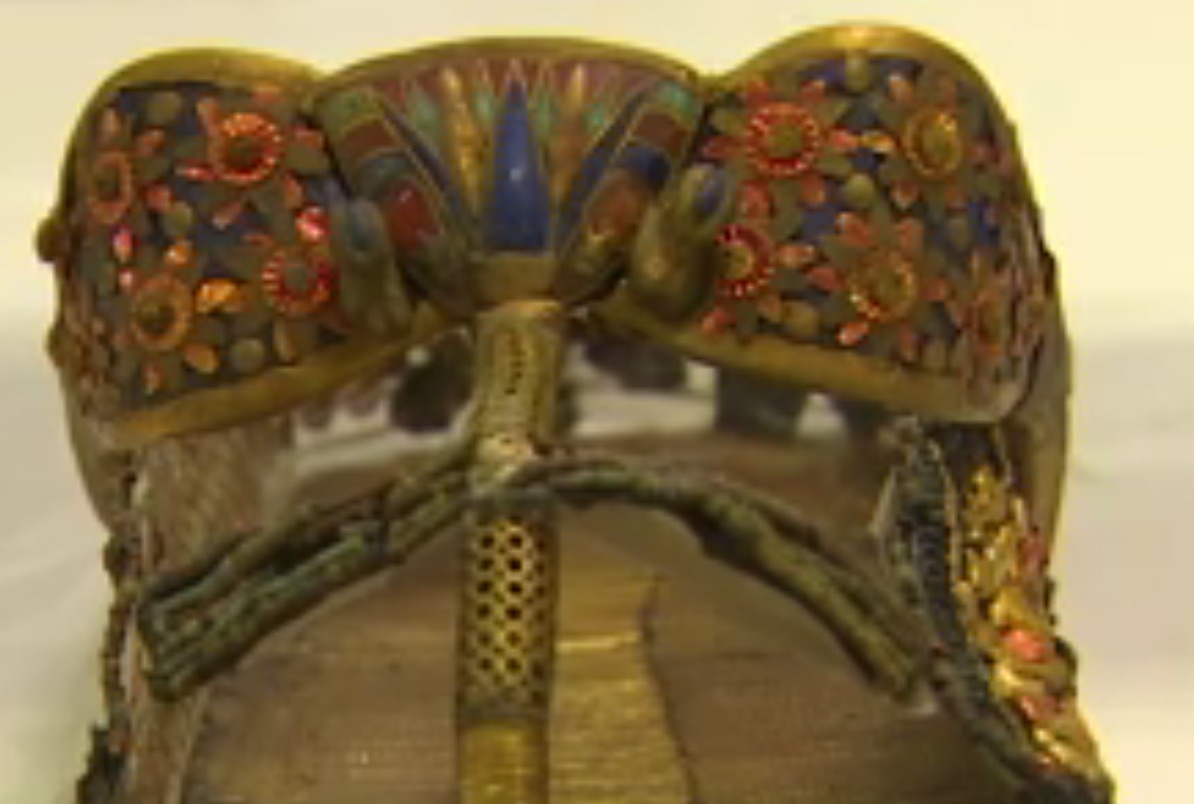
It's amazing what textile conservators can do. This one, Mohamed Yousri, was told that this pair of sandals from Tutankhamun's tomb was beyond repair, but he figured out a way to restore them and they will be put on display by the end of 2018. Click on Learn More to watch a CNN video about the opening of the Grand Egyptian Museum and how the artifacts, including King Tut's sandals, are being preserved.  Scroll down the CNN page to see a full picture of the sandals.


(cnn.com)

  0

Linda Pumphrey, Show 2212: For the Love of Red and White, was the curator of "Inside the Wrapper: The True Tales of the Mountain Mist Quilt Patterns," at the International Quilt Study Center & Museum in Nebraska 2016. Here she answers five questions about the exhibit, which tells "The True Tales of the Mountain Mist Quilt Patterns."

  3

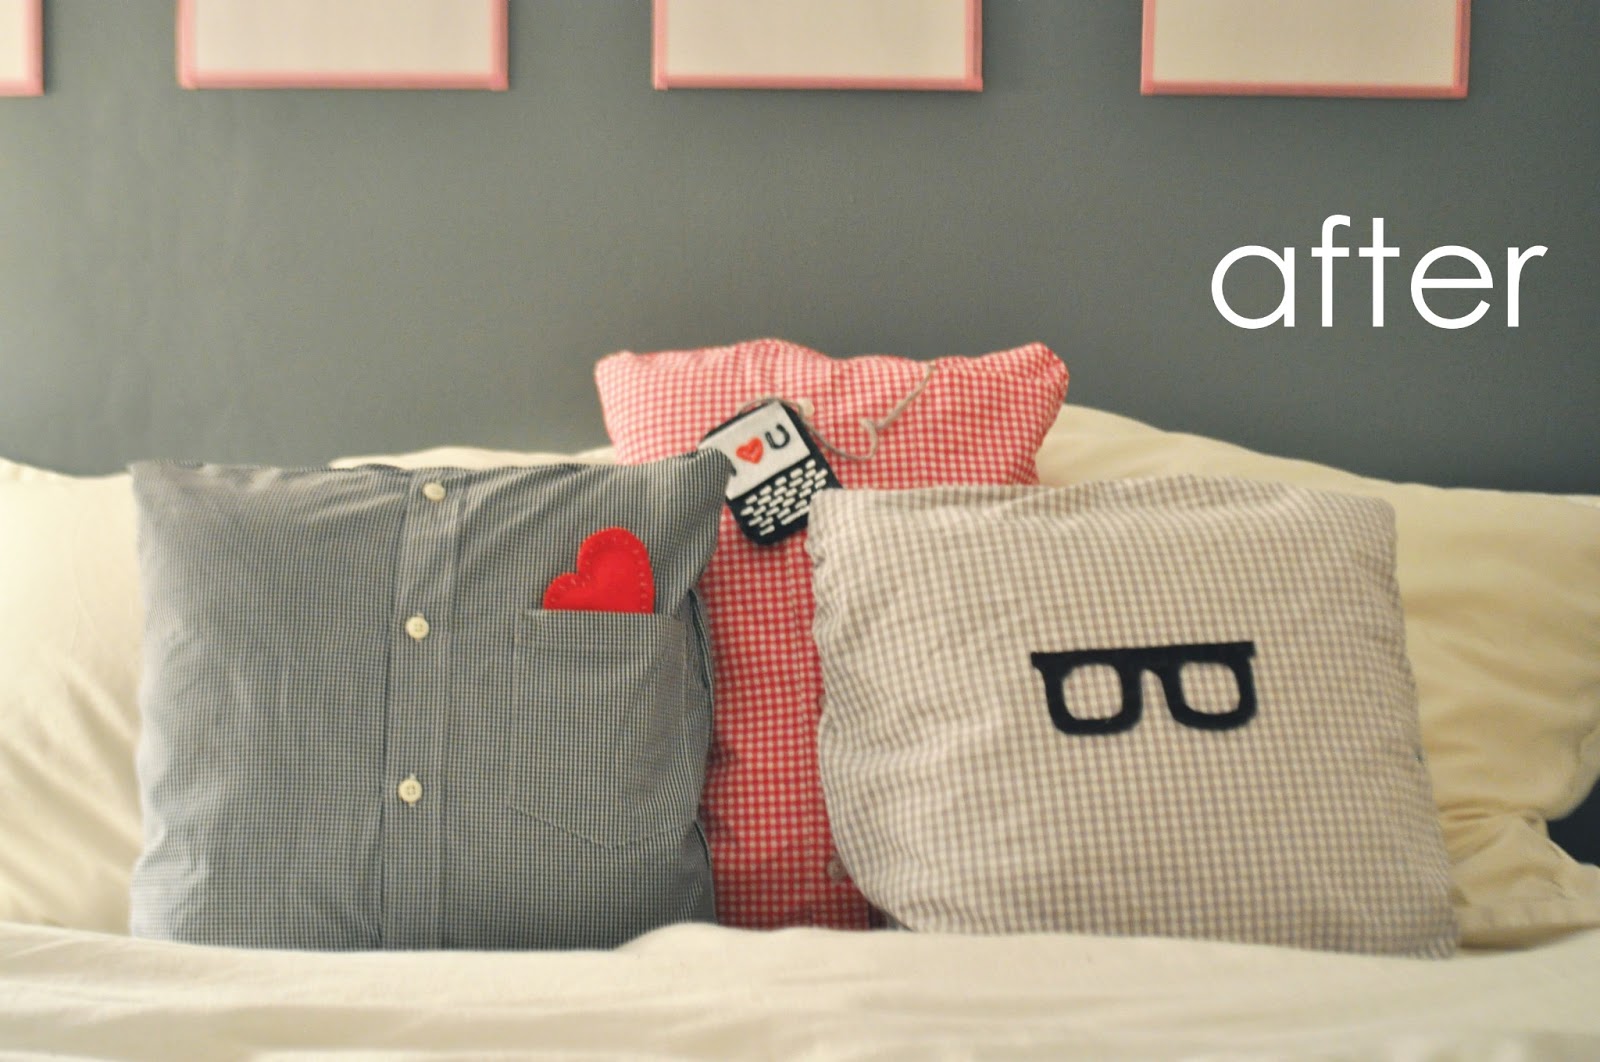
Here's a cute project you could make for Father's Day from Chrissann Gasparro at Duckings in a Row. You just need a few old father-type shirts, sewing supplies and a pillow form (more if you want to embellish). They're very simple and easy to make; in fact, Chrissann doesn't even use a sewing machine - just a handi-stitcher tool.


  5

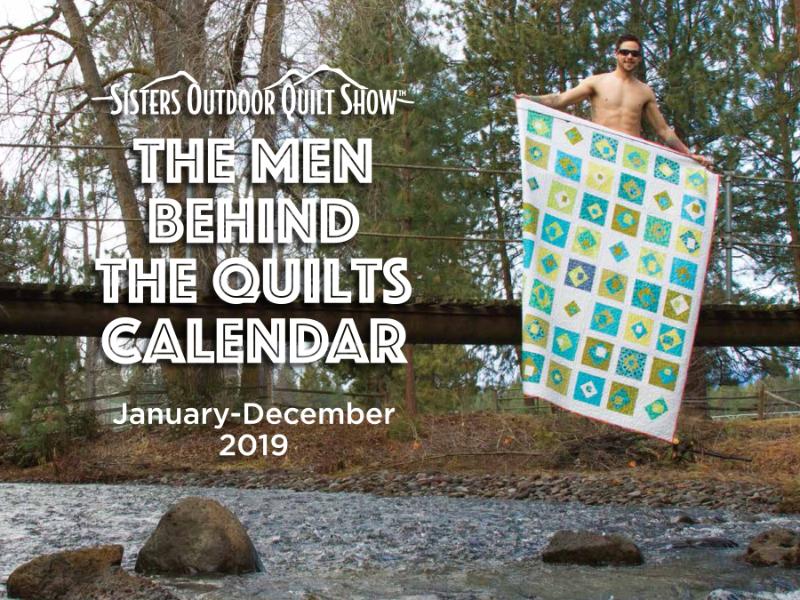
I don't know about you, but I am gobsmacked that it is already June!!! Our spring in the High Desert has been like a roller coaster ride, but I am enjoying the blooms that are braving their way into the garden. Once June arrives, all thoughts are turned to The Quilter's Affair, which is a week-long opportunity to take a class with some of your favorite designers in one of the most beautiful places in Oregon. The week culminates in the largest one day outdoor...yes, I did say outdoor...quilt show in the world with over 1200 quilts hung around the town of Sisters, Oregon. This show is definitely a bucket list adventure. Each day is filled with not only classes, but activities in the evenings. One of the most exciting events is "The Men Behind The Quilts Calendar" auction, which is a fund raiser for the Sisters Outdoor Quilt Show, a Non-Profit organization. Each of the chosen quilts are photographed with a local man...except Mr. December! Come Wednesday evening, the Calendar party begins with the models signing calendars and the quilts featured each month are auctioned off in a live auction!!!

OMG...I am getting excited already!! And so, because I want you to be excited, the Sisters Outdoor Quilt Show has donated a calendar as a Give Away!!! All you need to do to participate is enter your information in the box at the end of the blog. A winner will be selected at random. (The Contest is now Closed.)

Here is a sneak peak of the calendar! The photographs are by Valori Wells, except for Mr. December who was photographed by Laura Dalton of Hamilton Missouri, home to the Missouri Star Company.
 
The cover model is Adam, a local Fly Fishing Guide.


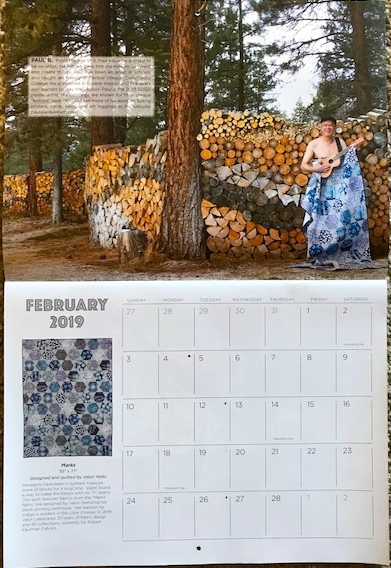
Mr. February is the Sisters Outdoor Quilt Show 2018 poster artist, Paul! The wood pile in the photograph is a work of art!


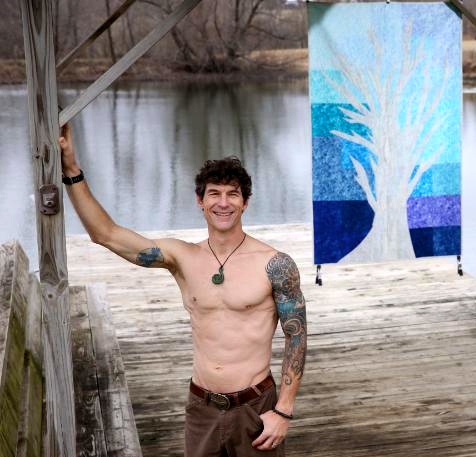
The year is wrapped up by Mr. December, Rob Appell, who has been a been part of the Sisters Outdoor Quilt Show and the Quilters Affair family for many years!


Best wishes for winning this great calendar and if you are afraid you won't win and want to get one for yourself, or as a gift, click here. The winner will be posted next Wednesday here on Anna & G On The Road!

Click here for Anna's blog.

Click here for Anna's YouTube Channel.

  6

It’s Hope Yoder again with a peak into my journey as a new quilter. In the last article, I showed you my new, small, cozy quilting space which I set up in my breakfast nook area. After practicing free-motion stippling for what seemed like months, I finally wore my husband down and he gave me the ok buy a machine that was dedicated to free-motion quilting. Now what machine did I want? That is where the fun began. Over the years as a national embroidery and crafting public figure, I have owned just about every brand of machine on the market. But they were sewing and embroidery machines, machines not necessarily designed for free-motion quilting. Oh yes, most machines can be set up for free-motion but not dedicated to just that technique. I’d like to share with you what I chose and, more importantly, why I thought it was the right machine for me.

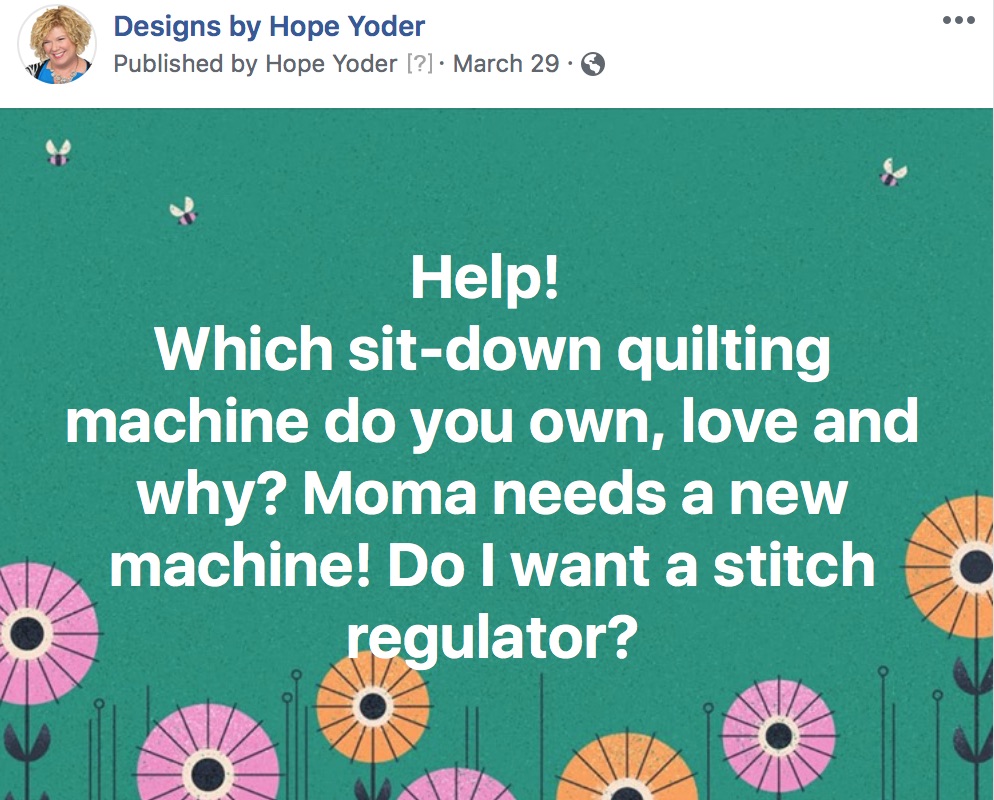
I put a question out to all my Facebook friends asking for their thoughts. As you can imagine, the answers varied. If you wish to view the post you can find my Facebook link at the end of this article. After practicing free-motion stitching, I began to discover what I wanted in my dream quilting machine:

  •  I needed a good stitch regulator
  •  I wanted a sit-down machine instead of one on a frame
  • Because I have limited space
  • I will mostly quilt smaller projects
  •  I needed more space between the needle and edge of the machine
  •  I wanted an attractive table that would blend into my home and look like a piece of quality furniture
  • I needed a whole LOT more practice
  • Again, I needed a good stitch regulator and 2 must be better than one, right?

My choice, BERNINA Q20. I visited my BERNINA dealer and purchased the machine with a happy heart and then waited for it to arrive.

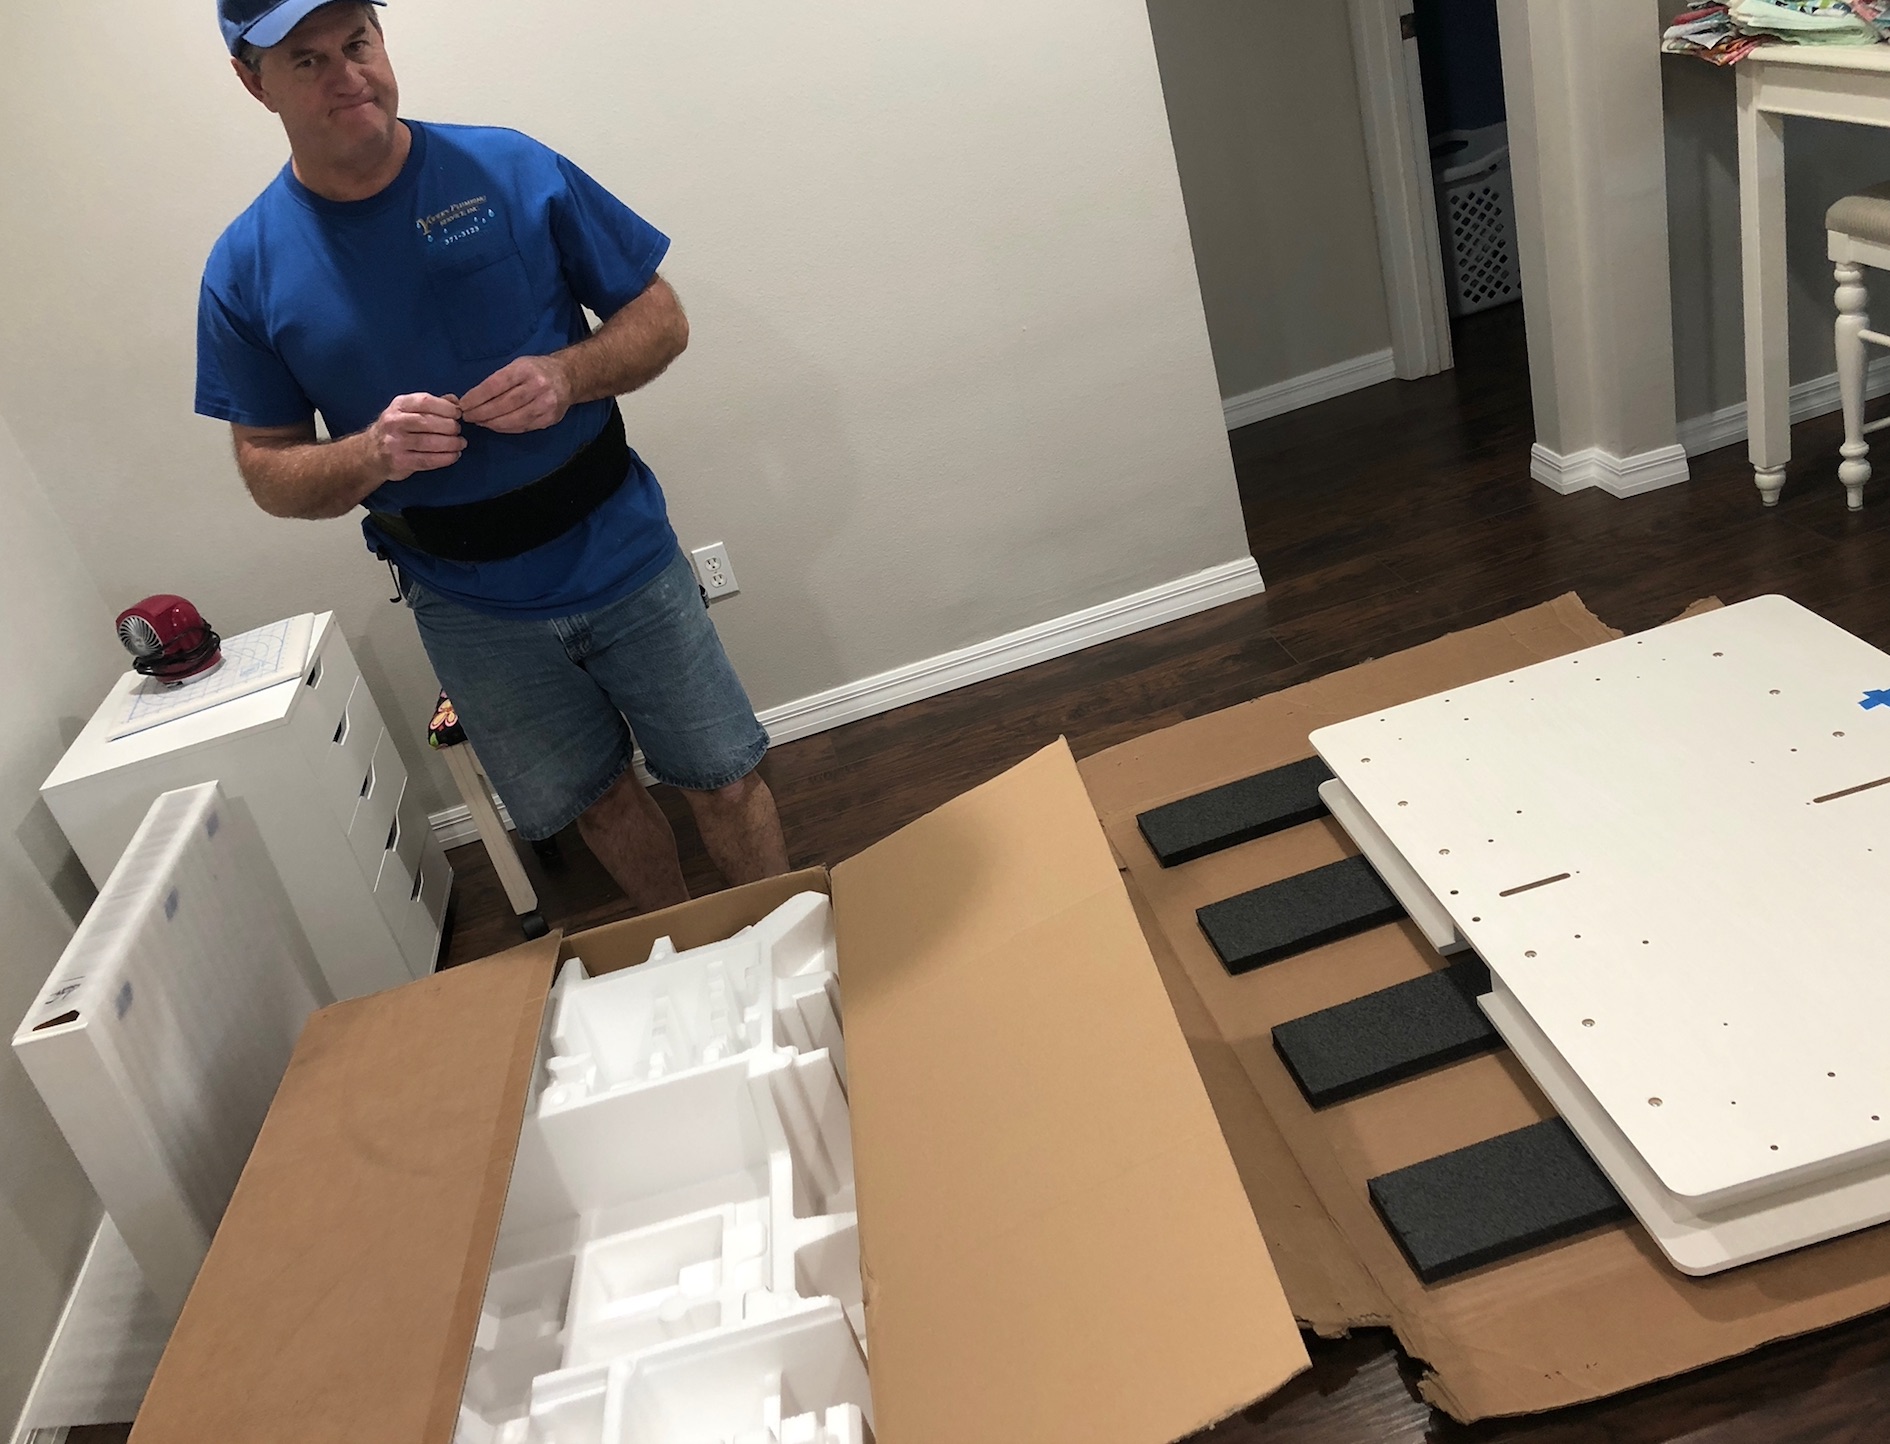
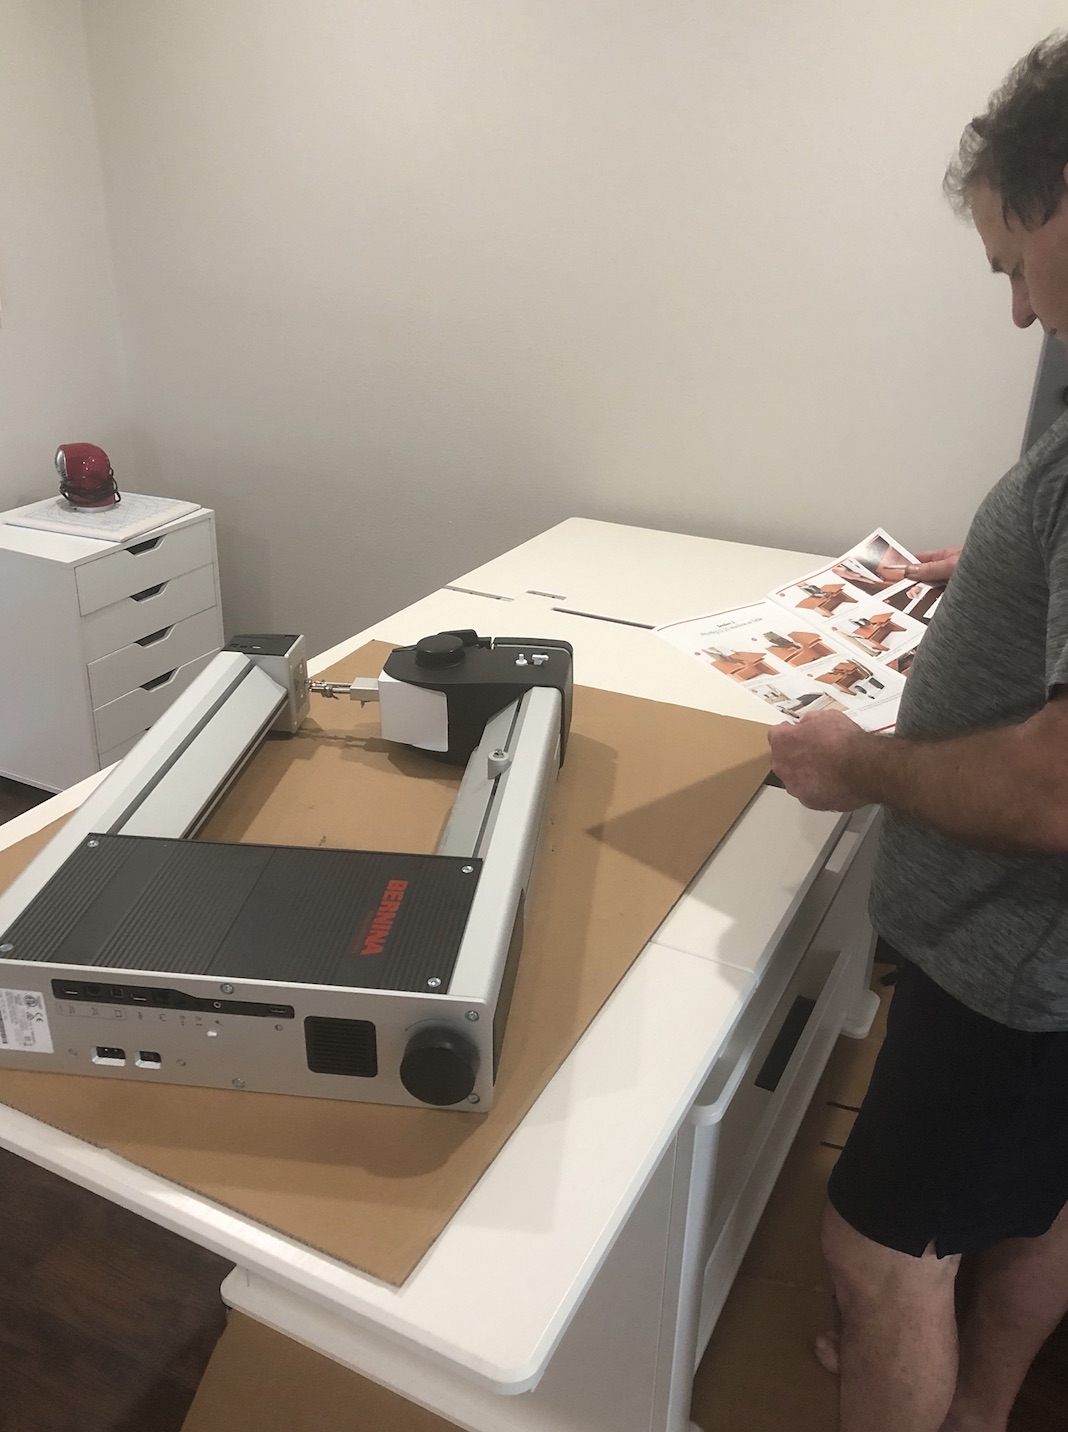
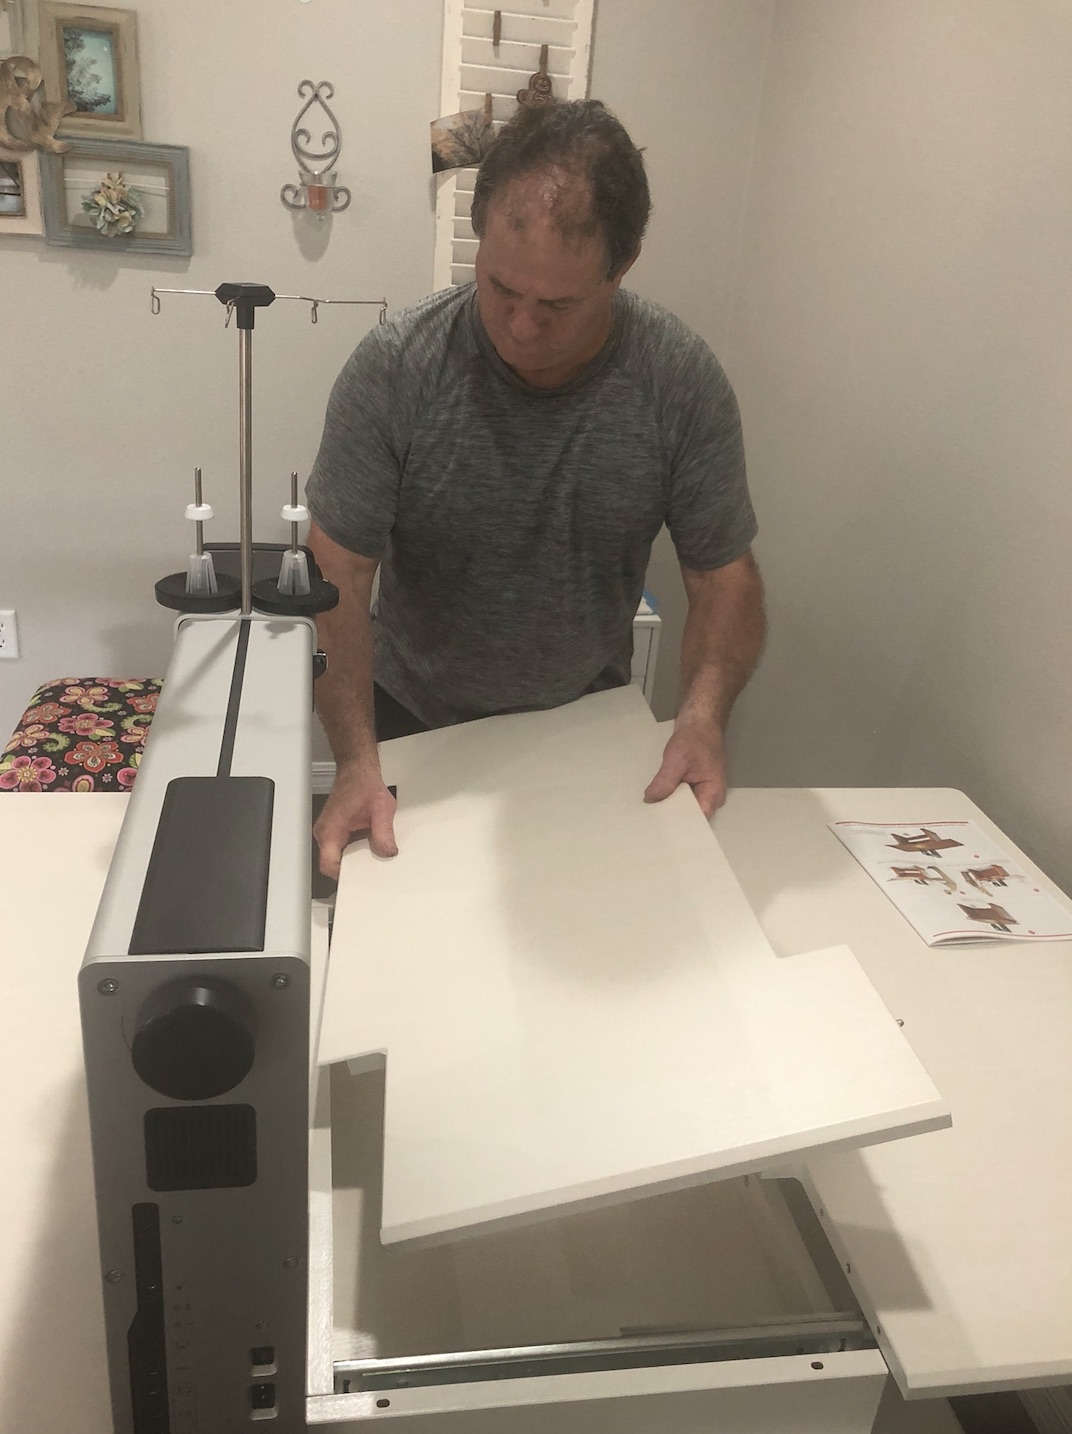
My husband Marv, such a good man, took the day off work to be home for the delivery and to set everything up. The machine and cabinet came in 5 boxes.

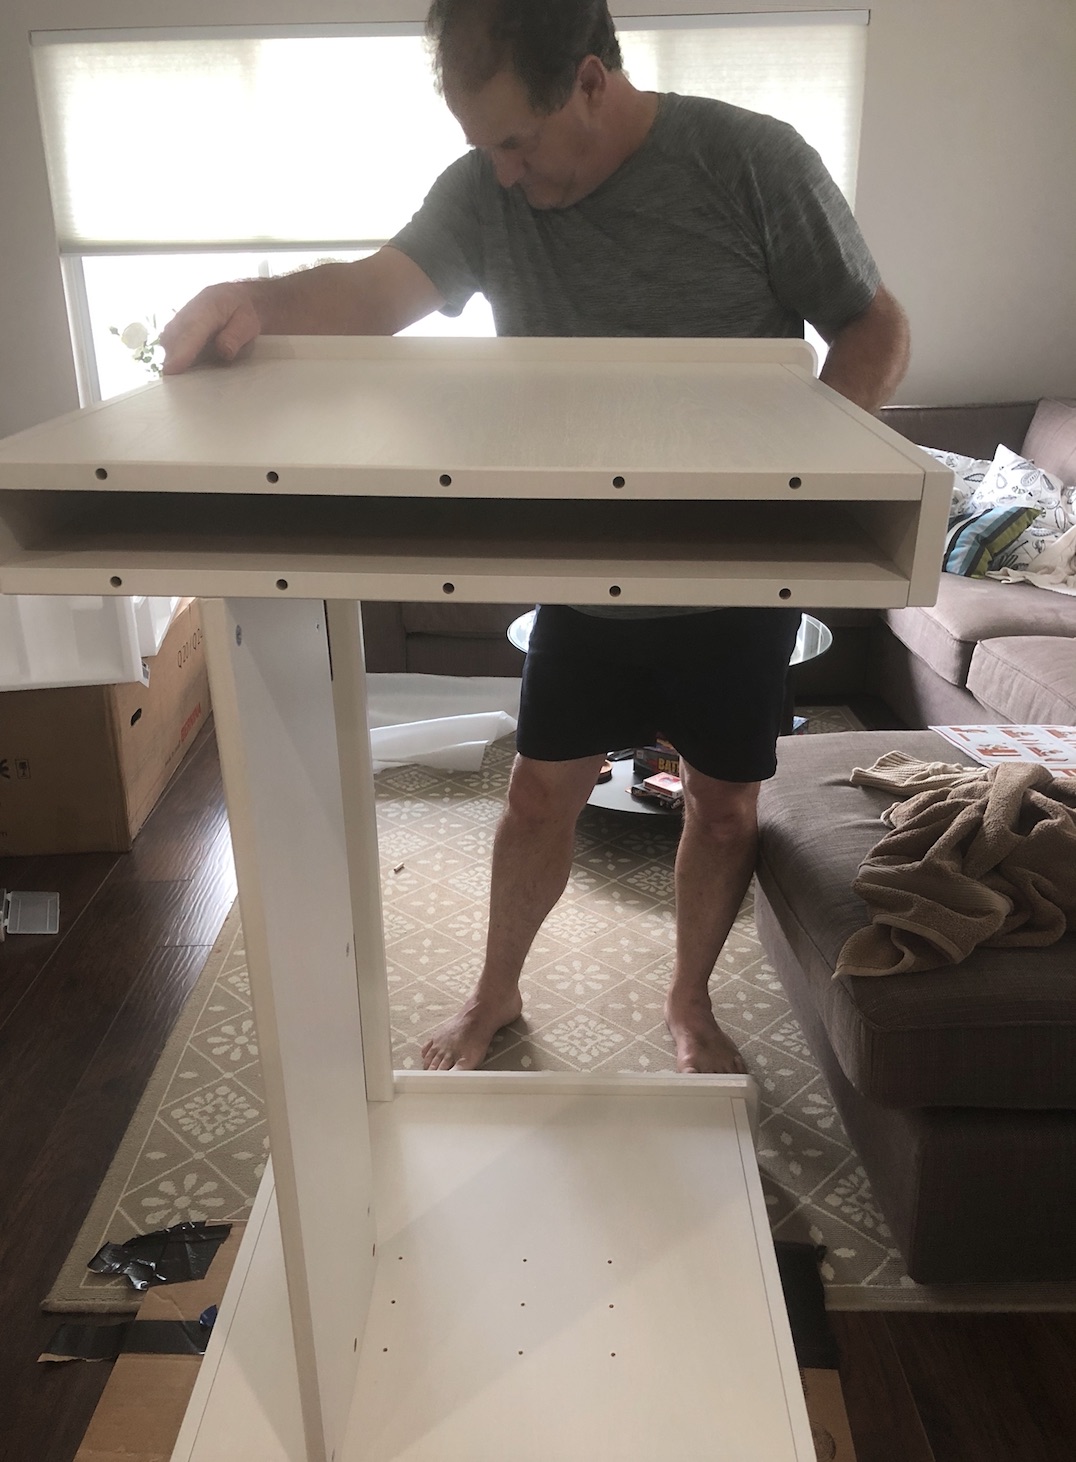
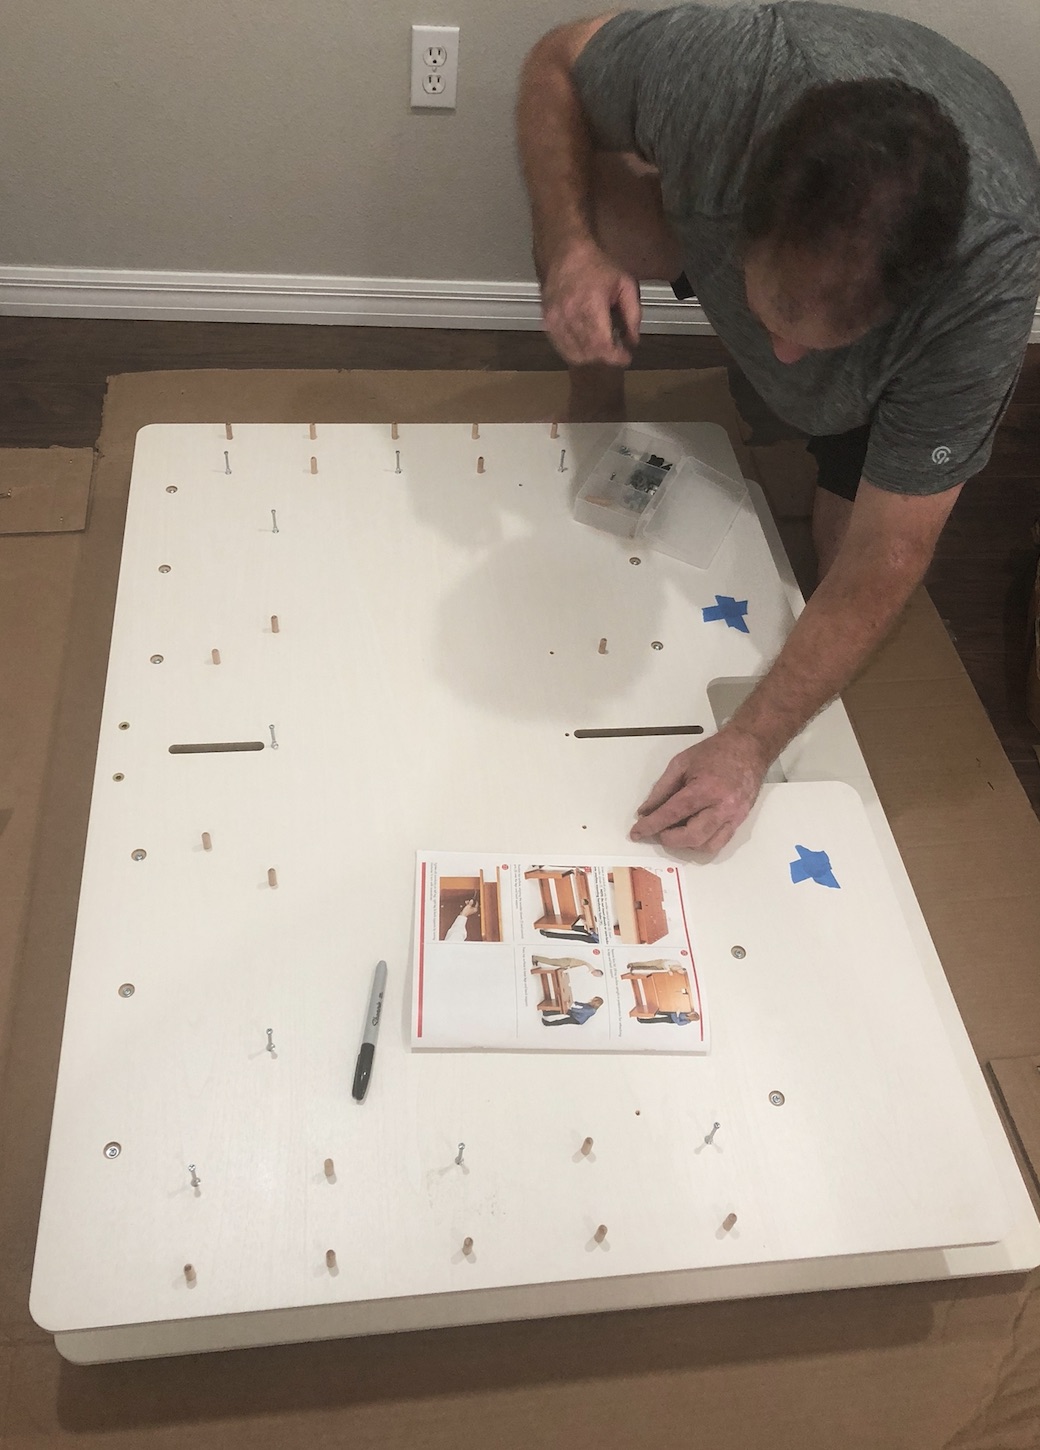
When you purchase the Q20, the price includes a lovely Koala cabinet. I chose white to blend with the other furniture and it looks great with our wooden floors. The cabinet came with detailed directions with great photos. In under 3 hours Marv put the whole thing together.

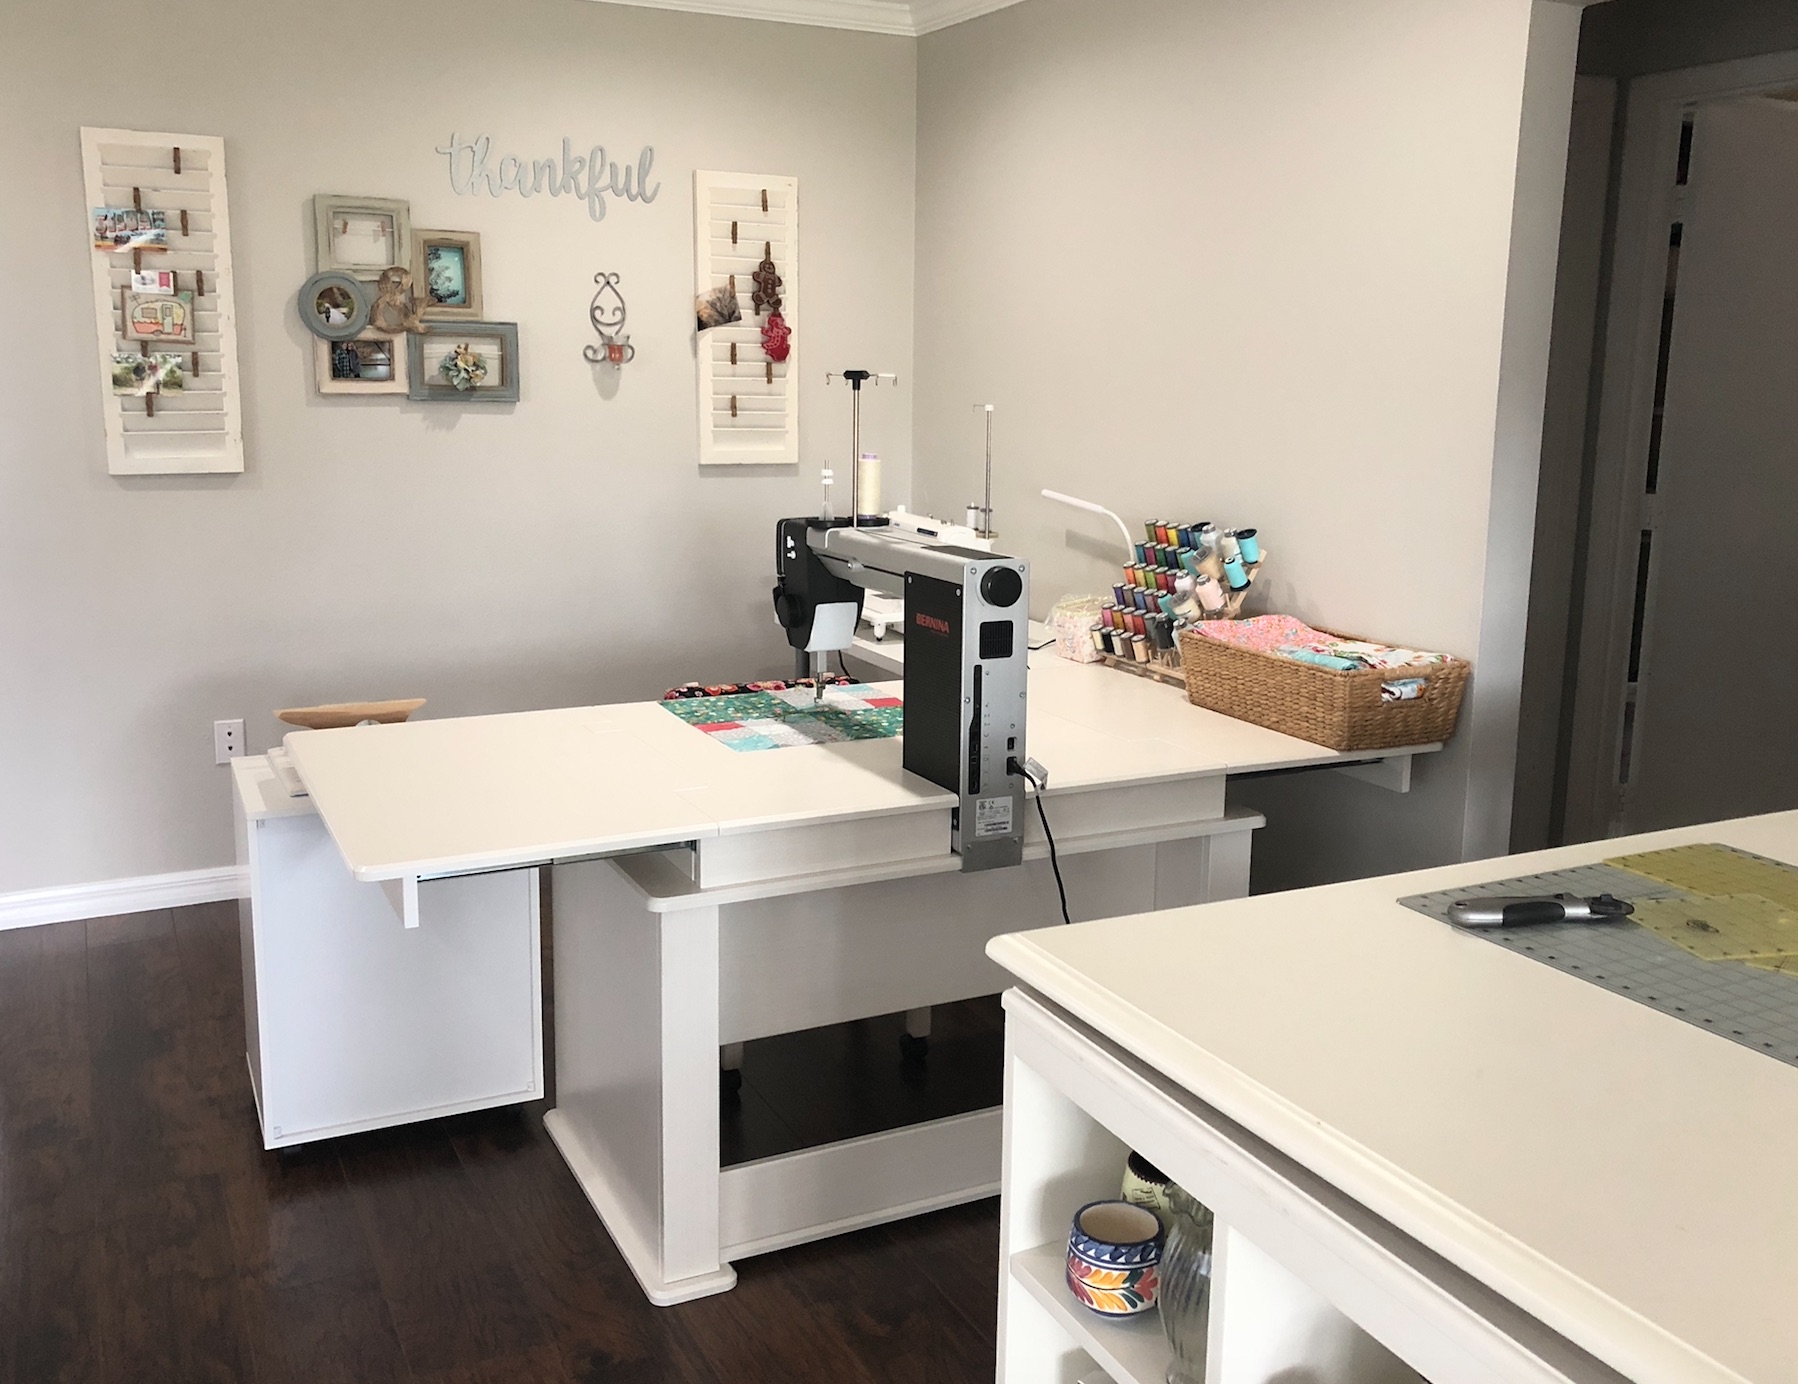
The Q20 comes with two extension leafs which you can either store inside the cabinet or add them as we did. With both the leaves inserted the table is 77” long and the perfect size for my room.

I kept one Ikea table to use with my straight stitch sewing machine and rolled my chest of drawers under the Koala cabinet. I’m loving my cozy quilting space.

I’ve had my machine about a month. Do I have any regrets with my choice of machine? Zero. It’s the right machine for me. I love the double stitch regulators!!! Now all I need is lots and lots of practice. For the first time ever, I’m looking forward to football season so I can quilt while Marv enjoys his NFL package. I am trying to master stippling and so far in the last week, not one right angle! YEAH!

After I get a little better at stippling, I’ll move on and try a different technique or give the Rulers I bought for my Q20 a go. Until next time, happy crafting! Hope Yoder.

Here's where you can find Hope:

  27

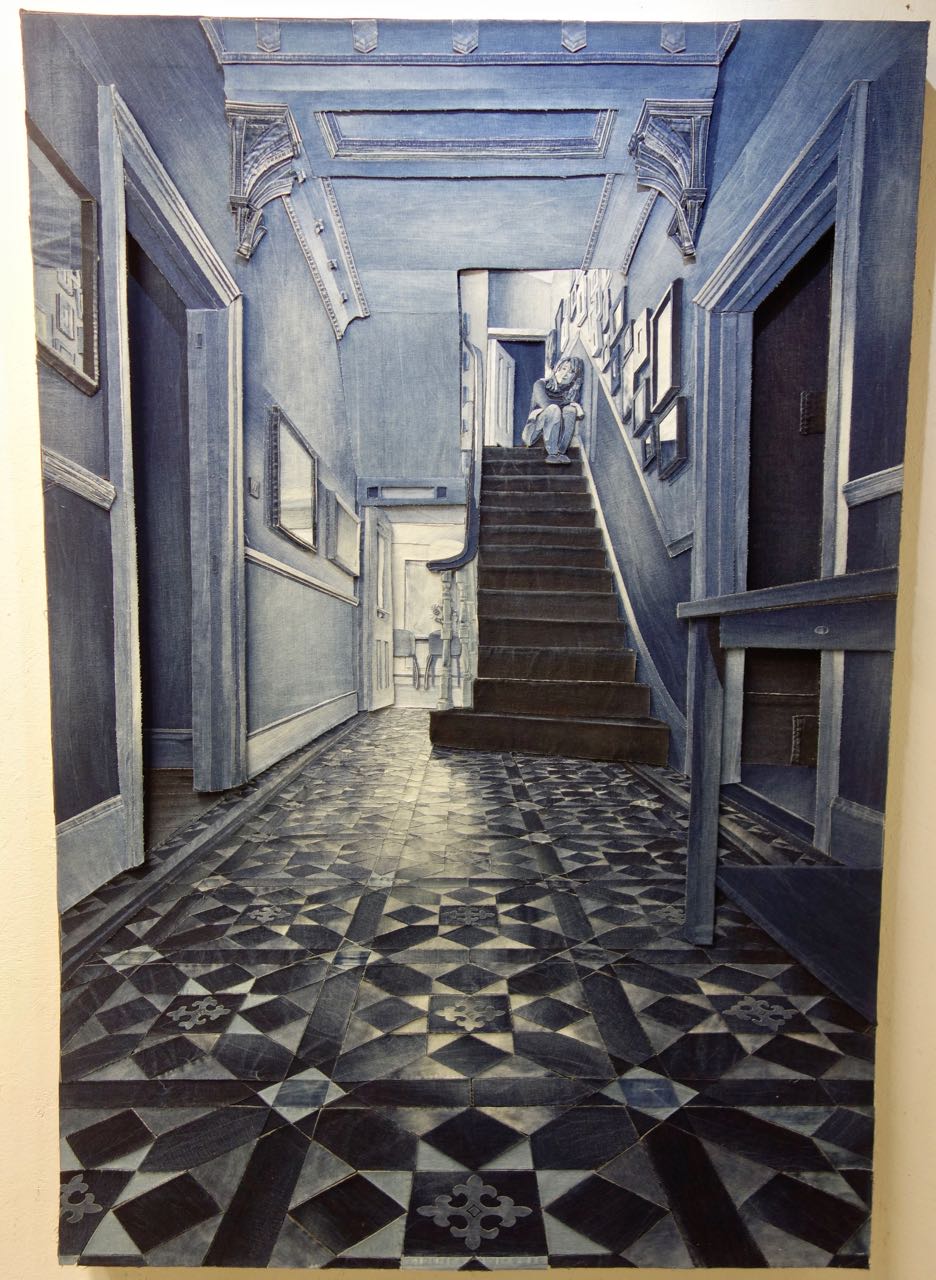
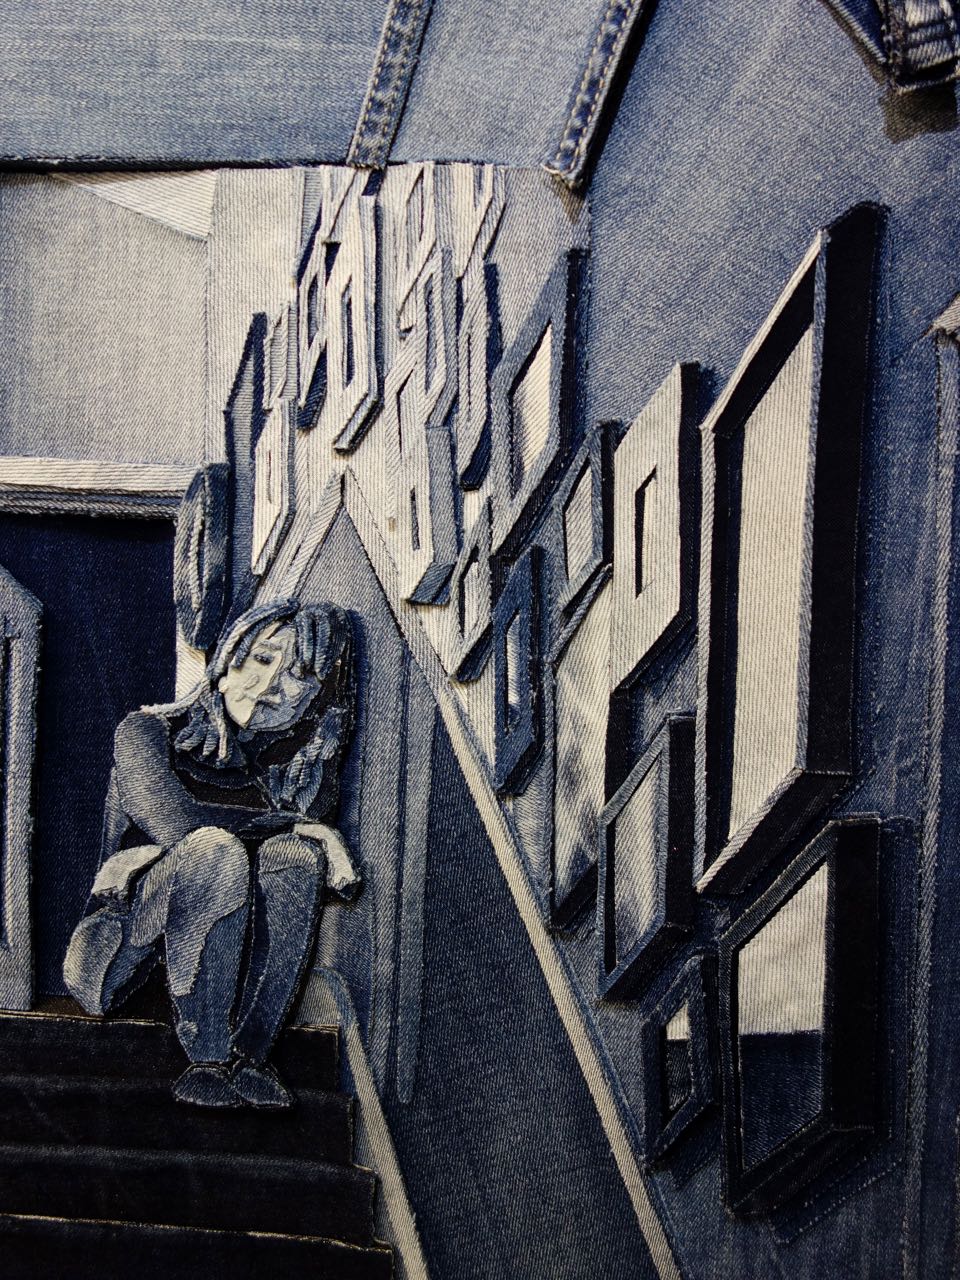
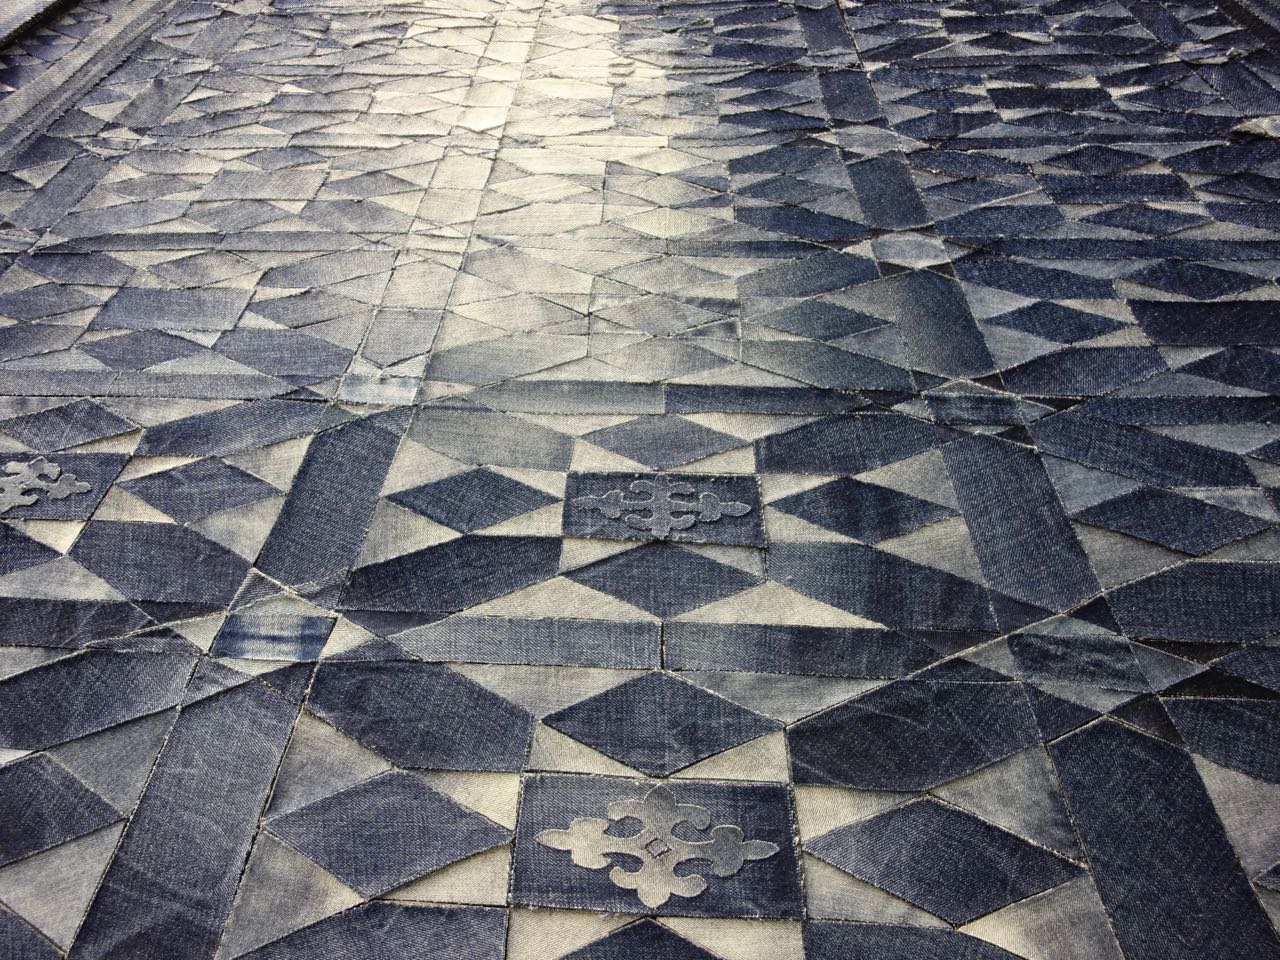
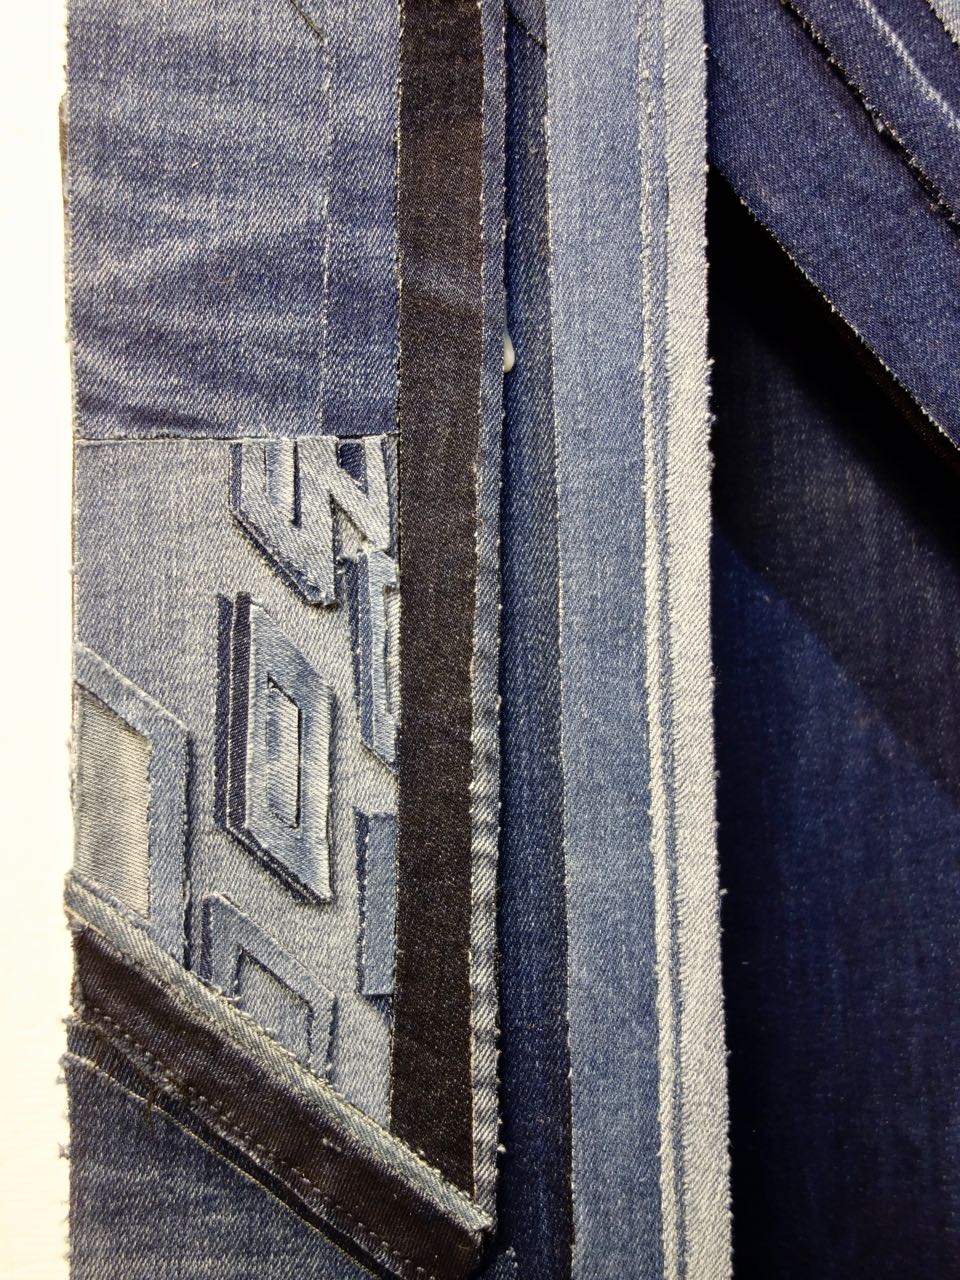
We had requests to see Ian Berry's work up close. This is one of Capt'n John's favorites of Ian's work. Look at the detail of the floor, the expression on her face, the wall sconces, and the view out the windows - all done with cut up denim. WOW! A big thank you to AQS for getting Ian into the Spring Paducah 2018 show.