Hope Yoder is back with an easy tutorial on how she made a design wall for her cozy quilting space.
First, what is a design wall? I would liken it to an old fashioned felt board. Remember the felt boards used in school or the small quiet games made of felt? A quilting design wall is usually made of cotton batting and can be on a loose portable structure or a fixed structure. How to use it. As you cut your blocks of cotton quilting fabrics you can finger press (or pin) them to the design wall and the fabric clings to the cotton batting. This allows you to rearrange your blocks, take a step back and check out your masterpiece. Arrange, step back, look and repeat.
If you search for quilting design walls, you can find a wide variety of directions on how to make them. Here, I’ll share with you how I made mine using supplies I purchased from our local Lowes store. I had plenty of wide cotton batting in my sewing room and the extra supplies I purchased at Lowes came to under $35.00.
MATERIALS USED
· Embellish™ Angel Loft Batting
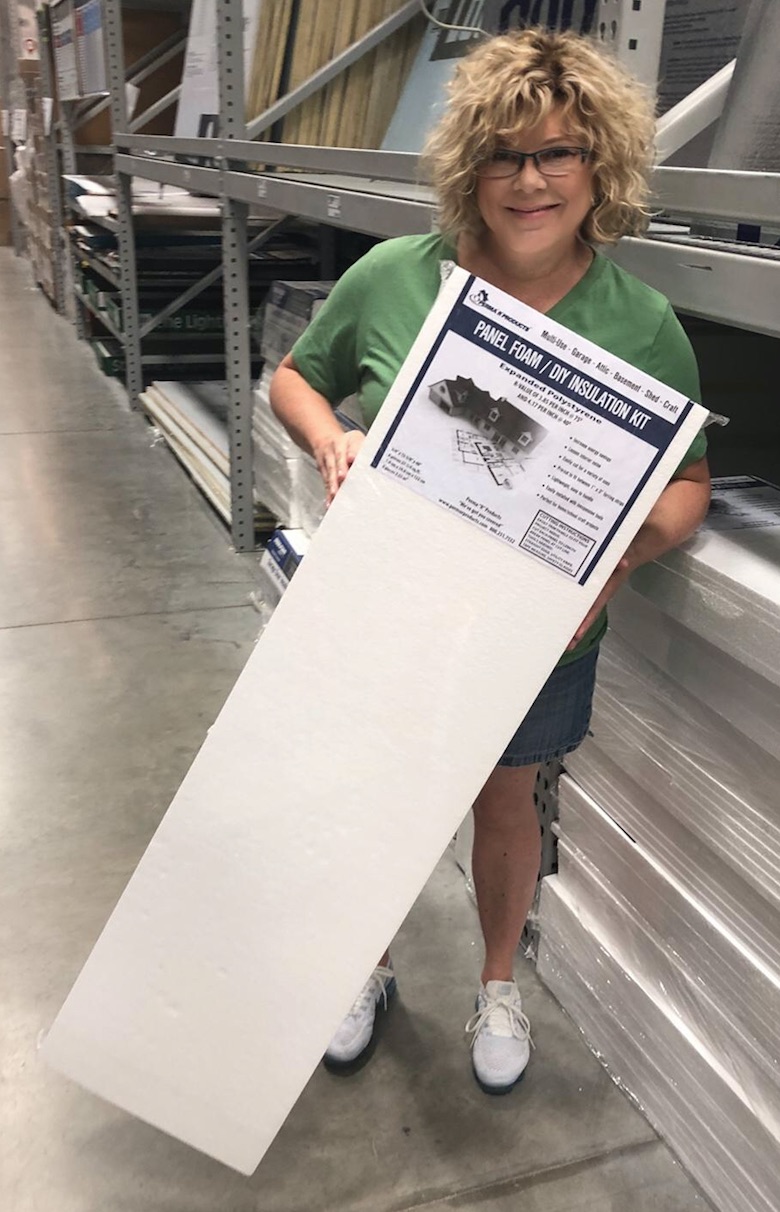
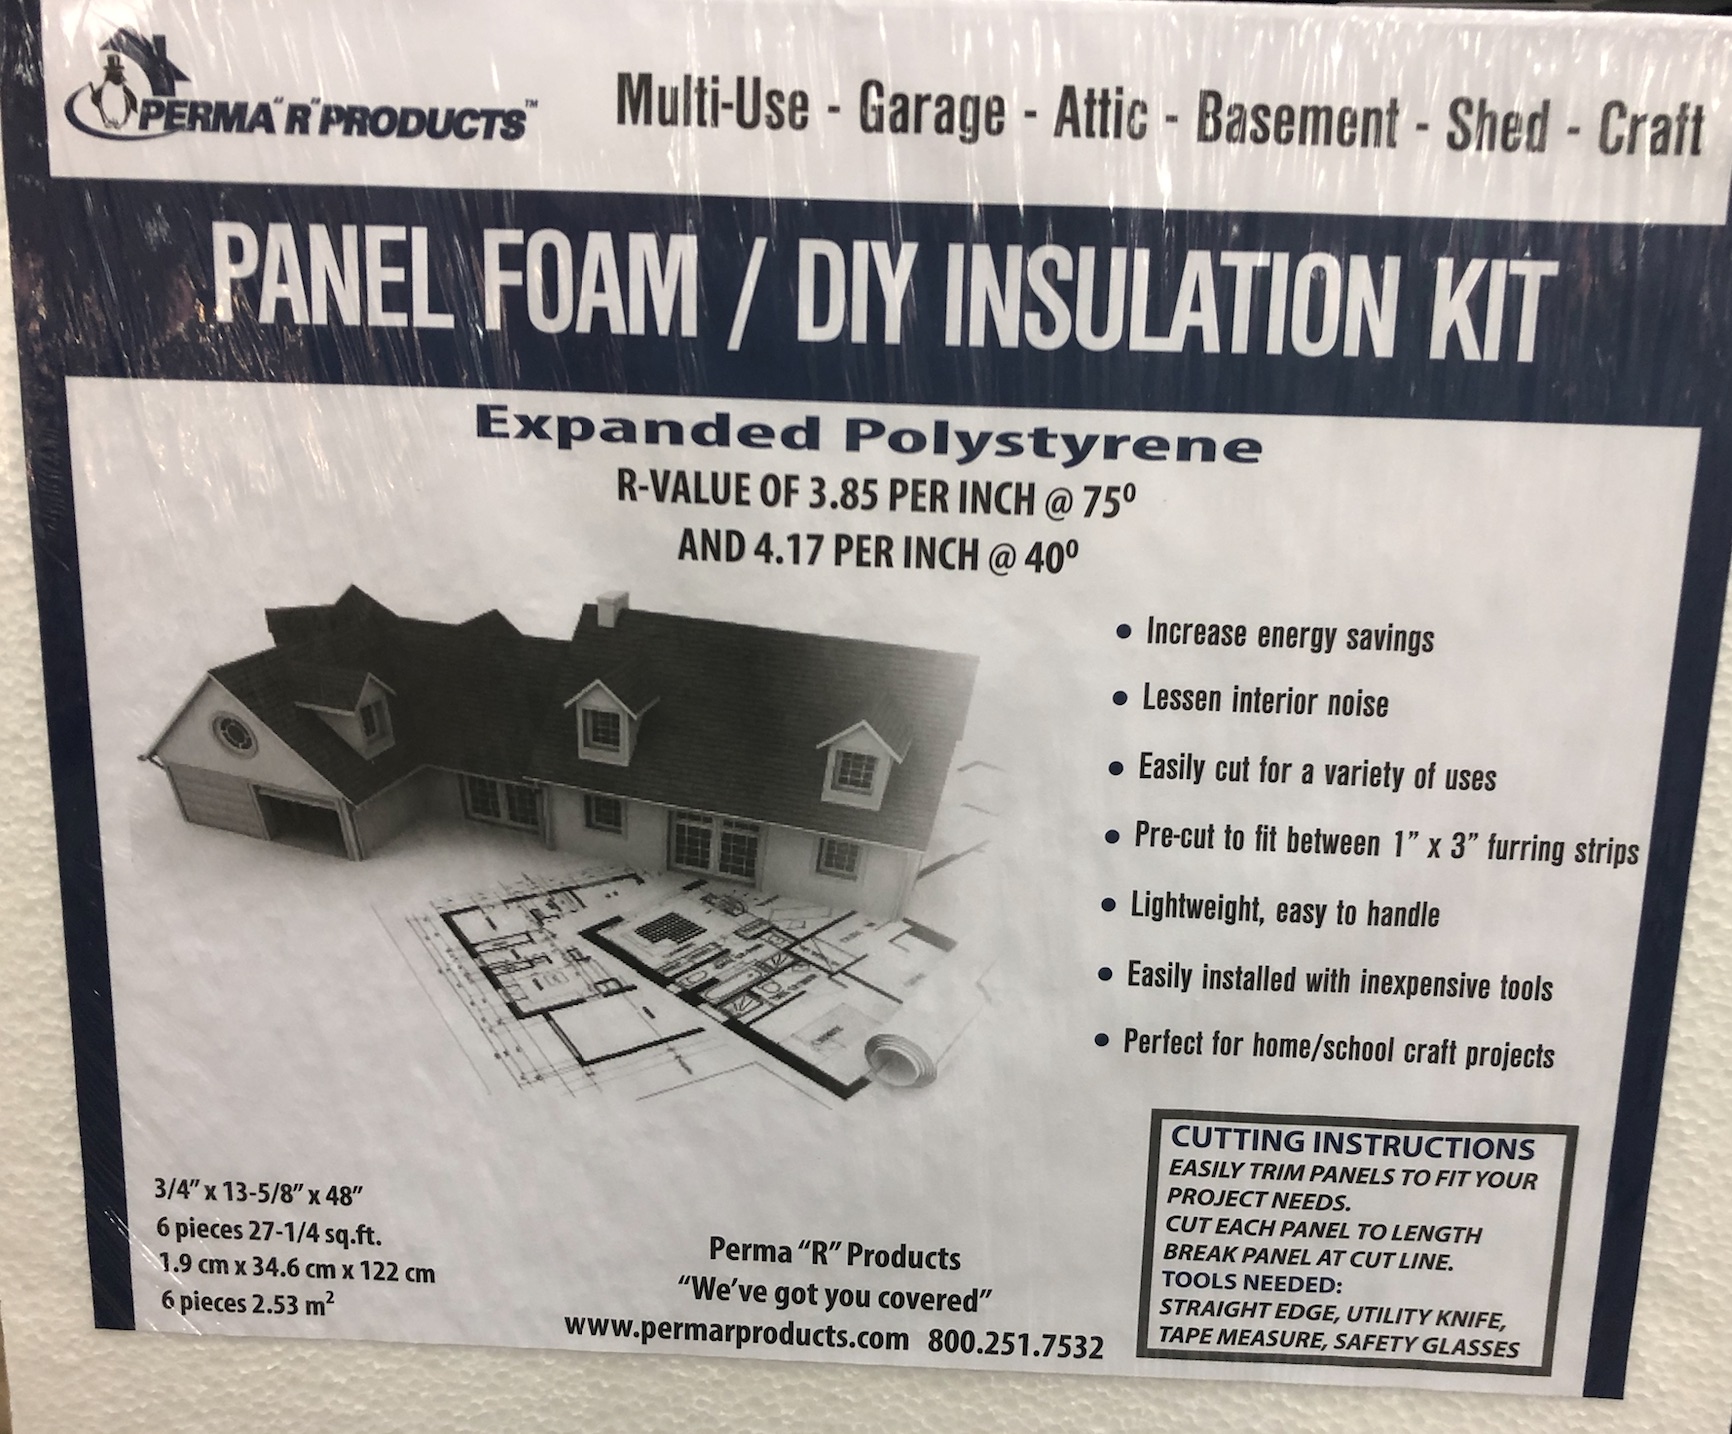
· Panel Foam/DIY Insulation Kit
· Duct Tape
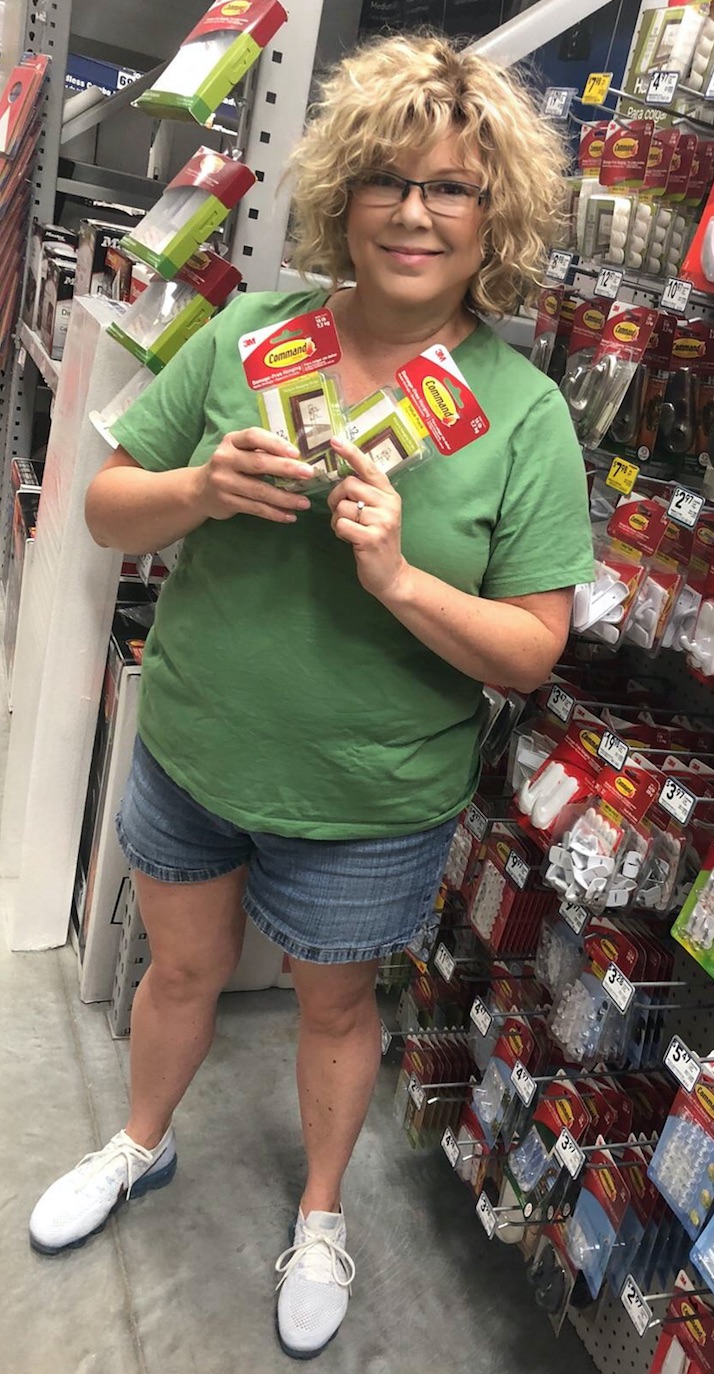
· 3M Command™ Brand Picture Hanging Strips Value Pack
· Level
DIRECTIONS
· Measure you wall space and decide how many panels you will use from the foam kit. I used 5 of the 6 panels.
· Cut pieces of batting that are 4” longer and wider than the foam.
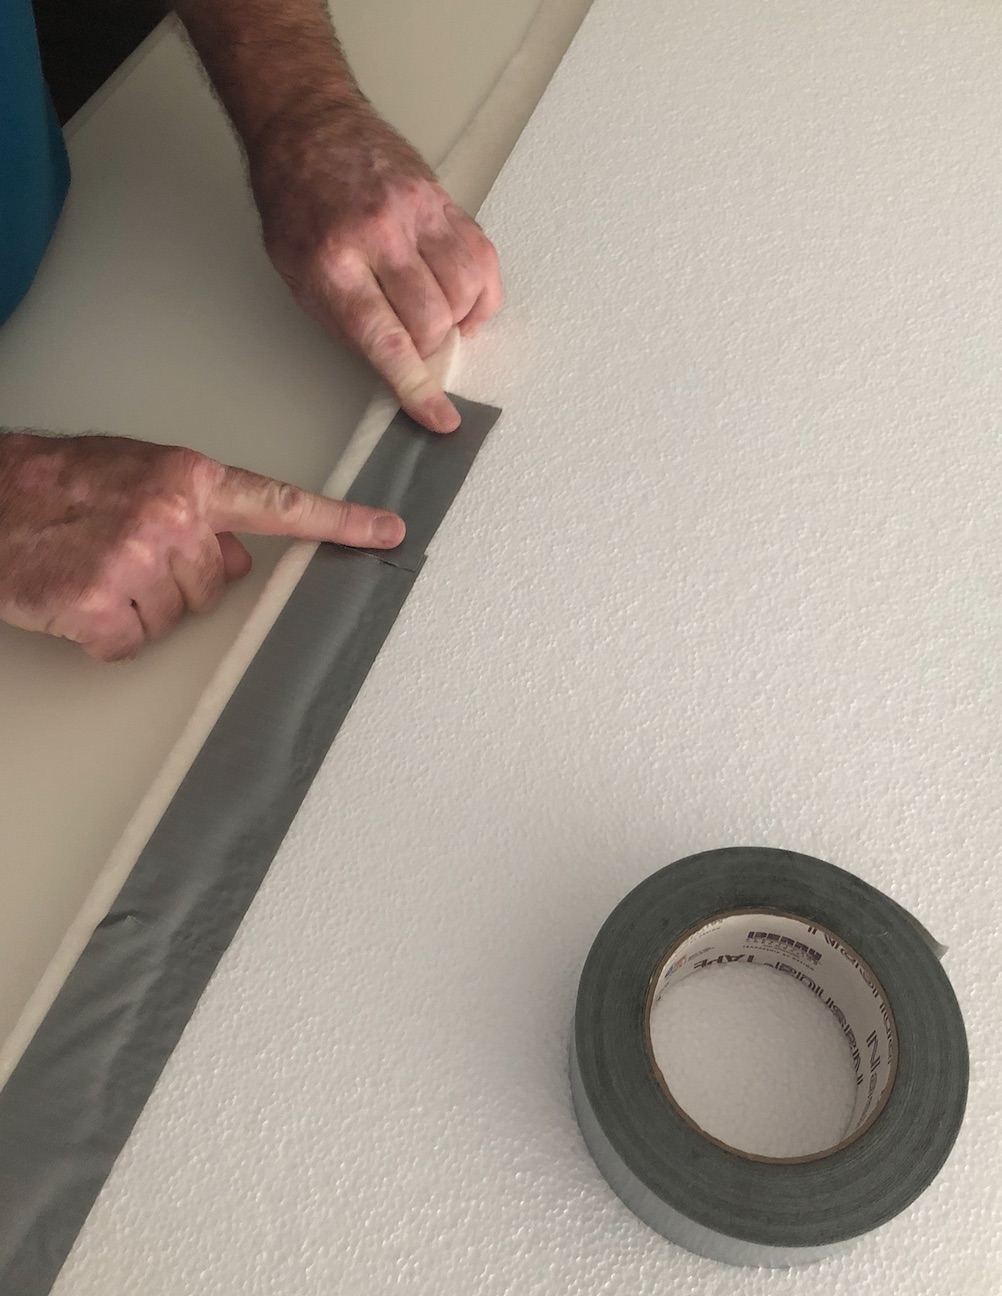
· Cover each piece of foam with batting, wrapping it to the back and have a friend help duct tape the batting on the wrong side.
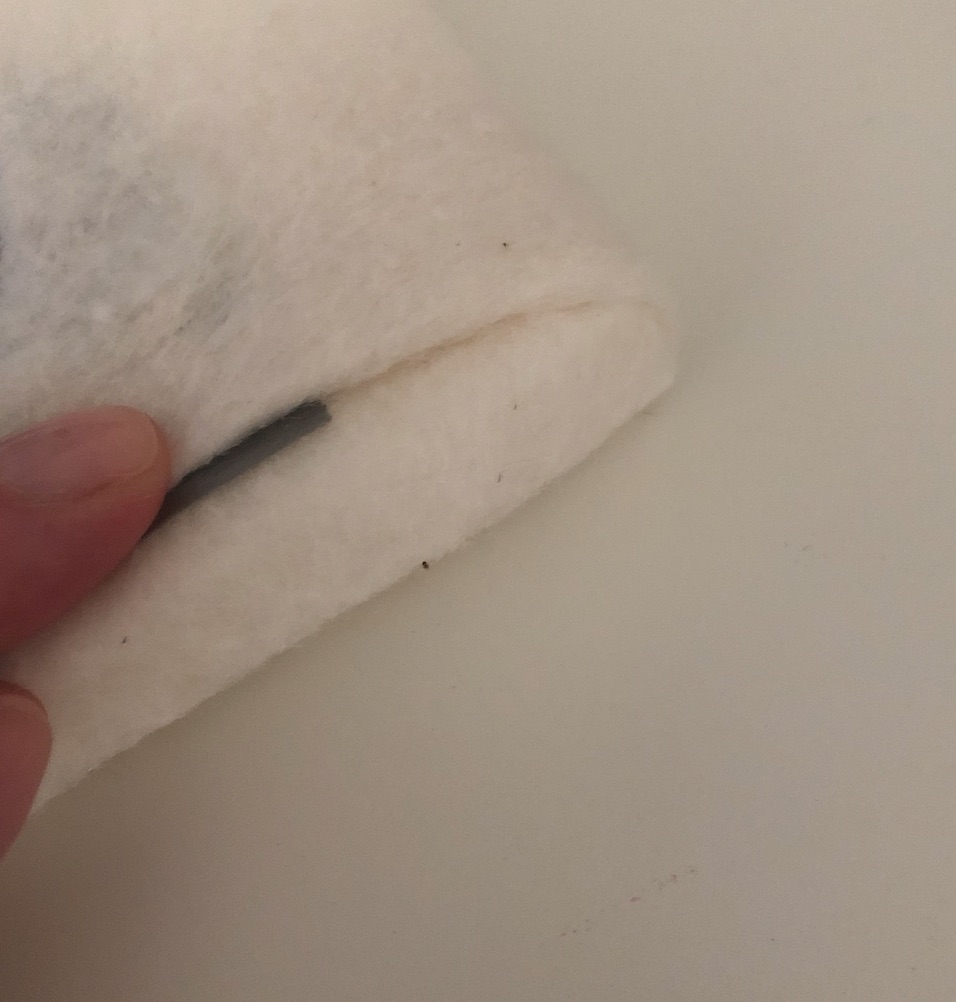
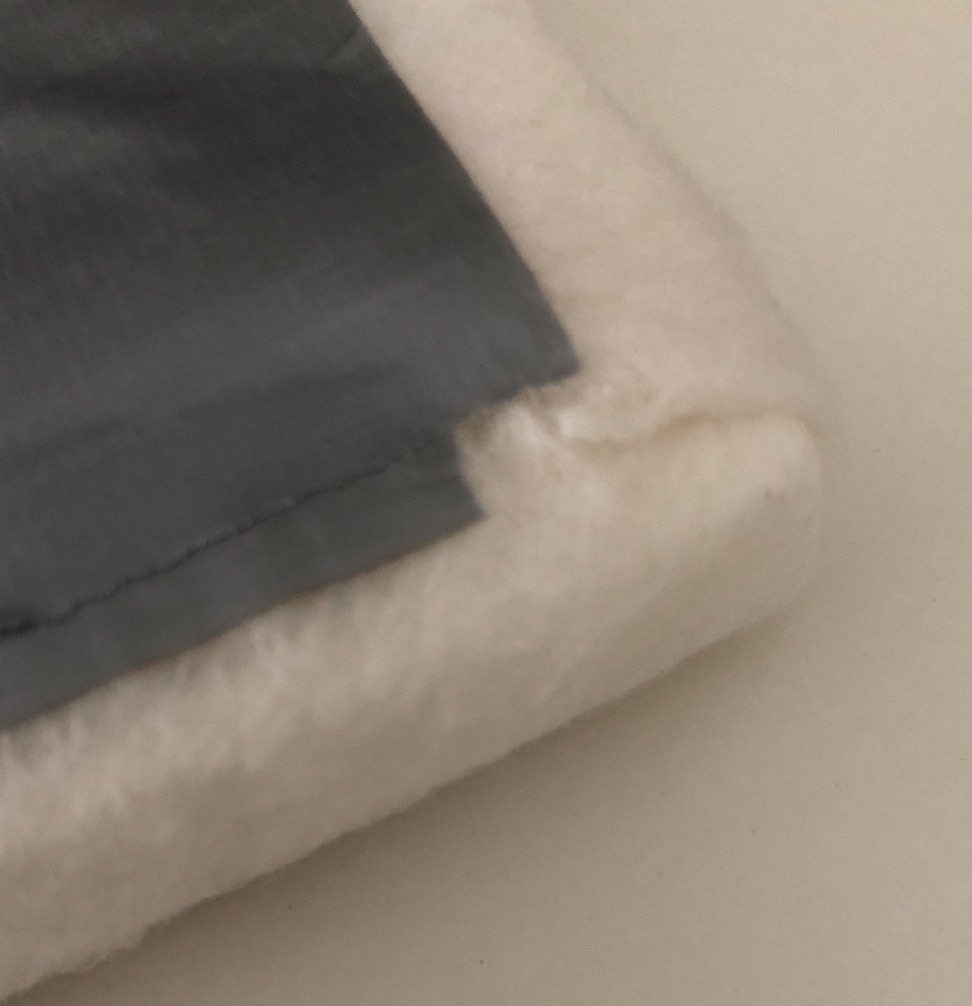
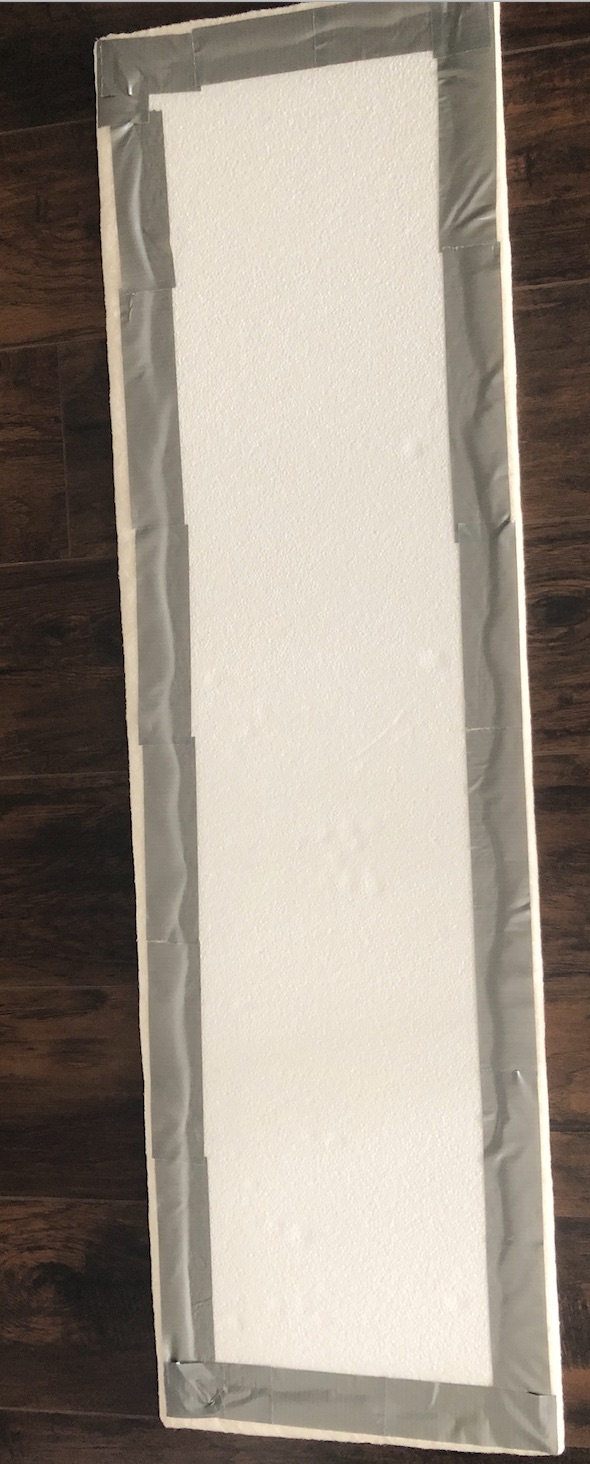
· Follow the directions on the 3M Command™ package and apply two strips at the top and two strips at the bottom of each foam panel. Remove the release paper from the 4 strips.
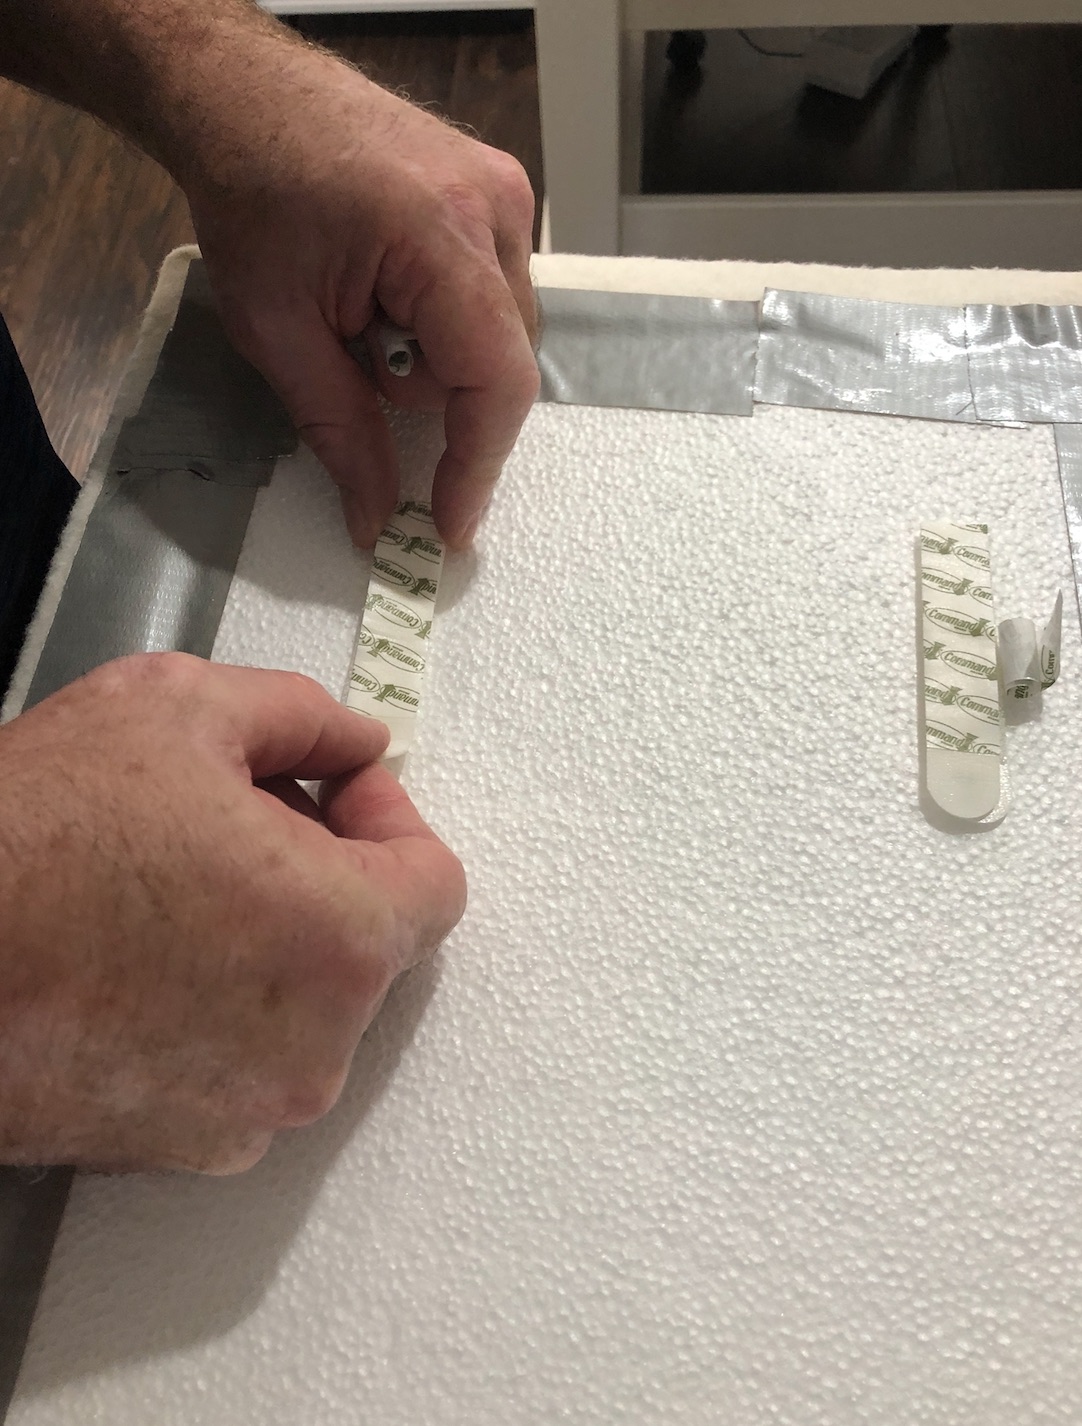
· Use a level to make sure the top of the first panel is straight before pressing the batting covered foam panel to the wall.
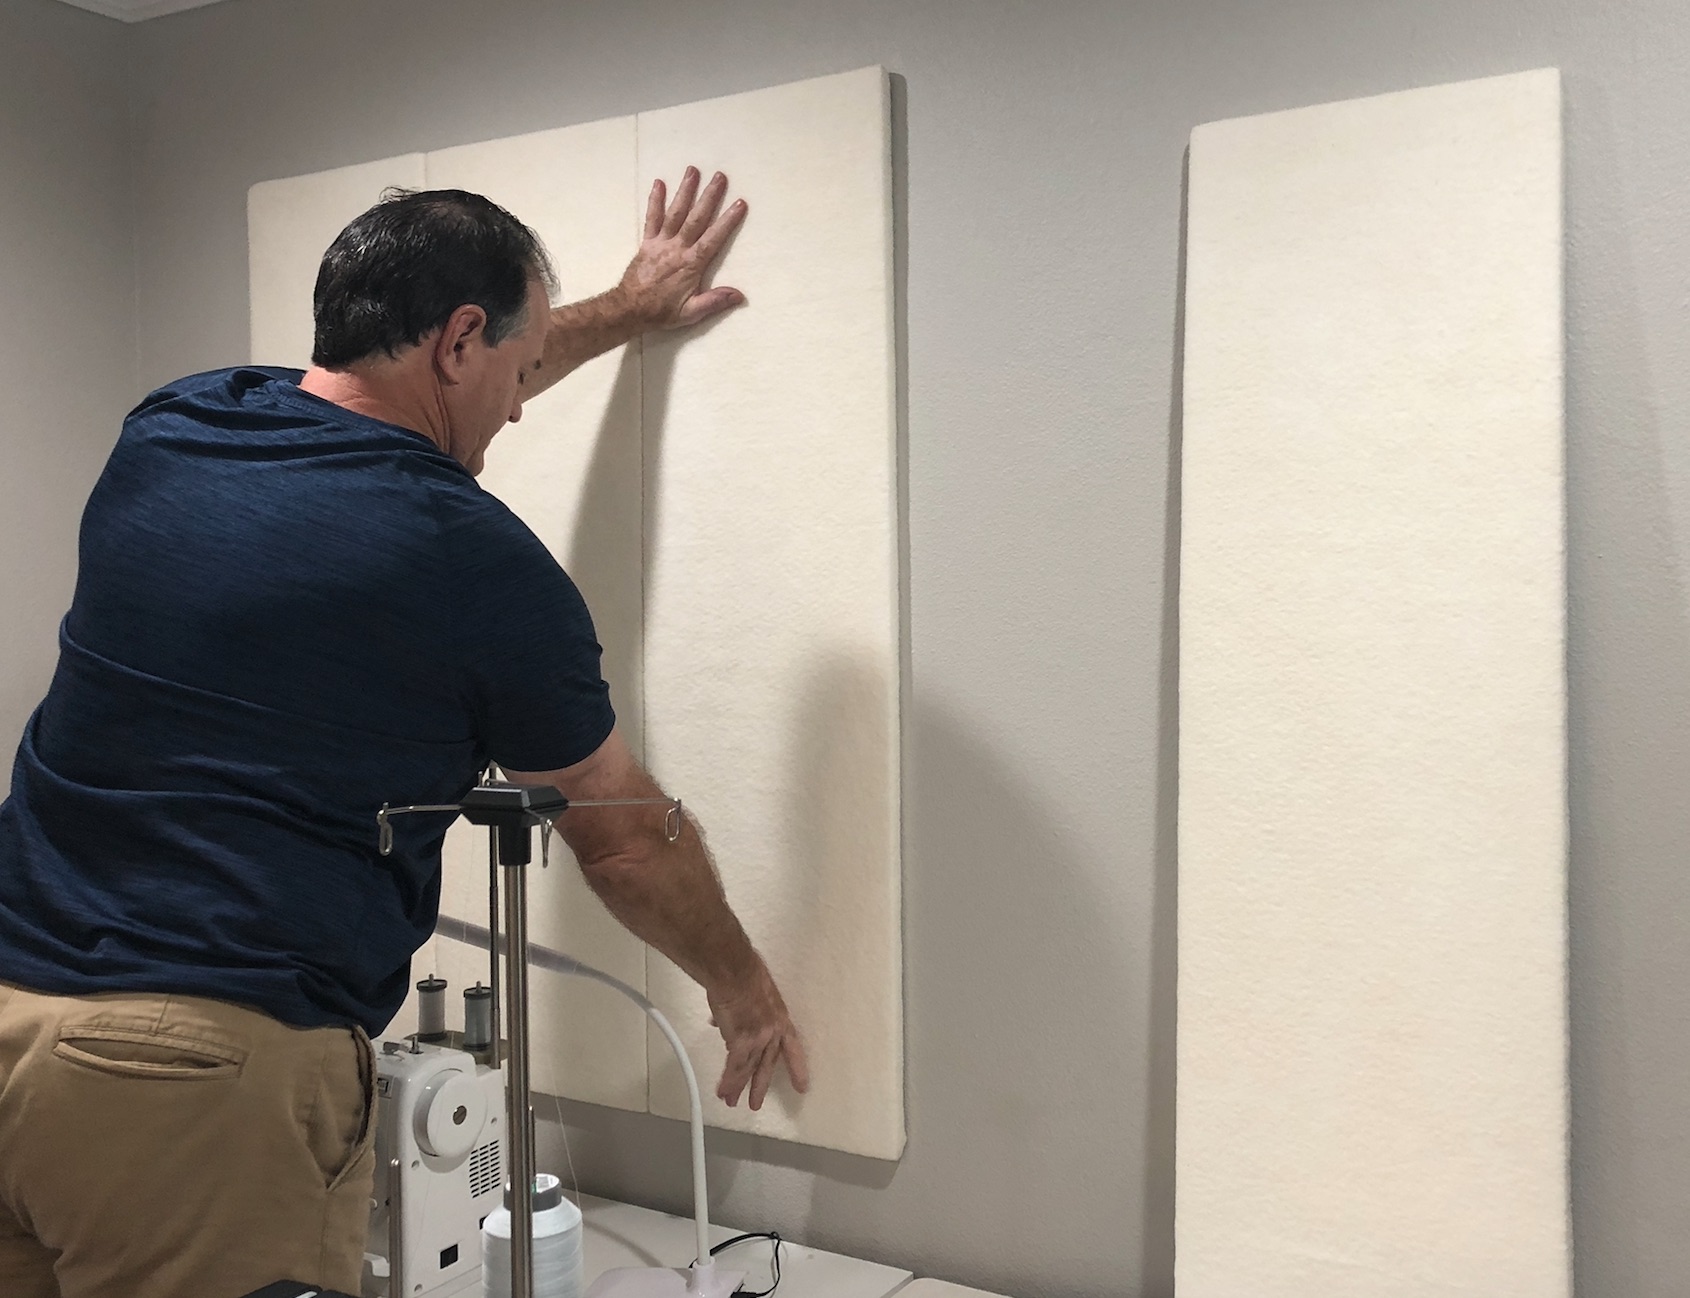
· Take each of the other panels and apply the same way, butting each piece of foam to the next.
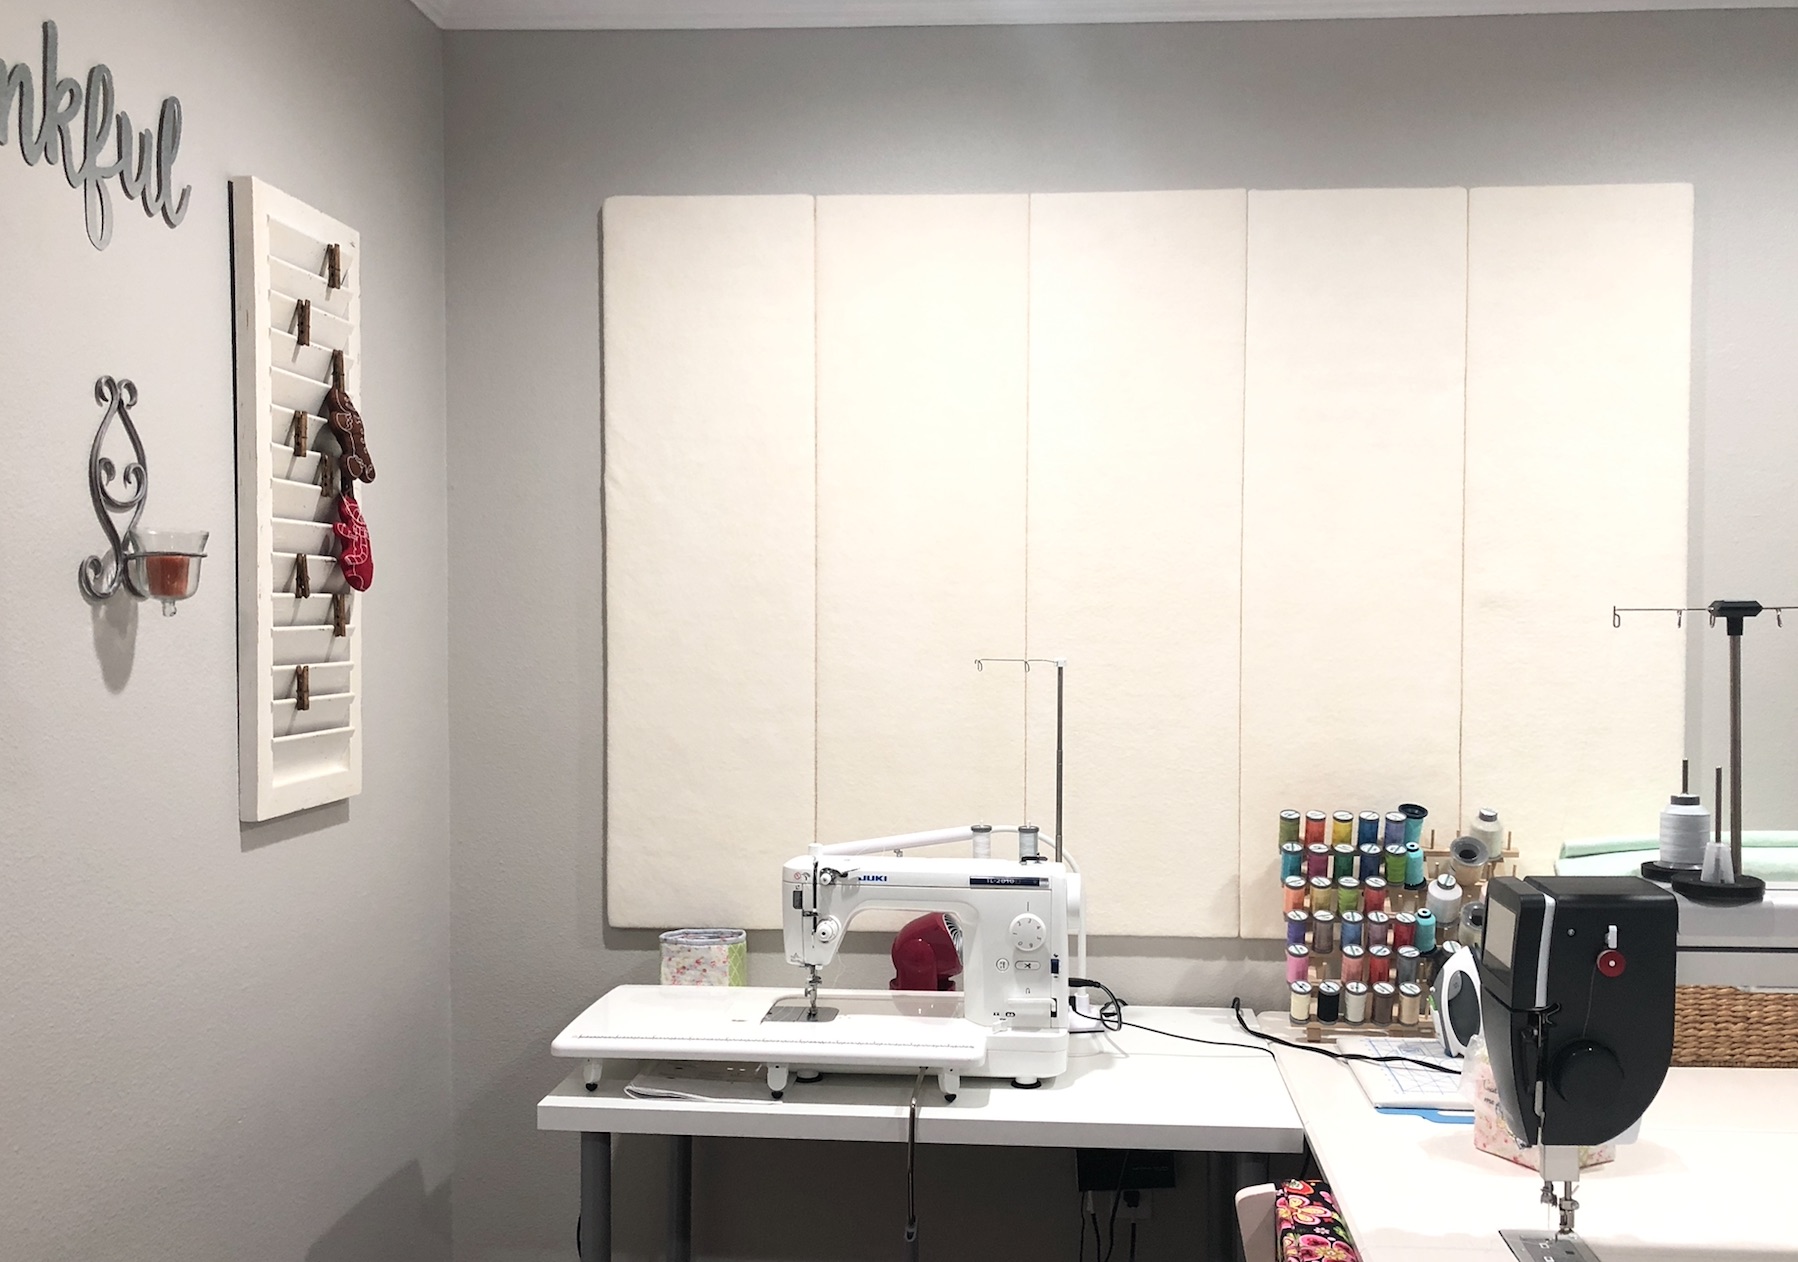
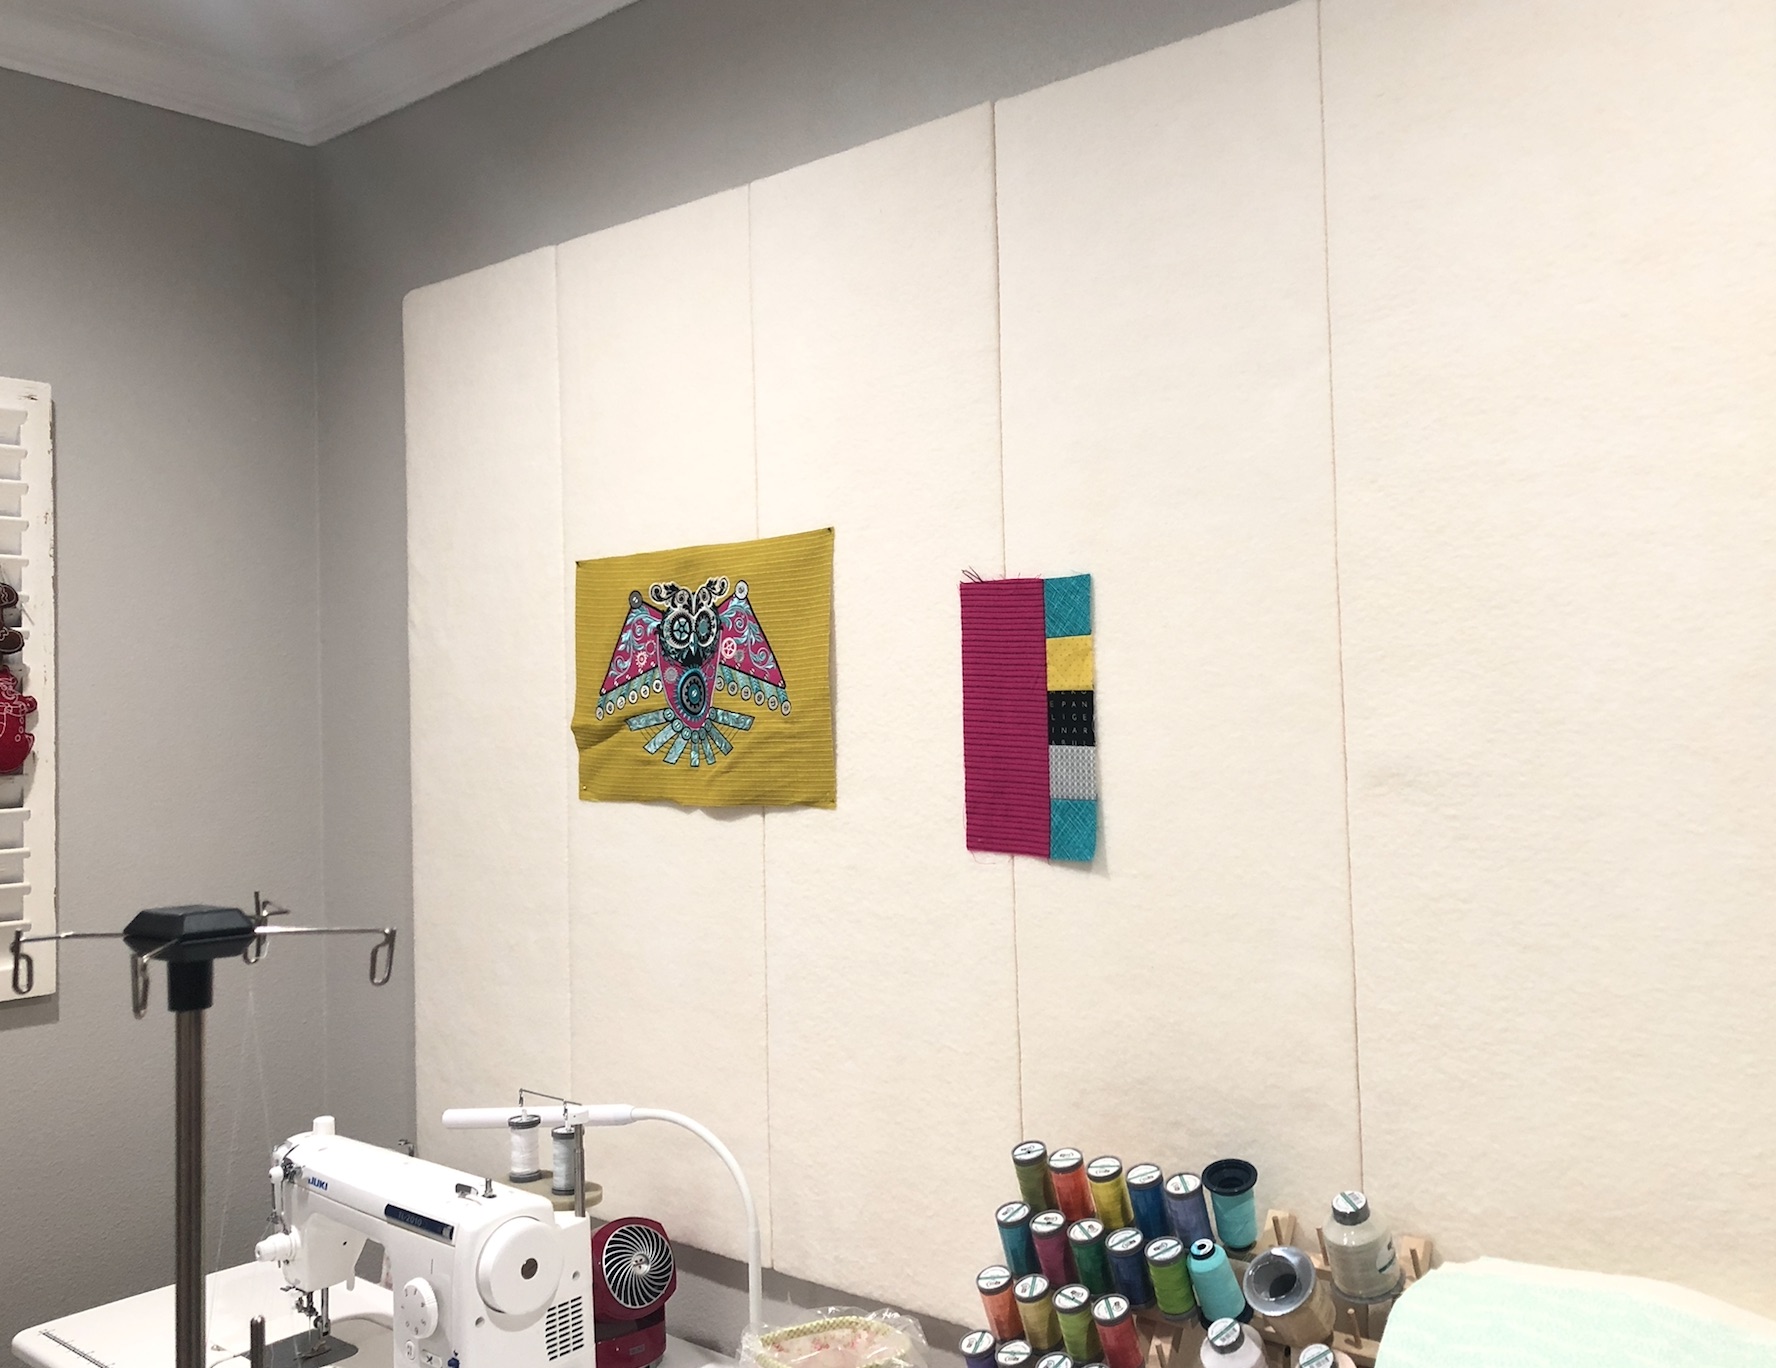
Some observations about my design wall:
· It’s nice and neat and esthetically pleasing, fitting in nicely with my cozy quilting space
· Each foam panel is wrapped individually with the batting
· Each foam panel is placed right next to the previous panel with no empty space between the panels
· The panels are super light-weight and won’t fall off the wall when using the 3M Command™ picture hanging strips.
Until next time, happy crafting! Hope Yoder.
Here's where you can find Hope:
- Website/Blog www.HopeYoder.com
- Etsy Store www.etsy.com/shop/HopeSewCreative
- Facebook www.facebook.com/hopeyoderdesigns
- Pinterest www.pinterest.com/hopeyoder
- Instagram www.instagram.com/hopesewcreative
- YouTube https://www.youtube.com/user/hopeyoder


.jpg)
The small table is from Ikea. It’s a top and you pick your legs.
It is lightweight and movable. I covered it with white flannel. I can slide it under my bed when I want a clean house. I don’t have a lot of space for my sewing so everything needs to be able to be put up when I’m not sewing. The story of my life. My family is so good about my sewing but space is at a premium. I really need more space saving ideas.
The label say "12 Large Pairs" and Up To 24" x 36". I don't see a weight.
I made mine of white flannel, but didn't use the insulation panels. I love seeing another way, and may use it if I decide to change. I made buttonholes in the flannel, and hooks. I can take it down with no mess, muss or fuss!
RSS feed for comments to this post