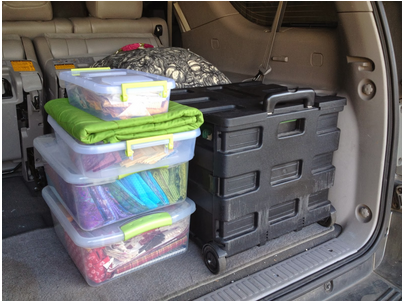
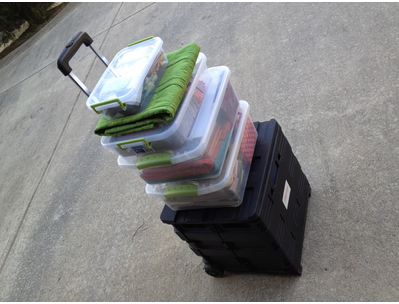
(Packed for a weekend retreat. Butterflythreads)
Raise your hand if this scenario sounds familiar? You are signed up for a quilt class or workshop this weekend, and need to bring a fairly wide range of items. It's the night before and you are madly trying to stuff the car with baskets of fabric, bags of batting and thread, a sewing machine, cutting mats, and other class supply items. Five or six trips later, you are exhausted, knowing that this same scene will be played out on the other end when you get to class.
This week we share creative ways to make life easier and more organized when it comes to taking your passion on the road; to class, a workshop, or on holiday.
But, before we share the ideas for packing that car, have you done the homework for that upcoming class? Here are a number of great tips to get you prepared and get ready to enjoy that class.
Sherri from A Quilting Life has some great Quilt Retreat/Class tips:
- First...and I have learned this the hard way...begin to pack and prepare for your trip at least a few days in advance (a week is better)! I was up late into the evening last week cutting fabrics for a project I wanted to take. I should have done that earlier!
- Separate projects into easy-to-take bins or project bags. I had a couple of hand sewing projects in these project bags and packed my machine sewing projects in fabric bins.
- Do a basic run-through of your sewing machine before packing it up. Clean the lint from the bobbin case and oil your machine. This is especially important if you have a travel machine you only use occasionally.
- Change the needle in your machine and bring a few spares and variety of sizes..
- Fill plenty of bobbins so you don't have to spend precious retreat sewing time doing that. It's also good to take along some of your colored bobbins. While you might not need them for machine work...they are great to have if you are doing any appliqué or hand work so that you have a bigger selection of colors to choose from. It's much easier to travel with bobbins than spools!
- Change the blade on your rotary cutter. I've learned this from experience, too!
- Bring the extra feet for your machine. I also keep spare needles in the case with the specialty feet.
- Pack as many of your sewing notions as you can into a bag or container (I love my Sew Together bag for this). I have scissors, small rulers, paper piecing supplies, marking pencils, pins and needles in here. My rotary cutter fits in here as well!
-
Take a small travel iron and pressing station if possible. I absolutely love my Rowenta DA1560 Travel-Ready Compact Steam Iron with 200-Hole Stainless Steel Soleplate, 1000-Watt, Purple
. I've had it several years now and it's going strong. You can use it with steam or without. I know there are newer, smaller models available now, but honestly, some of the students had those smaller irons in my classes last week, and I still thought this iron was the best.
- Iron your fabric before the retreat. This is especially important if you are using fat quarter or fat eighth bundles for your sewing. Who wants to spend precious retreat time at the ironing board?
- Cut out as much of your projects as possible. I was so happy I had done this before class...I really was able to spend nearly all of my time sewing!
- Be sure to bring extras of the fabrics you are using including extra yardage of your background fabrics. I was missing a 1 1/2" x 1 1/2" square for one of my projects. Luckily, my roommate had brought along some of the same fabric so I didn't need to stop working on that.
- Bring a thread catcher. Sometimes there aren't enough trash cans in the hotel room if you have more than one person sewing. It's also a good idea to have your own for the classroom space.
- Bring scissors for paper. This is a lesson I just learned. I was doing a bit of freezer paper applique' and would have had to use my good scissors if my roommate hadn't had a pair of paper scissors!
- Bring something extra. If you have everything pre-cut, prepared, and ready to go you will be surprised at how much you can get accomplished. I actually wished I had brought one more project this week!
Want to make life even easier, print out this handy AllPeopleQuilt Retreat Packing list
to make packing for a class/retreat a breeze.
Now, let's get back ideas for corralling your quilt class items into a more manageable system:
- Invest in a second set of tools dedicated for classes, workshops and travel. Keep these items in their 'travel containers'. That way you can just grab and go. Tupperware and Sistema offer a wide range of options.
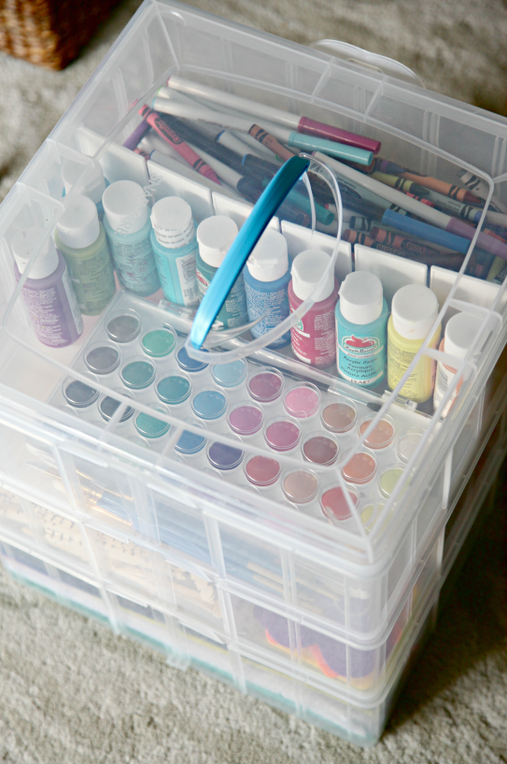
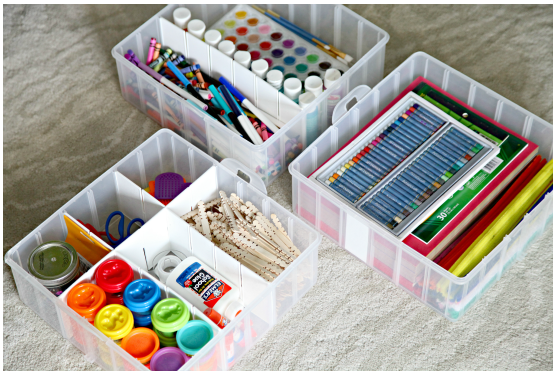
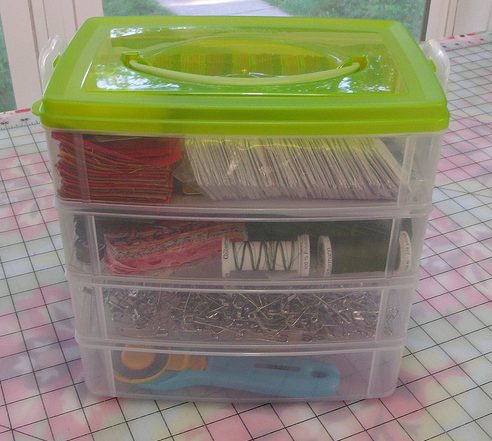
- Utilize stacking, nesting or drawer style portable storage systems that contain everything in one unit. The Minneapolis Modern Quilt Guild showed how you can get an entire project in one multi-drawer Snapware system.
- Visit shops that offer alternative organization systems such as office and kitchen supply, hardware or specialized organization stores (i.e. The Container Store, Ikea). Just because a product was designed for the kitchen, doesn't mean that it wouldn't work for your quilting tools/supplies. Walk around each department keeping a look out for items that can help YOU. Remember, blue painter's tape was never designed with quilting in mind.
Here are some great ways to get organized for your next class.
1. 2.
2.
3.
 4.
4. 
5. 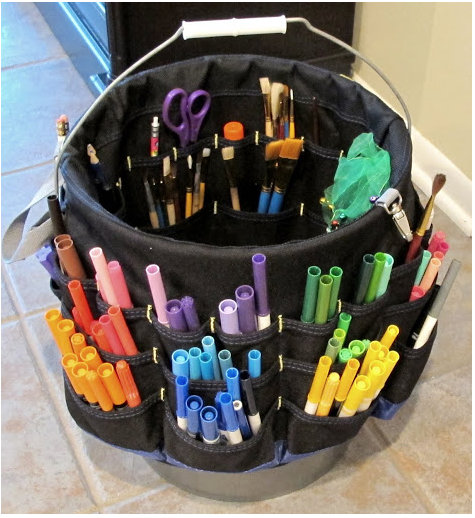 6.
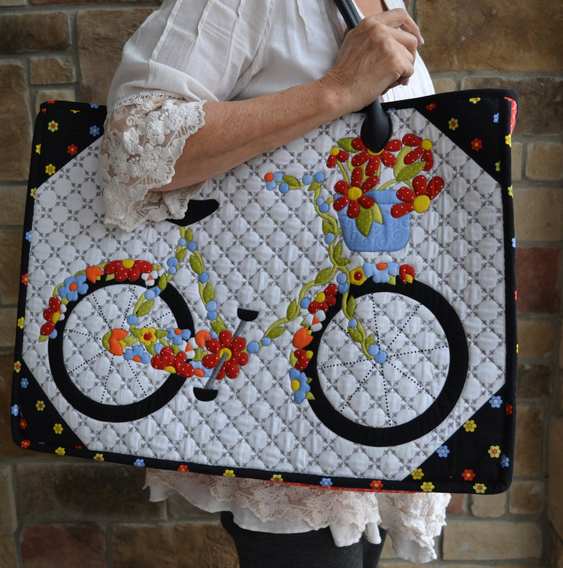
6. 
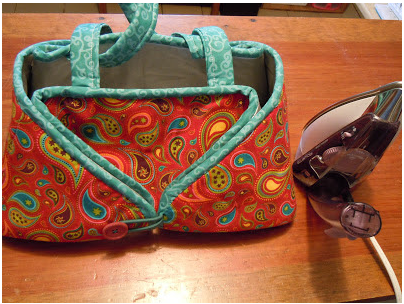
7. 
8. 
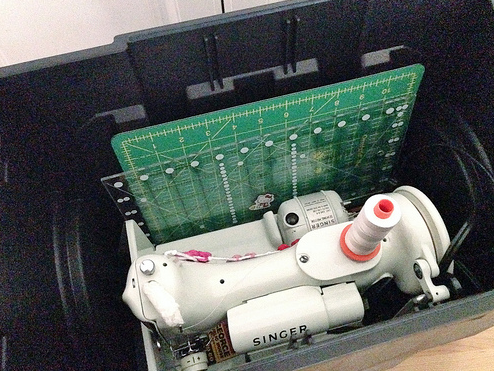
9.
10.  11.
11. 
1. Harbour Freight carrying case. Myflowerjournal
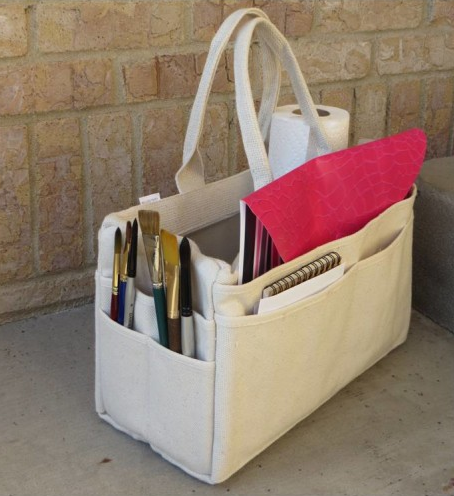
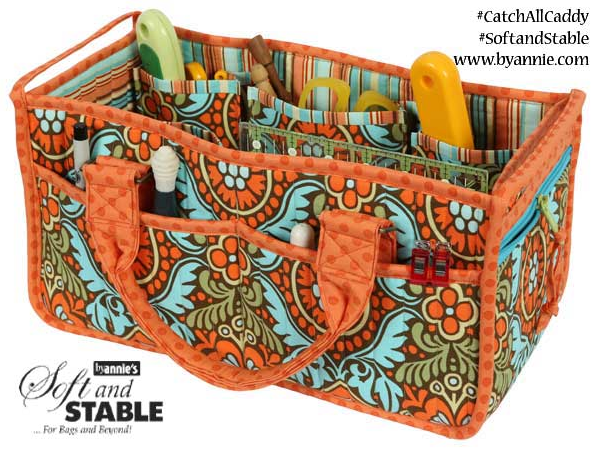
2. Catch all caddy. ByAnnie
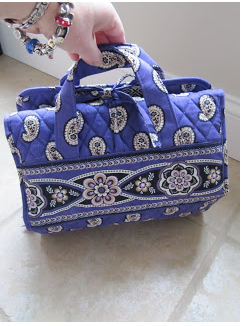
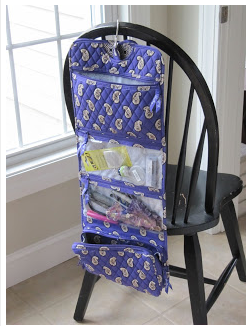
3. Travel cosmetic bag. Sewmanyways
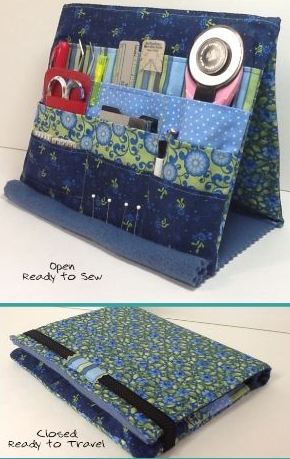
4. Table top easel style tool holder. Sewtogether
5. Hardware store bucket tote. Creativeexchange
6. Tote and Go for your rotary mat. JillilyStudio
7. All-in-one Travel Iron Caddy and pressing mat. Thepaintedquilt
8. Rolling tool cart. Happyzombie
9. Snap'N Stack organizer. Snapware
10. Organizer caddy with tray inserts. Snapware
11. Collapsible thread catcher. Fabrictherapy
Just joined our year of organizing? Click here for other TQS Organization blogs.




.jpg)

