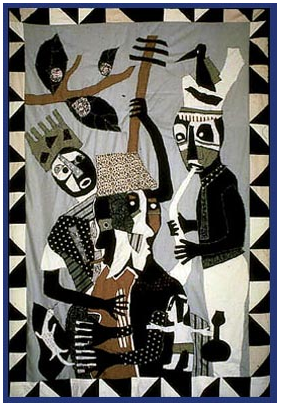
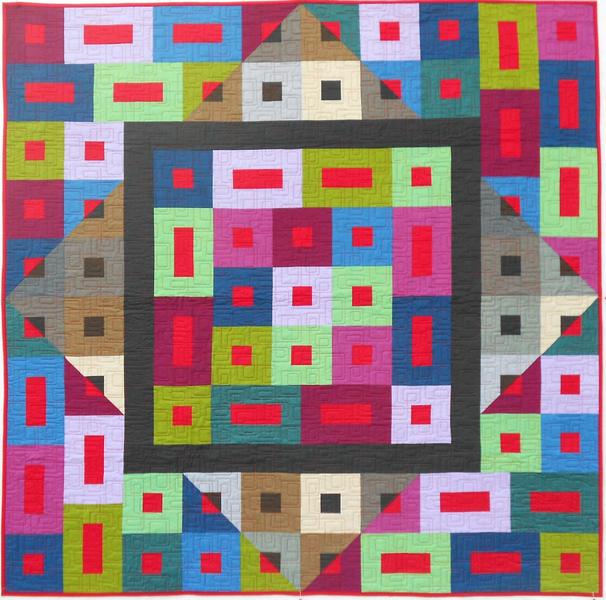
African Jazz #10 by Michael Cummings (Left) ; Square Turn by Gyleen Z. Fitzgerald (Right)
Regardless of your preferred style (traditional, contemporary, art, etc.), working with shape can make your quilts visually dynamic. Let's look at two quilt examples that use shape with stunning results. African Jazz #10 by Michael Cummings (Show 711: Quilting - Where Imagination and Reality Meet) features flat, organic hand-cut shapes surrounded by a more geometric free-form half square triangle frame. The figures, plants and instruments are layered in an overlapping collage effect, while the selection of fabrics is kept to prints and solids of black, white, brown and olive to create an overall unifying effect.
Gyleen Fitzgerald's (Show 909: Techniques, Tips...and Turning "Trash" into "Treasure", Show 1403: Build Beautiful Quilts with Butterfly Seams, and Show 2012: Modern Scrappy Quilts) Square Turn presents a more controlled and mathematical approach. Using shot cottons that read as solids, each block is cut to a specific size and shape. It is through her careful use of subtle color change within a number of the blocks that the large square on point seems to float on the surface. The eye is tricked into thinking that the two-dimensional surface is not actually flat.
Alaska quilt artist Maria Shell (Show 2208: Improv Patchwork) shares how she uses basic shapes to create visually interesting and exciting quilts.
Shape
by Maria Shell
(All images provided by Maria Shell unless otherwise noted)
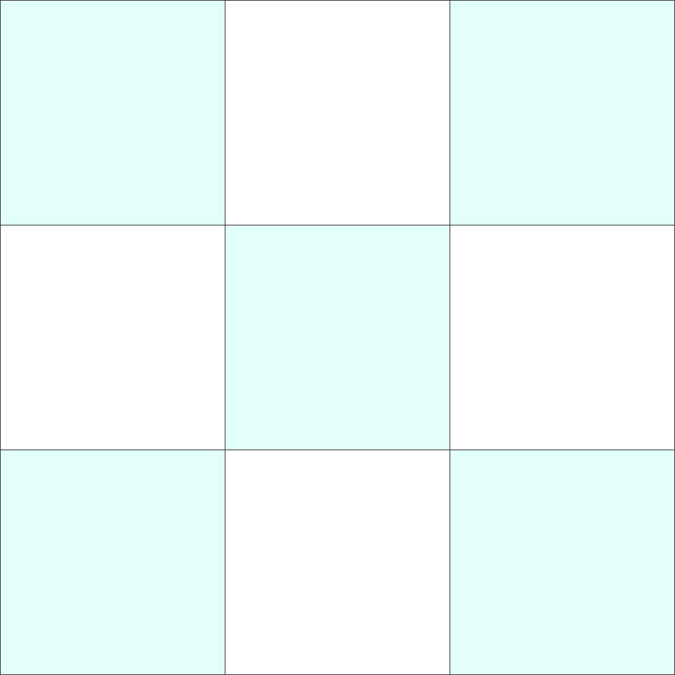
According to basic design principles, shapes are two-dimensional areas with a recognizable boundary. Any contained space can be a shape. In the traditional nine-patch block each square of the nine-patch is a shape.
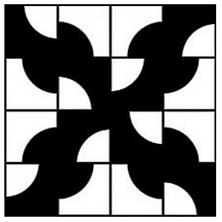
In the traditional Drunkard’s Path quilt block, the shape is the quarter circle patch of the block. One of the interesting things about shape is that when combined together, new shapes can emerge. For example if the Drunkard Path blocks are combined in an interesting fashion the other part of the quilt block can become shape too.
Shapes can be open or closed, angular or round, big or small. Shapes can be organic or inorganic. They can be free-form or geometric and ordered. I work with shape in several different ways—usually all at once—to create interest in my quilts.
First, I like to use line or pattern to create shape. Basically that means that I piece my shapes out of an assortment of fabrics instead of using just one piece of fabric. I will piece stripes, checks, polka dots. These different textures create visual interest inside of my shapes. Boulevard is essentially an elongated four patch, but I have used line and pattern to make the shapes interesting.
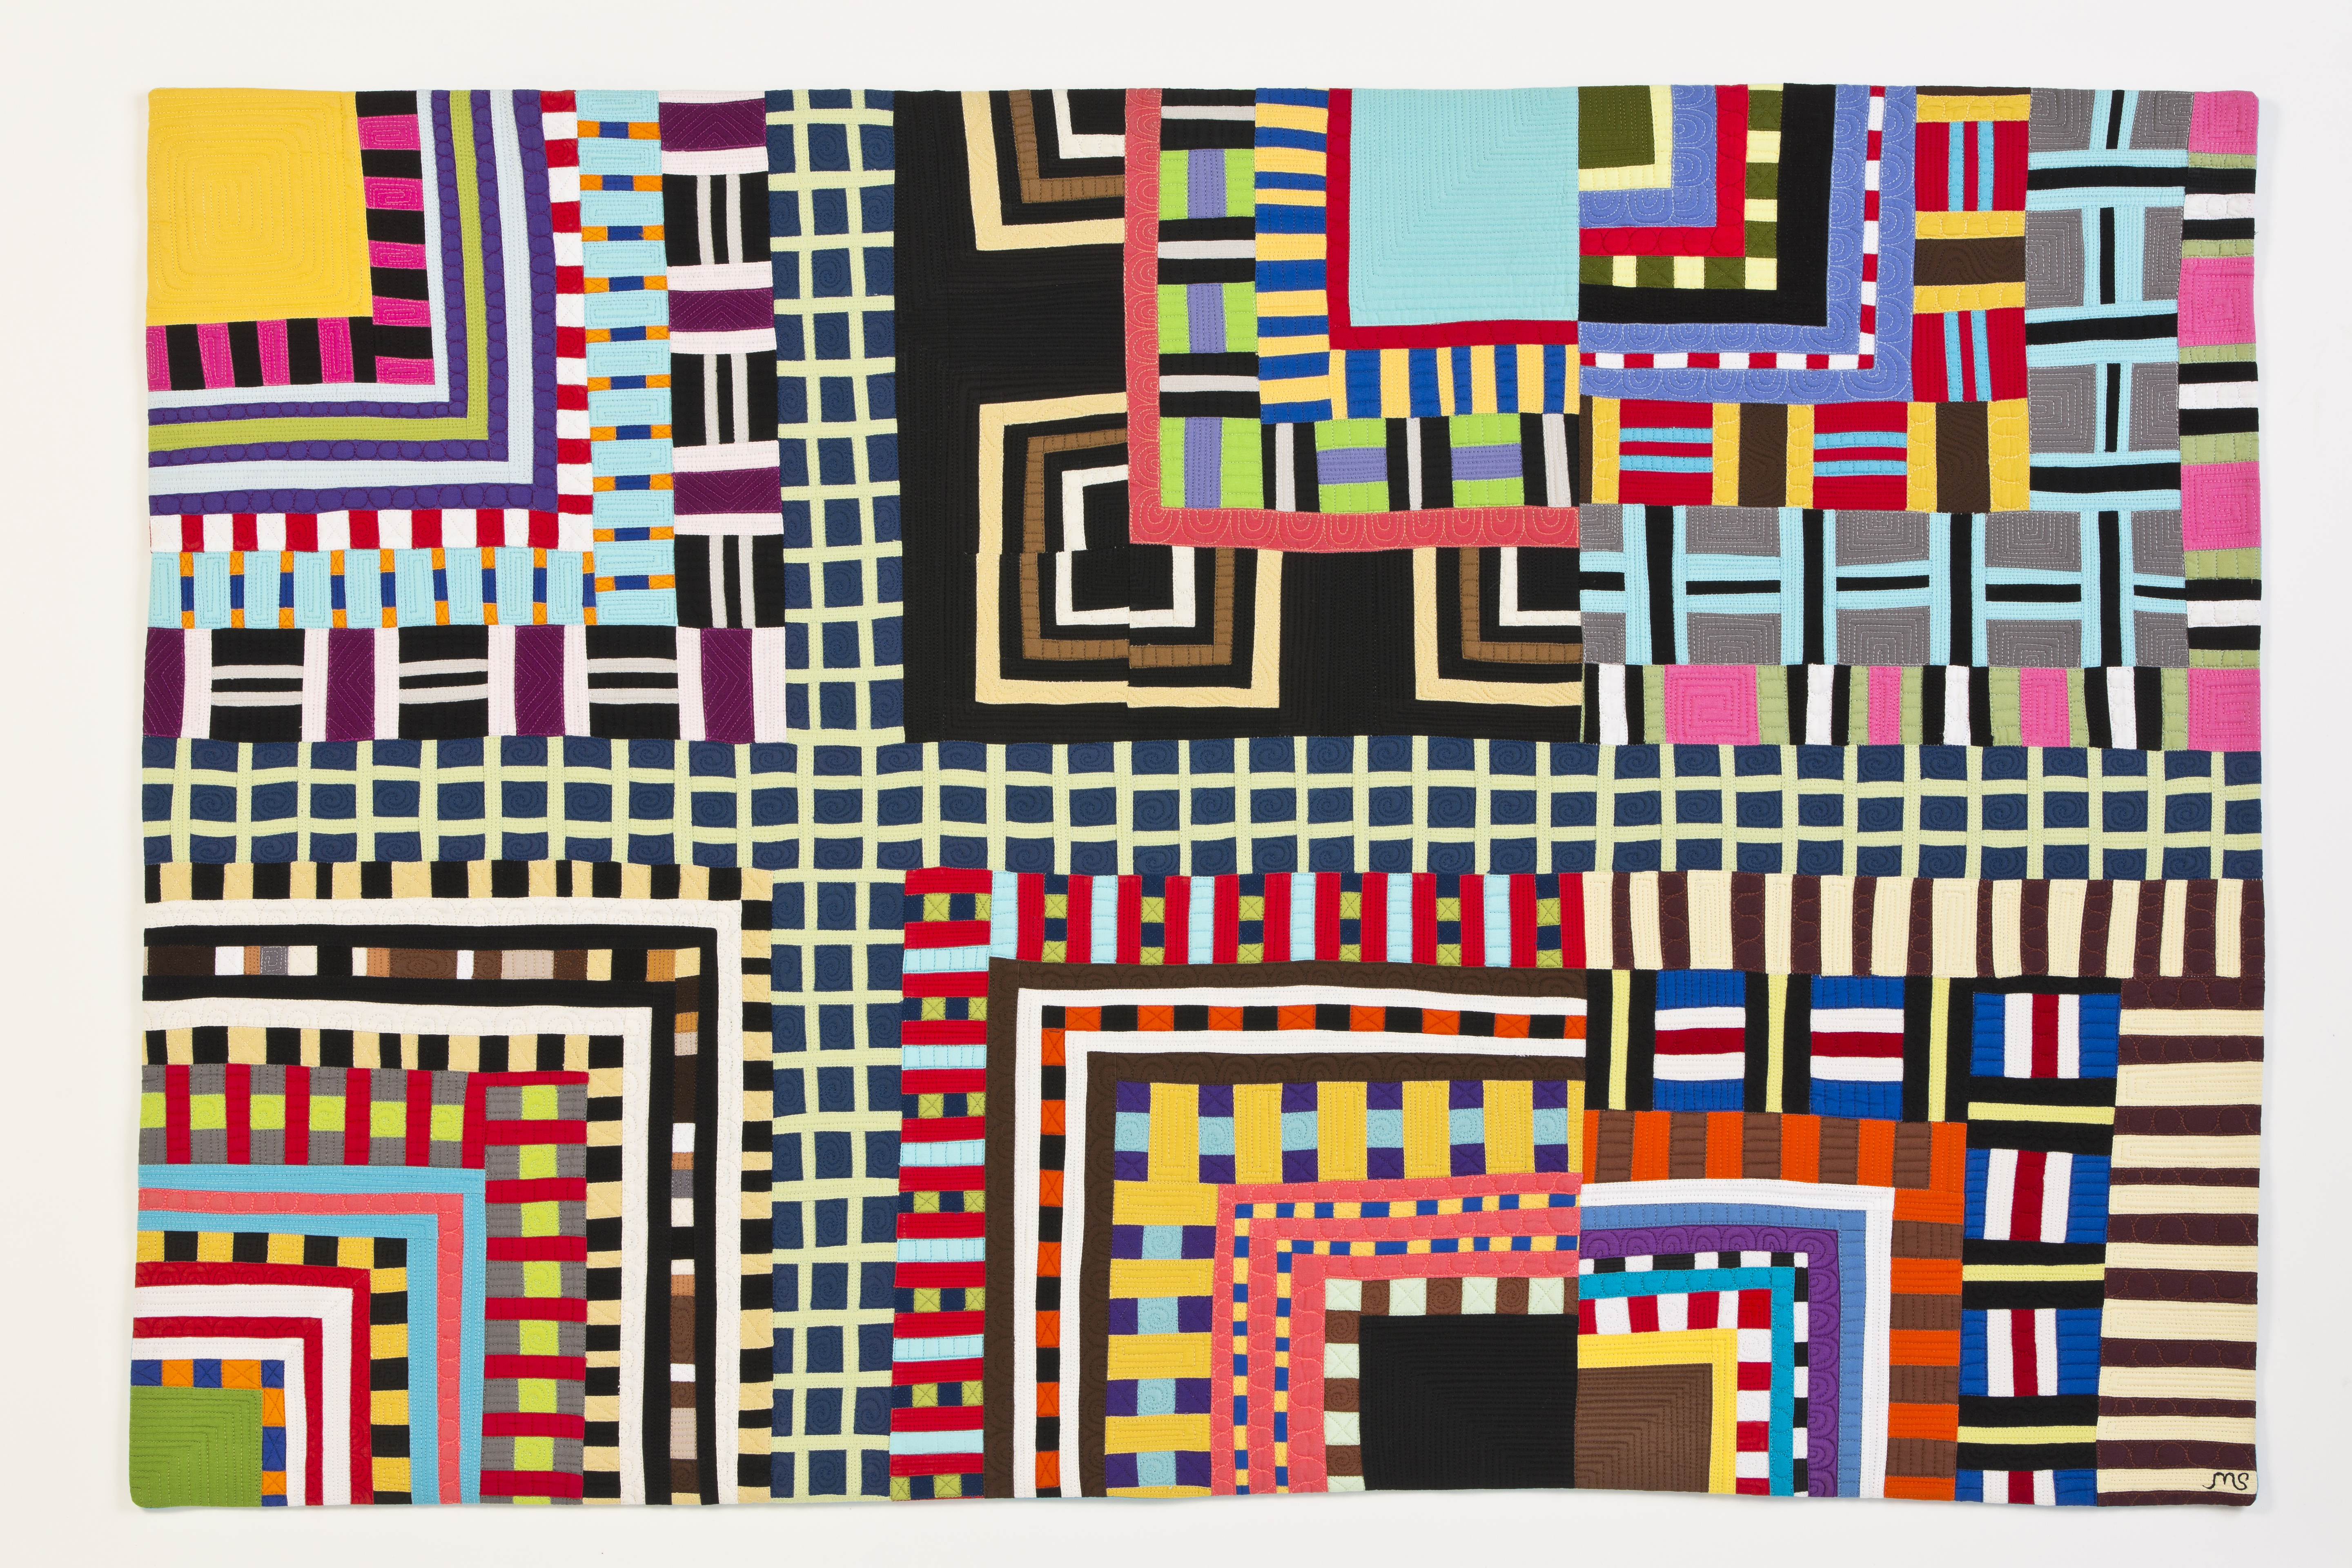
Boulevard by Marial Shell.
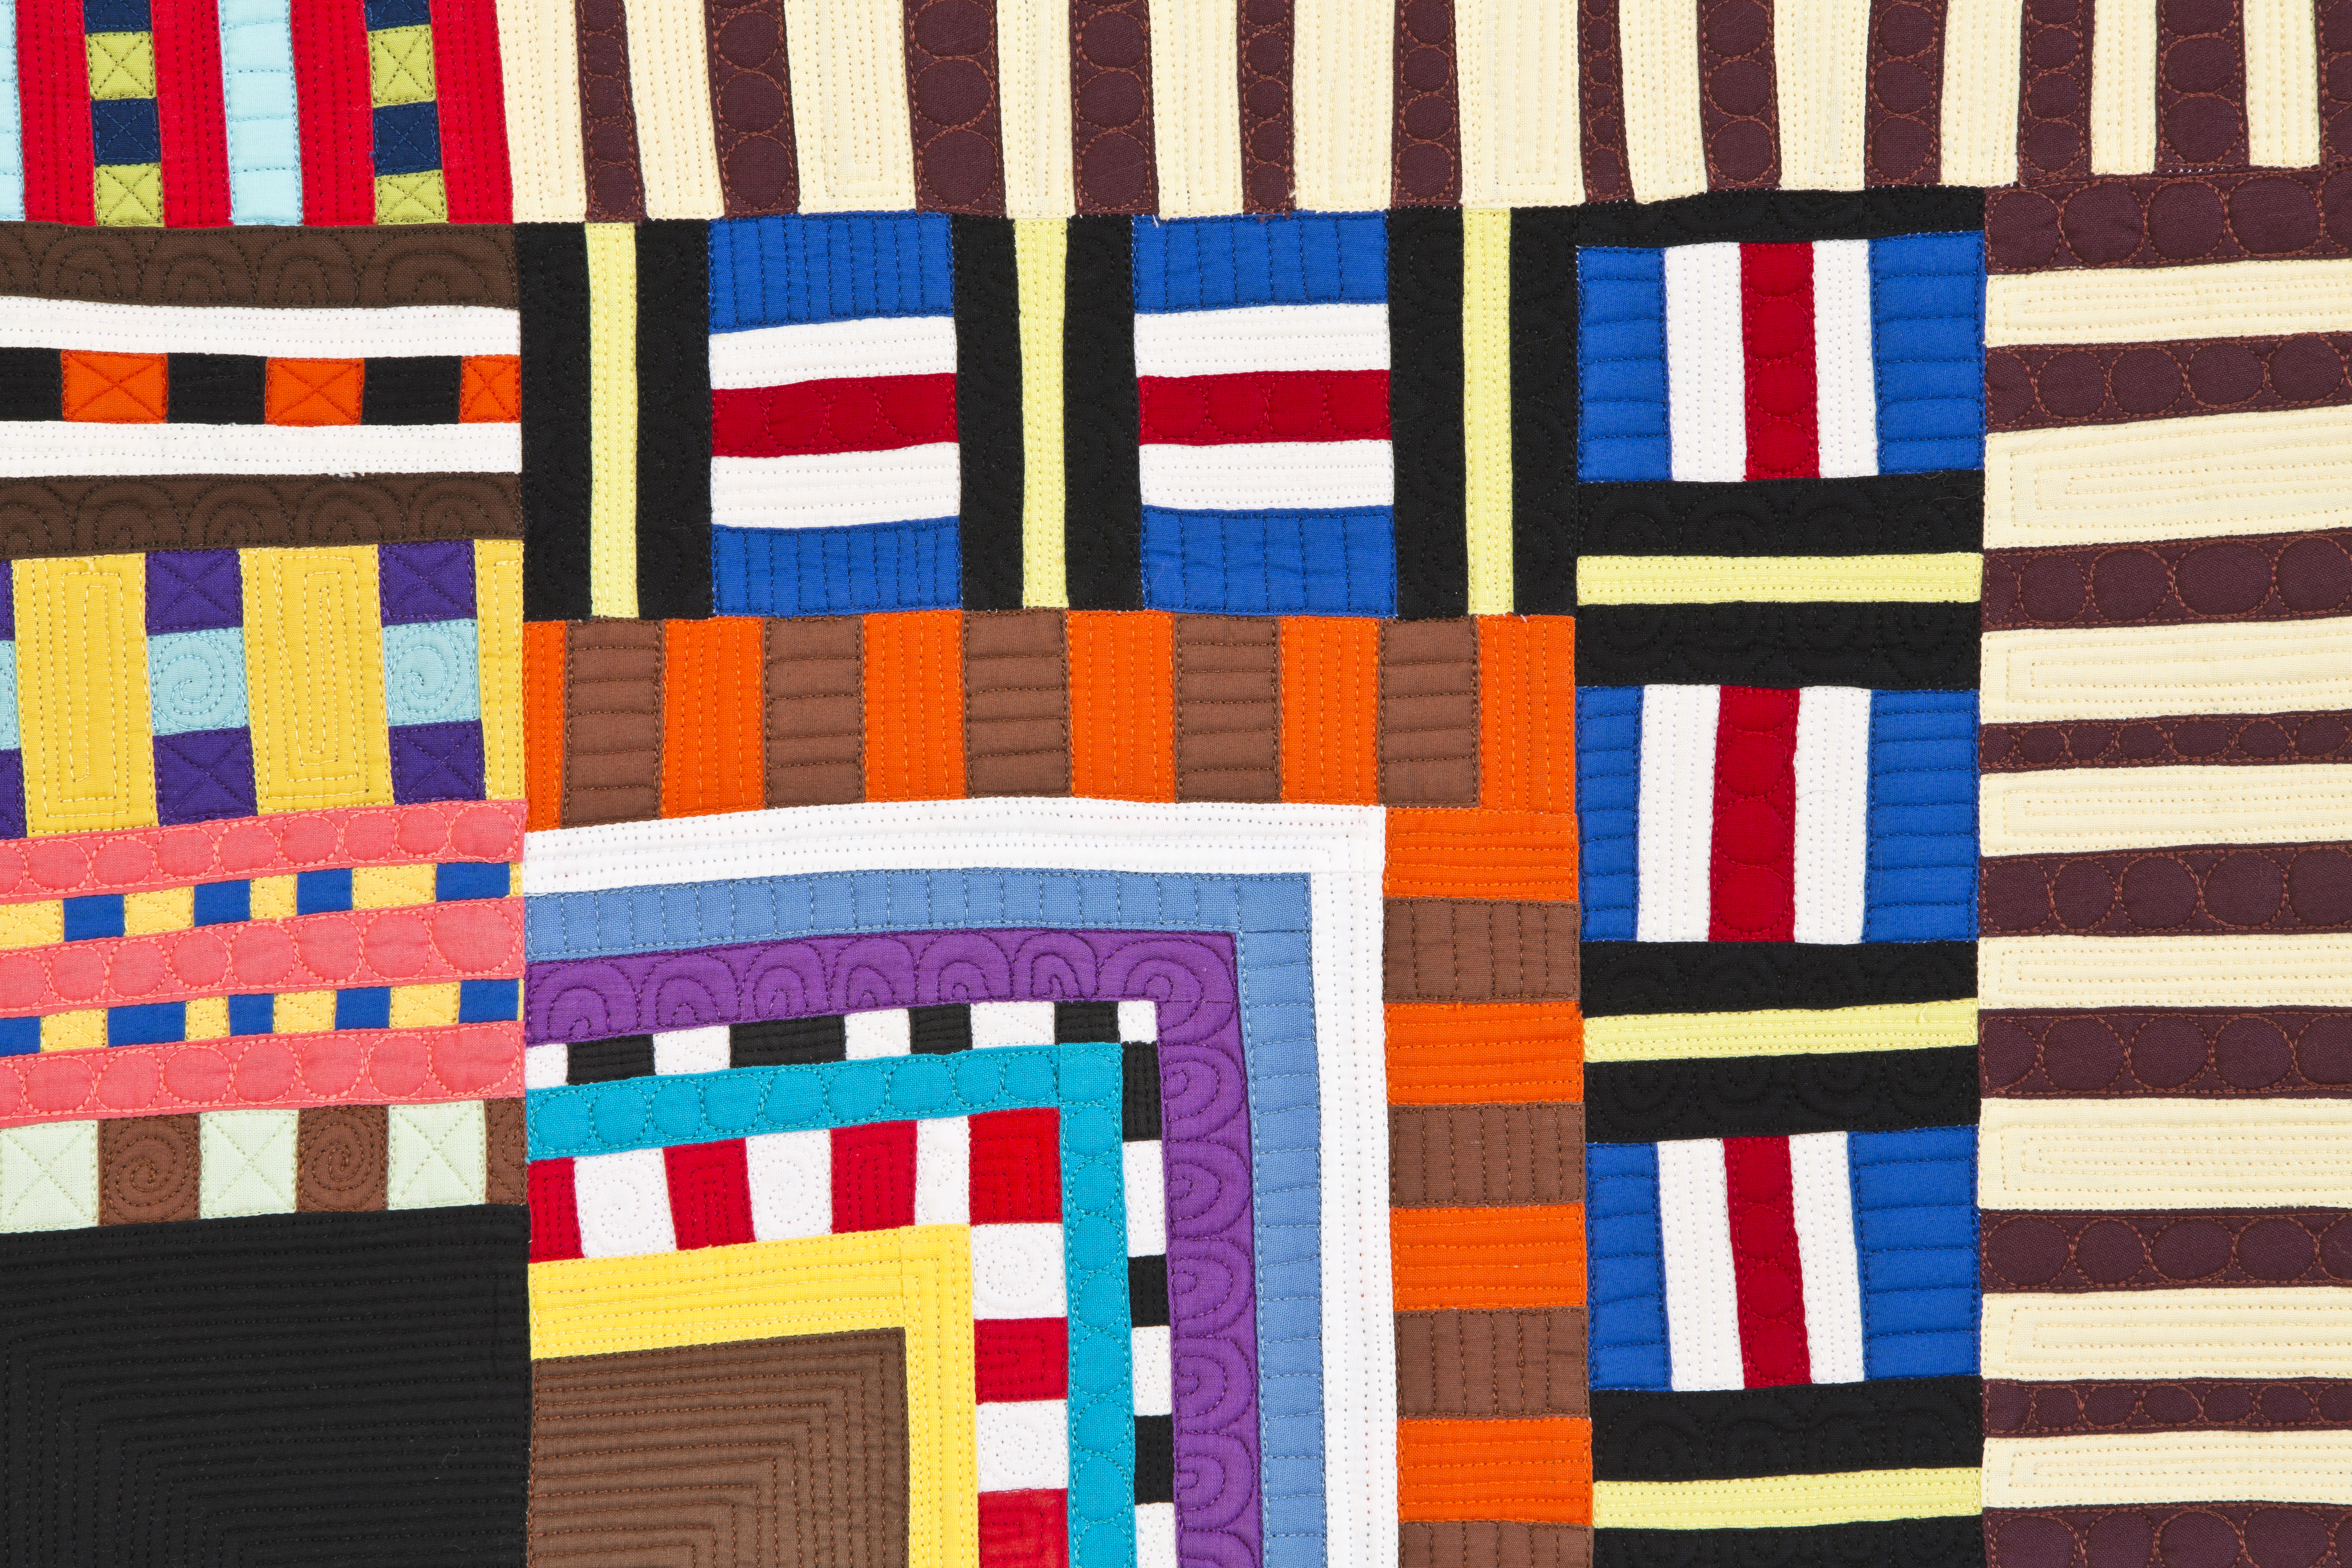
Second, I use color to create contrast between my shapes. I use all of the colors of the color wheel frequently in the same proportion. I consider brown, gray, black, white, turquoise, and pink to be primary colors, and I use them just as I would purple, blue, green, red, yellow, and orange. I create contrast between colors by selecting colors opposite each other on the color wheel or by using different values. Using an assortment of color in my shapes helps them to stand out in contrast to each other. Force Field features fabric of a similar color but highly contrasting value. This allows each shape to stand out.
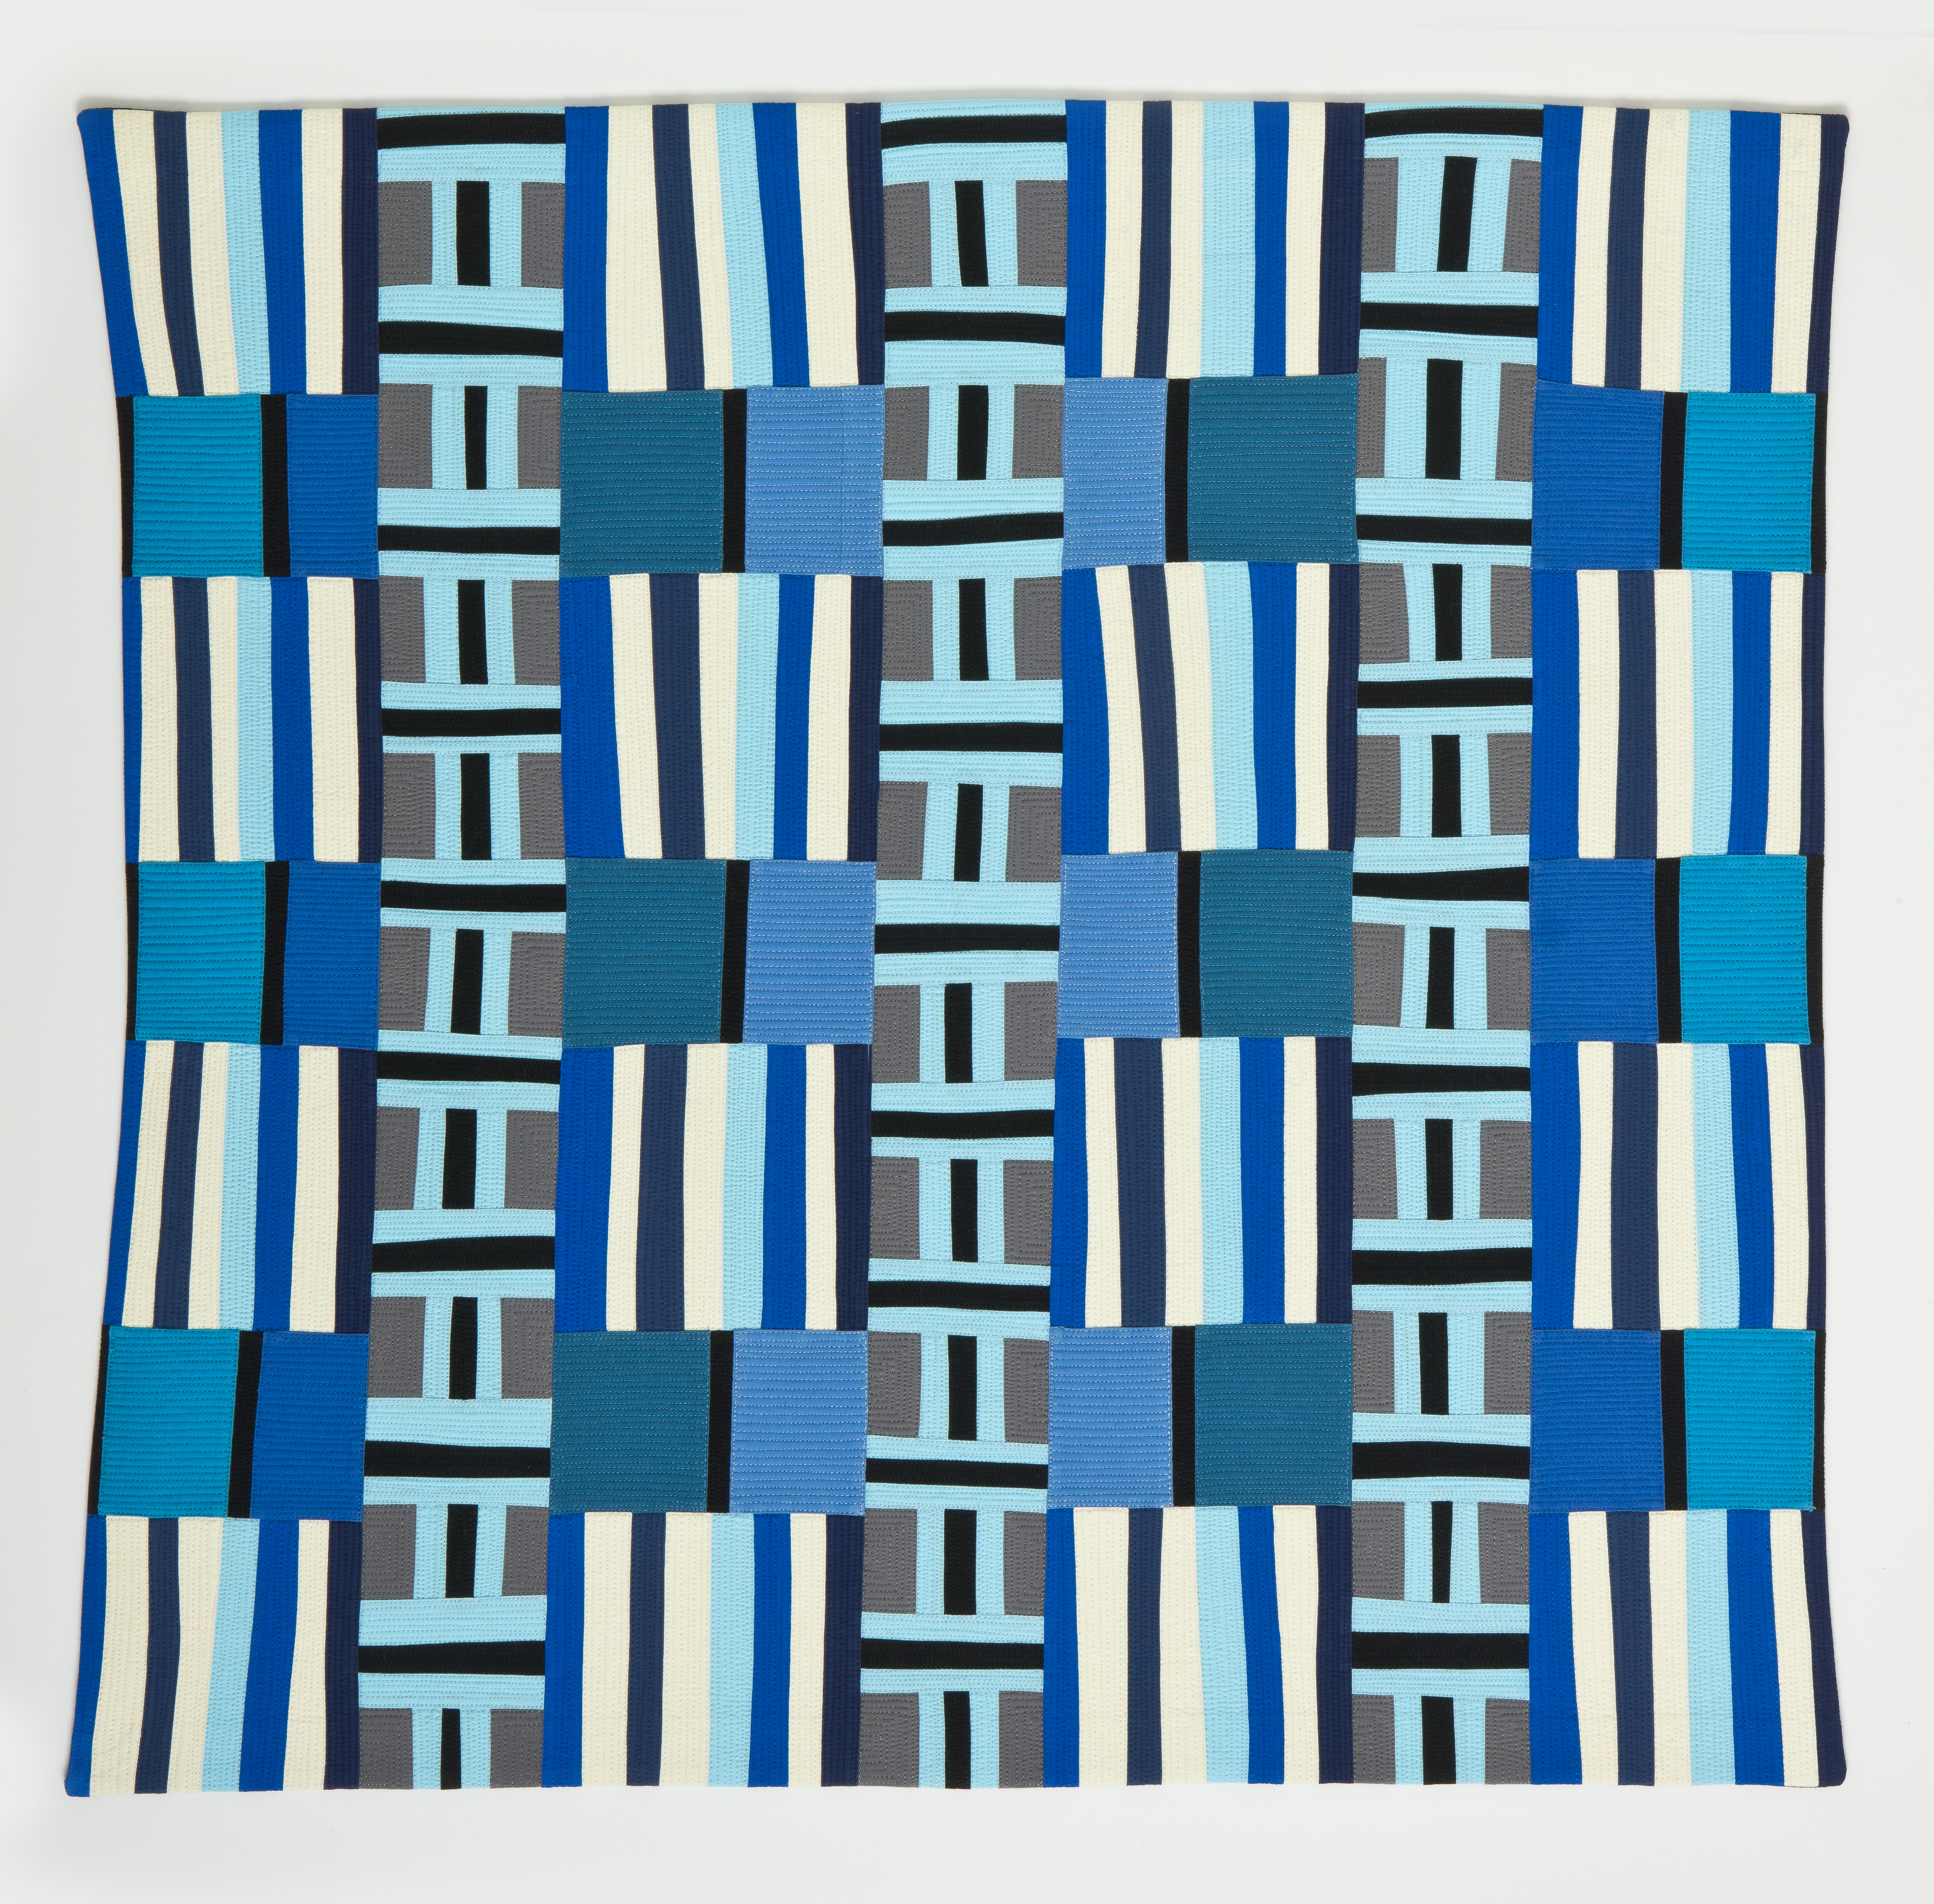
Force Field by Maria Shell.
And finally, I cut many of my shapes without a ruler. The real trick to cutting without a ruler is to control your cut by placing yourself squarely in front of your fabric. As you move your rotary cutter, move your body as well. Keep yourself directly over your fabric. This will greatly improve the quality of your cut line which will in turn improve the quality of your shapes. I will, at certain points in my construction, use a ruler to keep things in line. I will also frequently cut one block with a ruler and then use that block as my ruler. This creates a bit of wonkiness, but things still fight together in the end. Cutting without rulers creates interest for the eye. Funky Monkey is a good example of improvisional cutting. The lines that form the shapes are interesting and fun to look at.
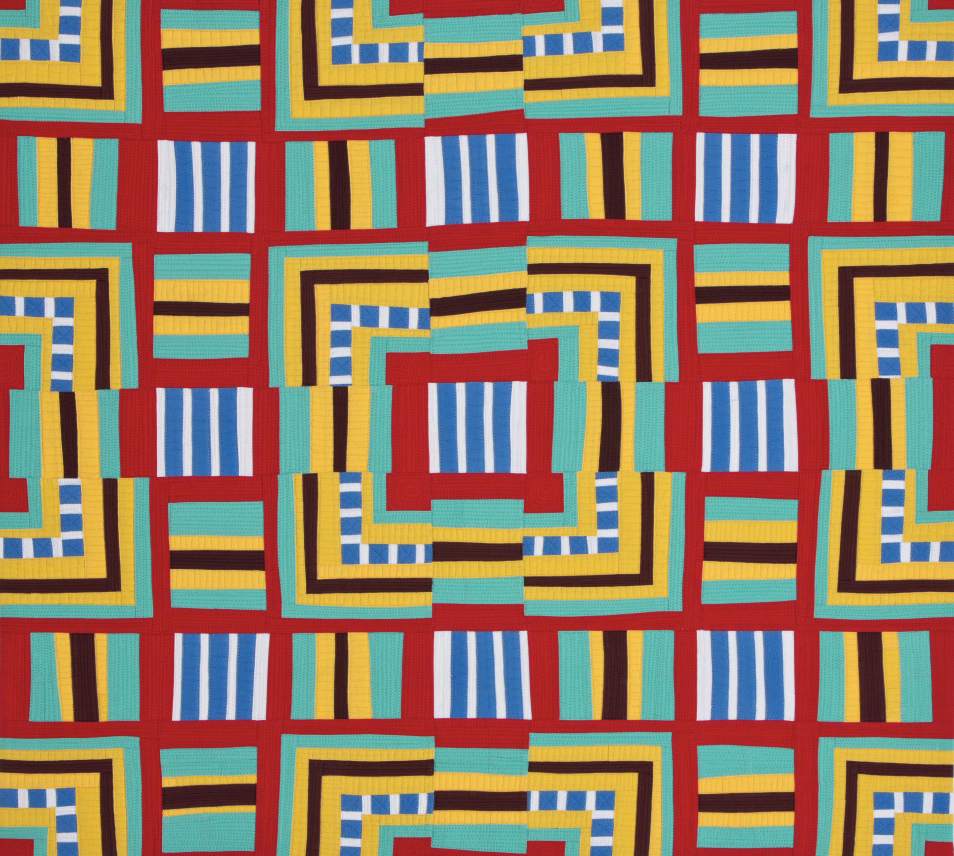
Funky Monkey by Maria Shell.
I hope these pointers about how I use shape will help you create dynamic quilts. If you would like to see more of my work you can visit my website, my blog, or Instagram.
Practice Exercises: Select one or try them all
Geometric coloring using Lines and Circles
Supplies for Lines and Circles:
- 1 sheet of white paper
- Ruler
- Circle templates, empty pill jars, small glasses, etc.
- Pencil
- Colored pencils, markers, crayons
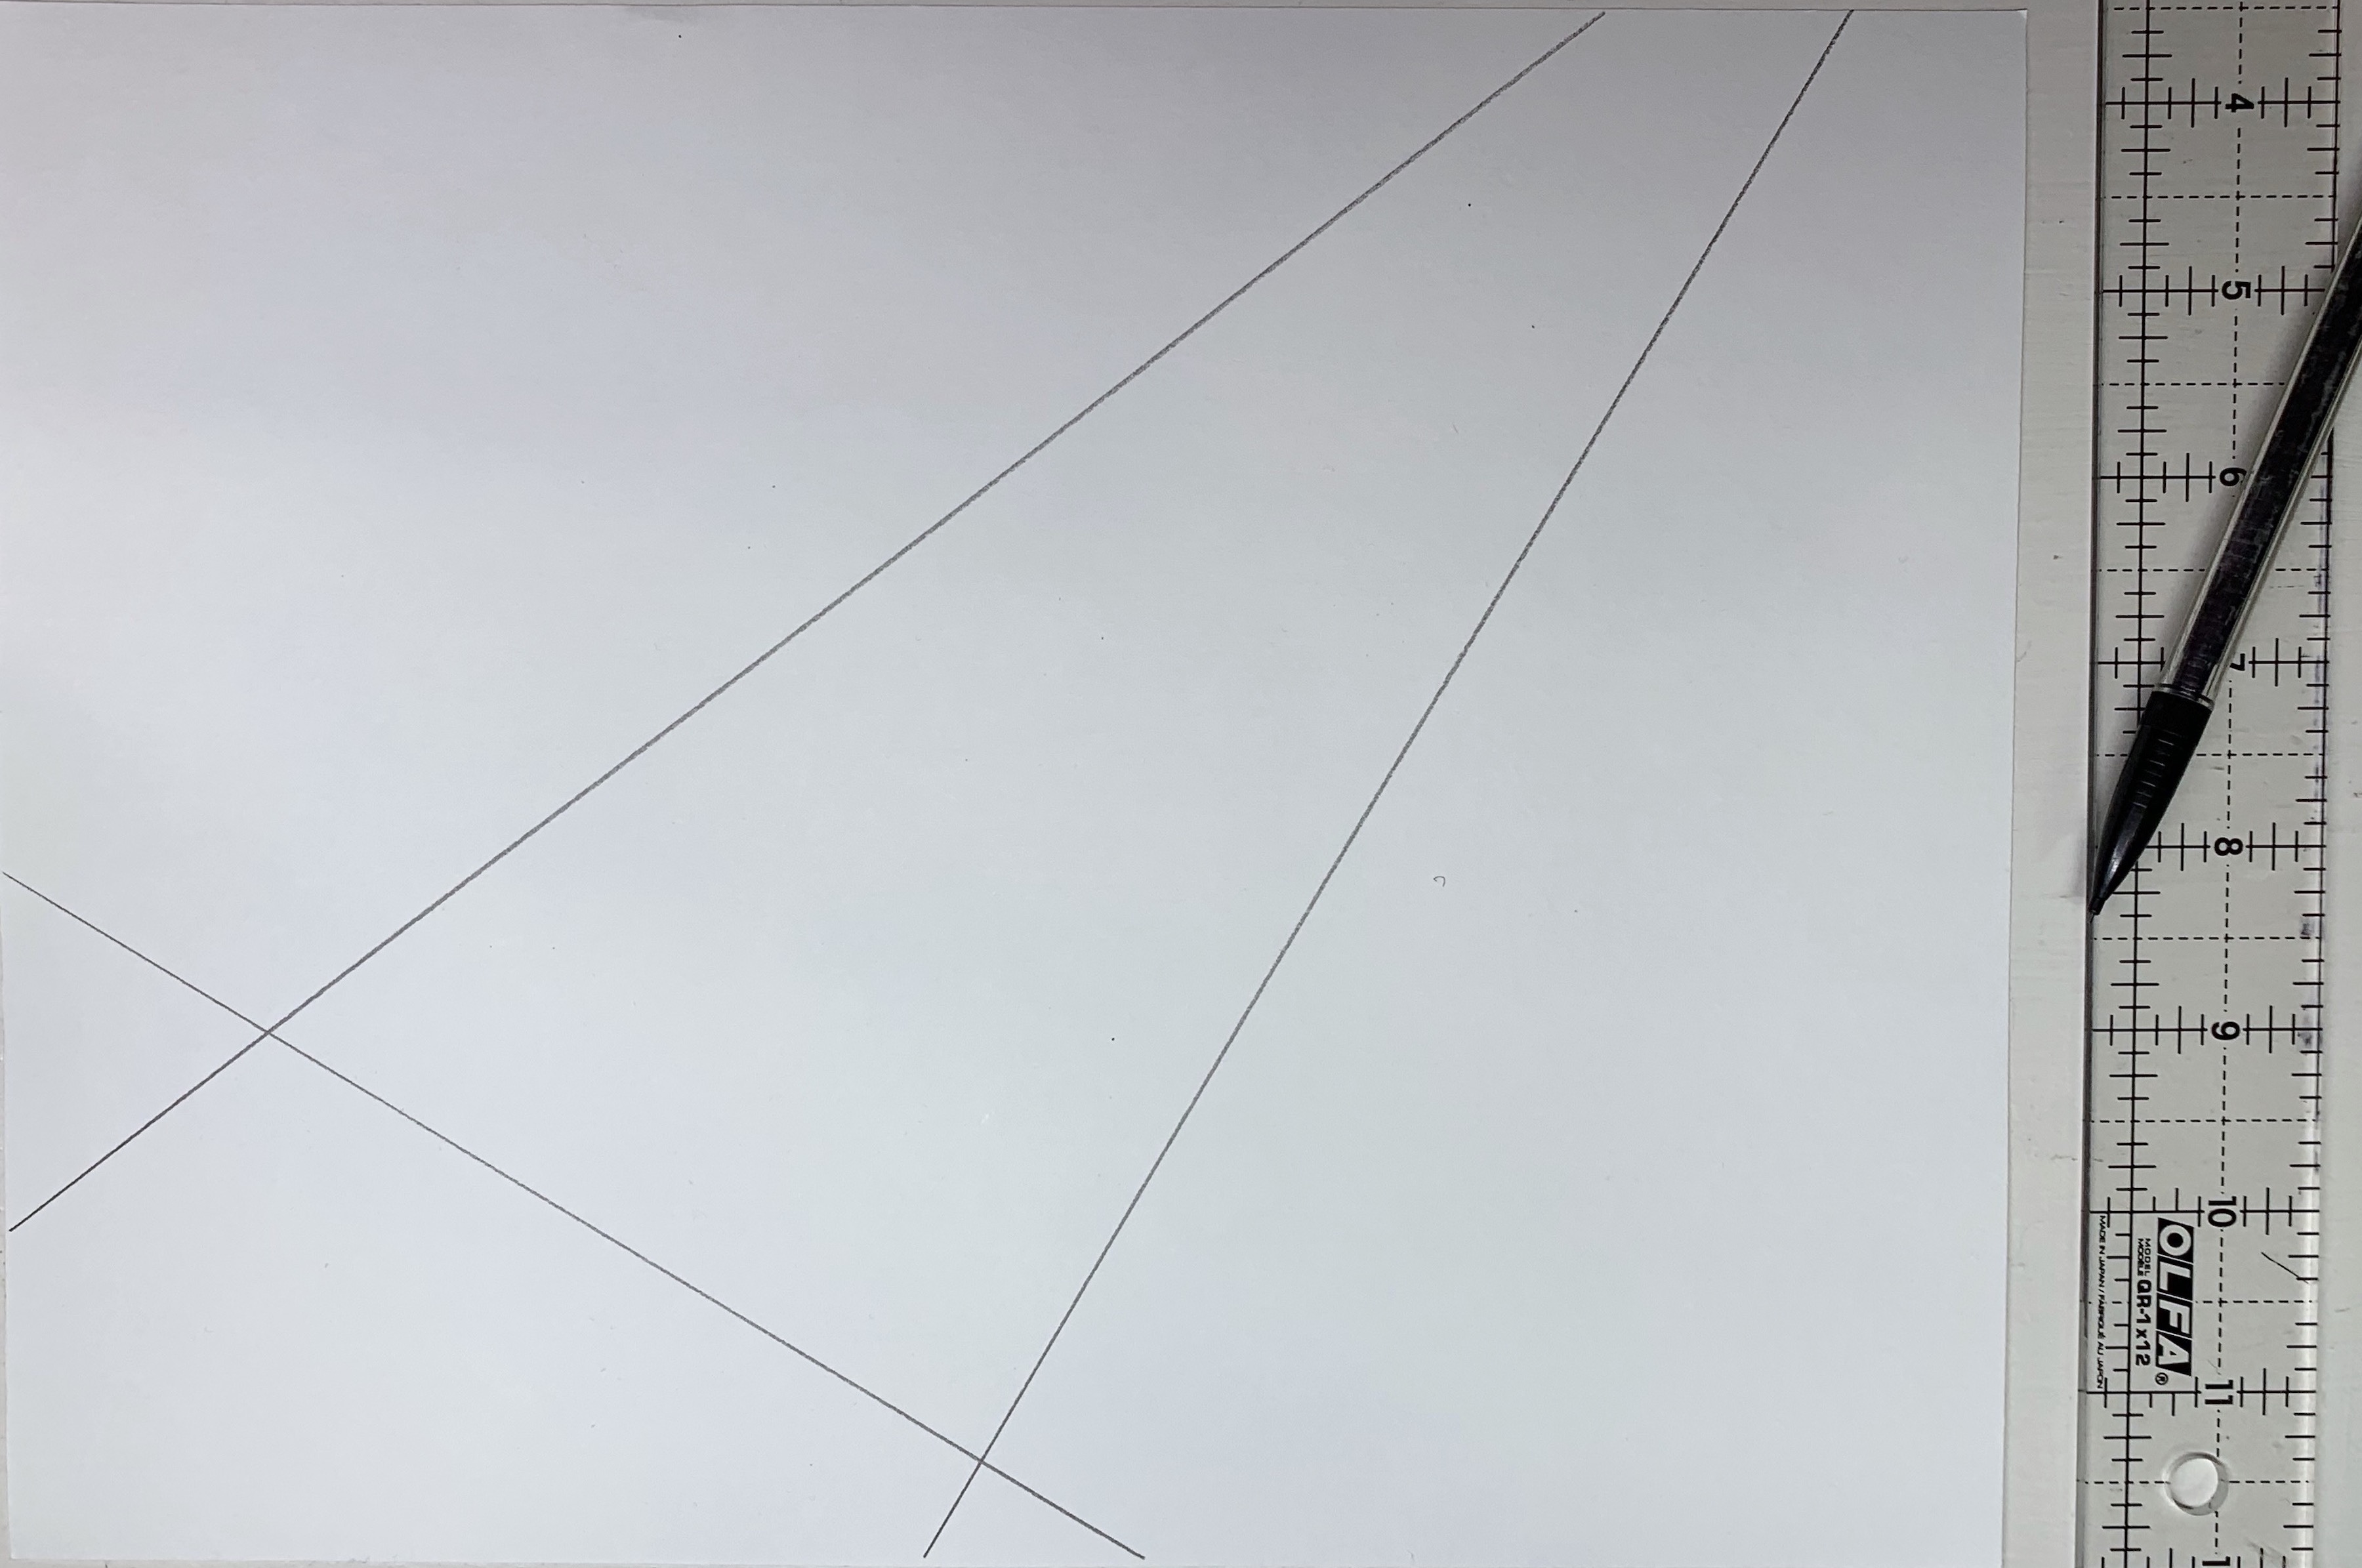
Using a piece of white paper, draw a straight line from one side to the opposite side. Repeat with two more lines.
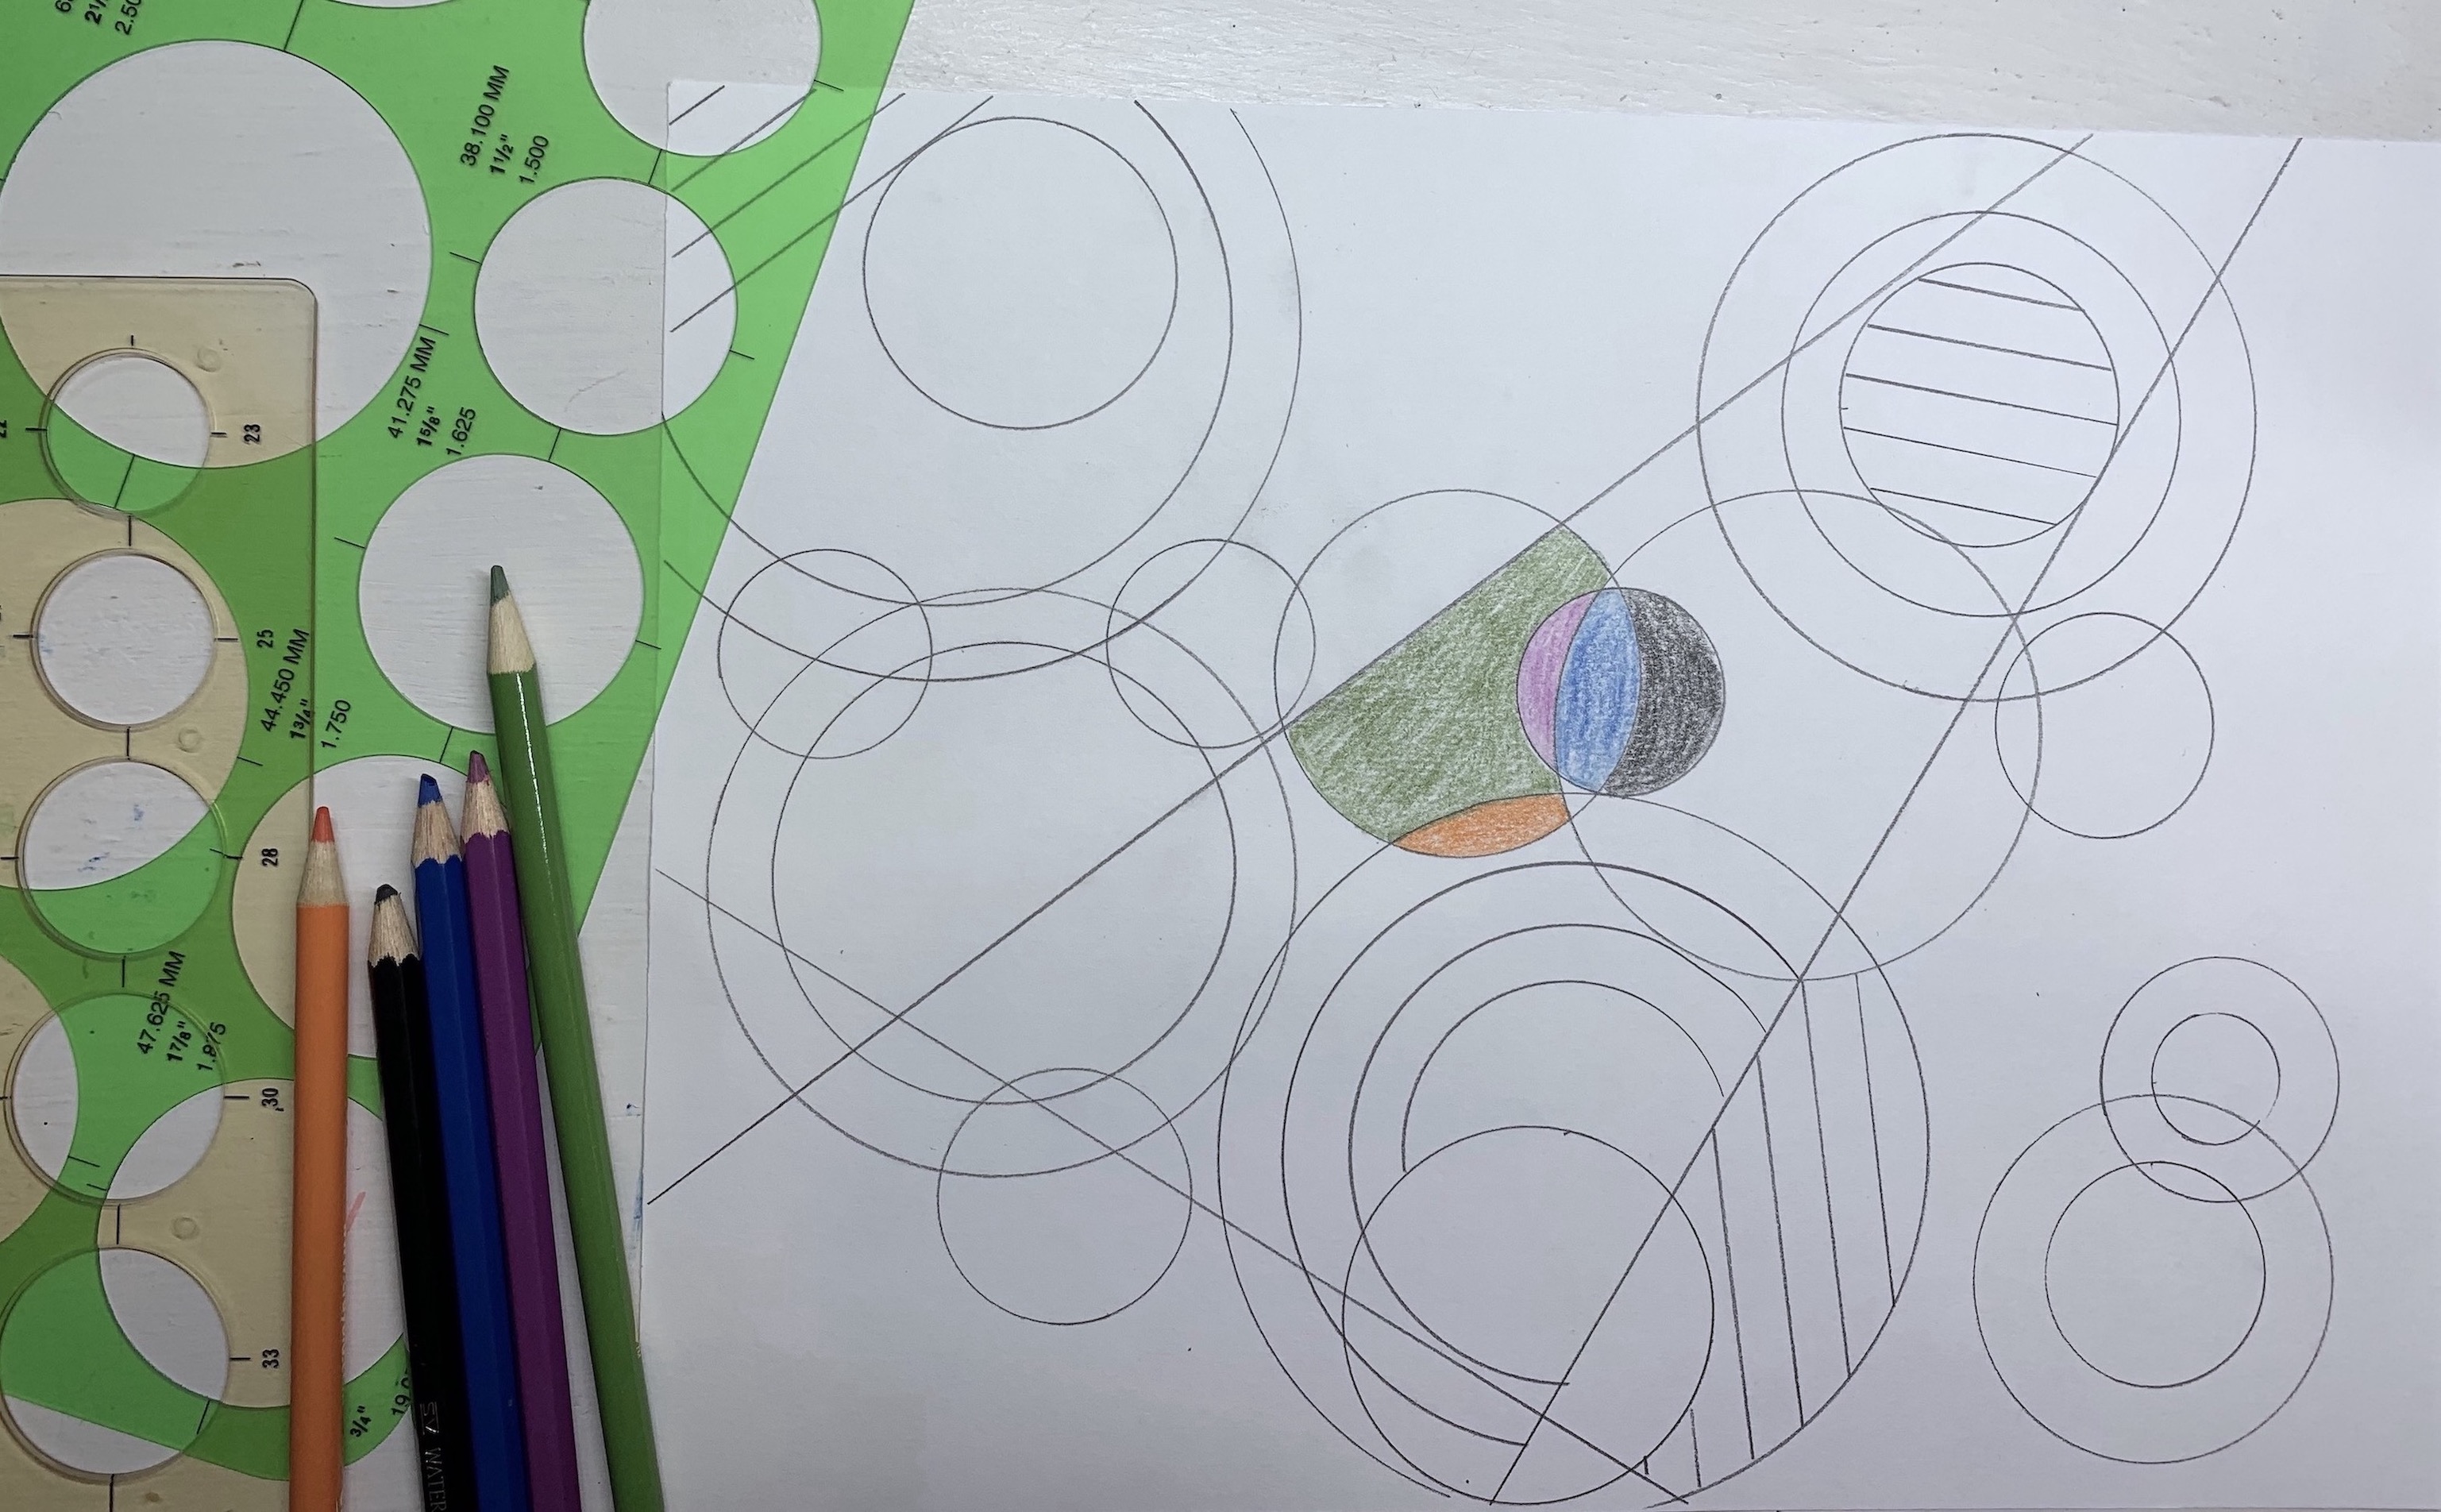
Draw in circles of different sizes (use templates, thread spools, small jars, glasses, etc.). Add lines in several areas. Once you are happy with the number of lines and circles, color in the areas. Notice how the interplay of shapes create new and different shapes.
Positive/Negative Paper Cutting

Supplies for both paper cutting exercises:
- 2-3 large pieces of colored paper at least 8 1/2" x 13" (or tape two pieces together, like we did)
- 1 piece of 3" x 7" colored paper (for apple exercise)
- 1 piece of 6" x 6" white paper (for leaf exercise)
- 1 piece of 7" x 7" white paper (for apple exercise)
1. Leaves - Using the (6" x 6") white piece of paper, carefully cut basic leaf shapes from around each side. Try to cut the leaf in one smooth cut. Position and glue in place the white paper on top of the pink paper. (our paper was not large enough, so we taped two pieces together). Glue your cut out (white) leaf shapes so that they continue the pattern into the pink area as in the example above.
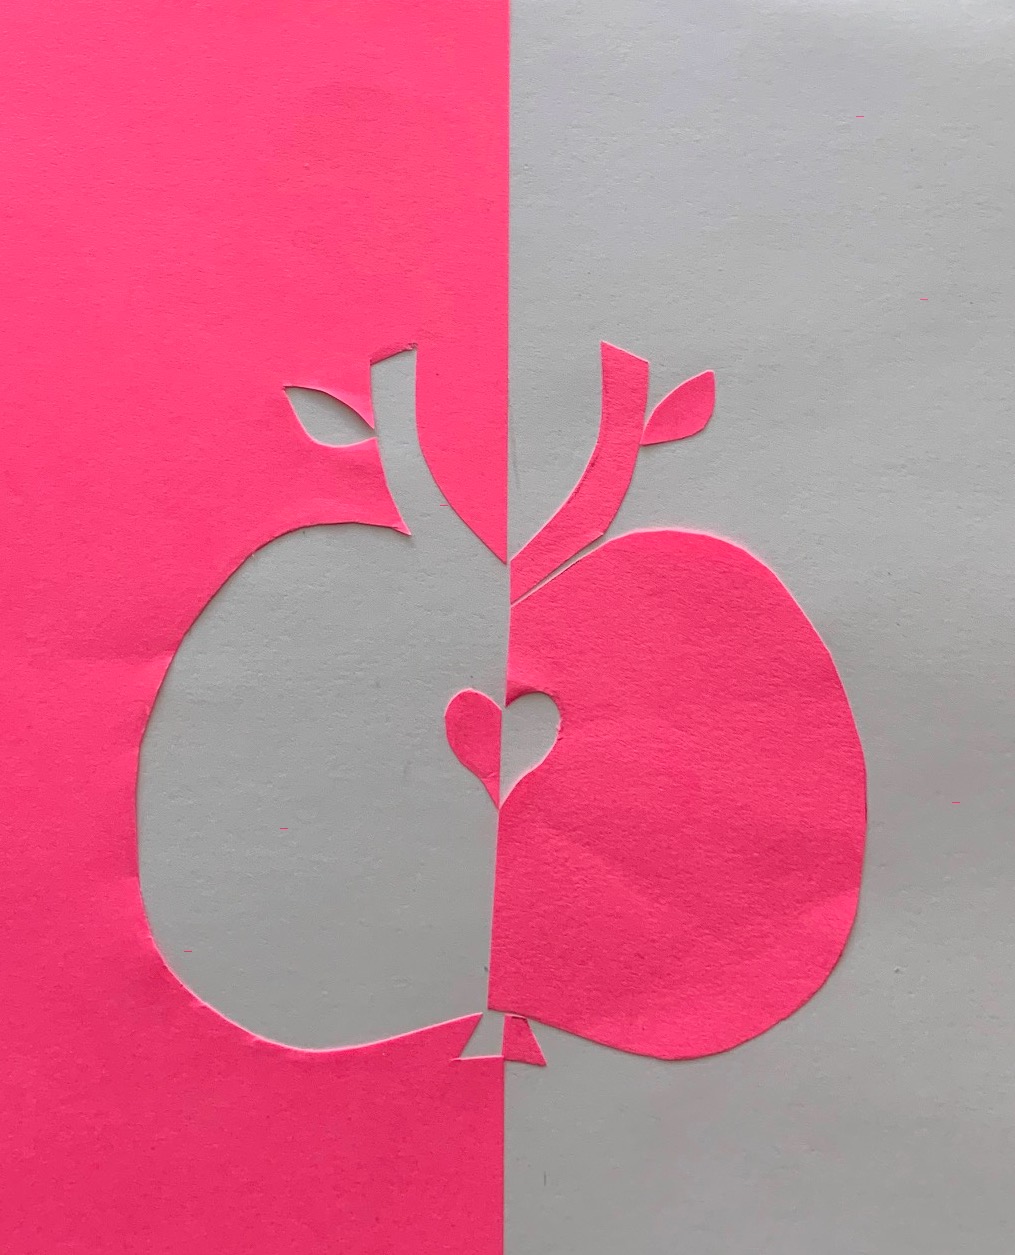
2. Apple - Using the (3" x 7") colored piece of paper, draw 1/2 of an apple, stem, leaf and core. Cut out drawn elements. Position the colored cut 3" x 7" paper to the left top and bottom corner of the paper with the white and glue in place. Glue the cut out shapes to continue the pattern into the white area as in the example above.


.jpg)
I was able to adjust my file to be "seen" in a larger view.
RSS feed for comments to this post