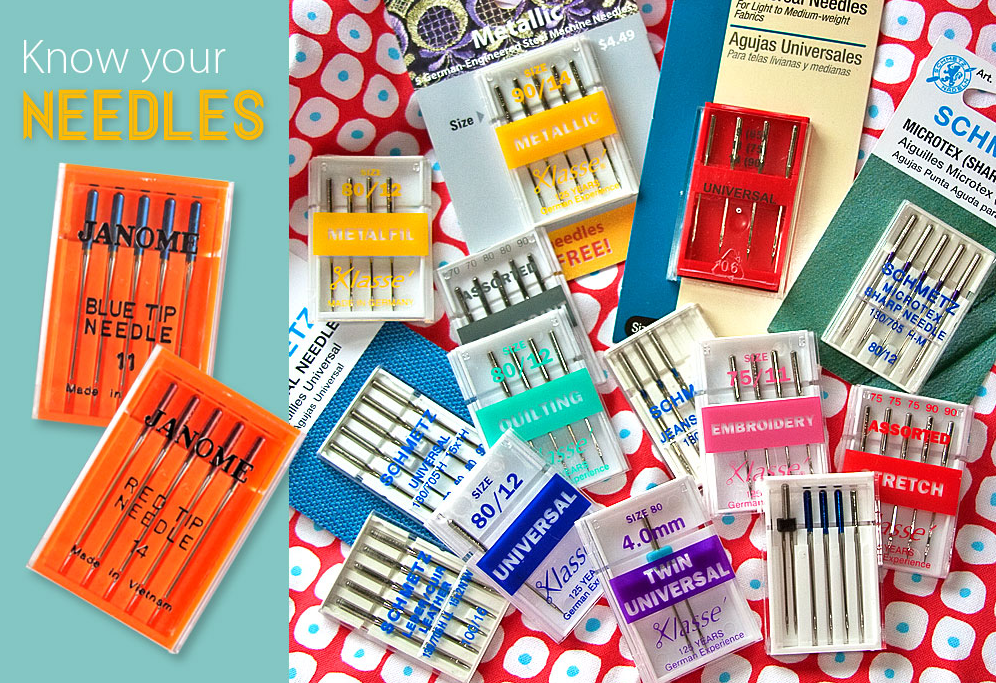
(Image from Sew4Home)
Machine needles are one of those necessary but not so glamorous tools in a creative sewing space. Let's face it, when walking through your local quilt store, it's not those tiny aluring packets of needles that grab your attention, right? But, it's good to remember that these small but powerful tools allow us to stitch happily along for hours and sometime days on end. By the way, when was the last time you changed your needle? And, do you even know if the needle currently in your machine is the correct type/size for the fabric you are working with?
This week's homework is to educate yourself about machine needles and to take inventory of your current stock. As with hand sewing needles, it's always a good idea to keep extras around. We are also sharing some creative ideas for keeping these slippery little boxes organized and easily accessible.
Change Your Needle Often:
A quilter was recently talking about the trouble with her machine skipping stiches and creating snarls on the underside of her work. When asked if she had changed the needle she said "you mean I need to change the needle"? Another woman replied, "how long have you been sewing"? The quilter replied "I have been sewing for ten years!" If you can't remember the last time you changed a needle, it's definitely time for a replacement.
The common rule of thumb is to start with a new needle at the beginning of each project, or after about eight hours of sewing. But if you answer yes to any one of these questions in the video, it's time to change your needle.
Machine Needle Anatomy/Type 101:
Let's talk sewing machine needles. Do you know what butt, shank, shoulder and scarf means when it comes to your needles? Check out the anatomy of machine needles here.
Stand in front of a machine needle display at any local quilt store and one can become overwhelmed by plethora of choices: Sharps,Topstitch, Mixrotex, Quilting, Universal, Embroidery, Metallic, Stretch, Twin...the list goes on and on. Does a quilter actually need all of these various needles? And what are all of these types actually for?
Sewing and Craft Alliance Needle Chart offers a detailed explanation of needles that you can print out and keep handy. Click here.
Decoding Needle Sizes:
What's with those odd numbers on the packets? And, if that were not confusing enough, there are two needle sizing systems: American and European. Generally there will be two number listed on the needle package such as 80/12 and 70/10.
Sew4Home has a good explanation of the coding system:
The first thing you see on a needle package is the needle size. This will usually be shown as one number over another, such as: 70/10, 80/12 or 90/14. These numbers refer to the size of the needle and you really only need to pay attention to one of them.
- The larger of the two numbers is the needle size according to the European numbering system. European sizes range from 60 to 120; 60 is a very fine, thin needle and 120 is a very thick, heavy needle. Some companies list American first, some list European first.
- The smaller number is the needle size according to the American numbering system. The American system uses 8 to 19. So 8 is a very fine, thin needle and 19 is a very thick, heavy needle. In the US, this may be the only number you see on the needle pack.
The different size needles have been designed for optimal sewing on different weights of fabric.
For example, if you are going to sew a sheer window curtain, you would want a fine needle such as 60/8. Using a 120/19 would leave giant holes in your fabric. On the other hand, if you were to try to sew through upholstery fabric with a 60/8 needle, it could bend or break. Using a 120/19 would give you extra strength to penetrate heavy home décor fabric and would have an eye large enough to carry the thicker thread you're likely to use.
Select the correct size Needle:
Just like the tension setting on your machine, selecting the best size needle for your project is also important. The one size fits all approach can lead to problems and frustrations.
Buy in bulk:
Consider purchasing your needles in bulk. The cost per needle when purchased in boxes of 100 vs. 5 is quite considerable. Most major brands including BERNINA, Organ, and Schmetz offer bulk needle purchase options.
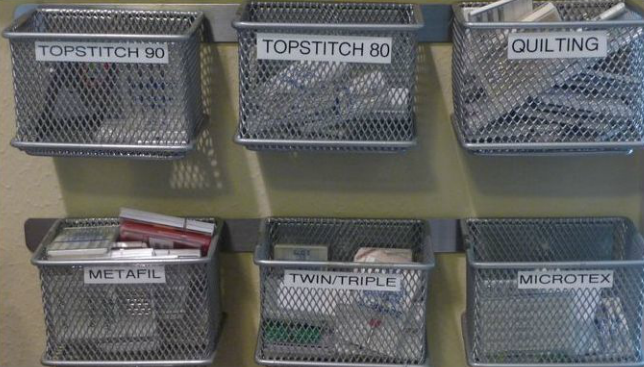
Now let's get to the creative ways to store and organize your machine needle collection. Here's an idea we found in Libby's studio. Magnetic (Container Store) strips mounted to the wall hold small labeled wire baskets (Container Store).
Clean and Clutter Free Options:
1. 2.
2.
3. 4.
4.
5. 6.
6.
1. Use clear business card pages from an office supply store to hold needle cases. It’s easy to find the needle you’re looking for with these clear pages. You can also see at a glance which sizes you have and which ones you need to buy. Sewwhatsnew
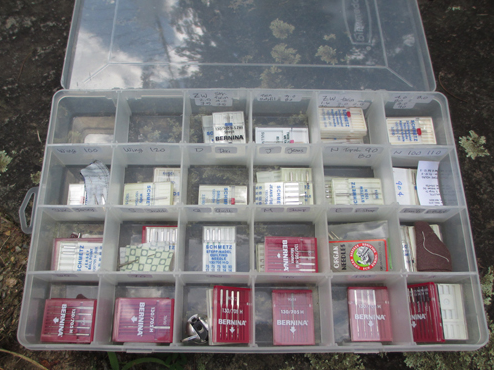
2. Lidded and sectioned storage box. WeAllSew
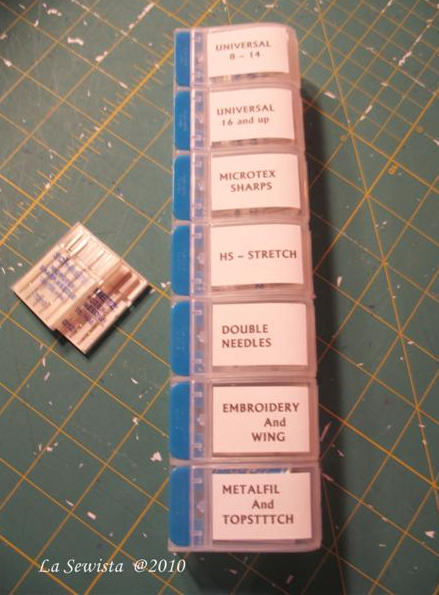
3. Pill container with labeled sections. LaSewista
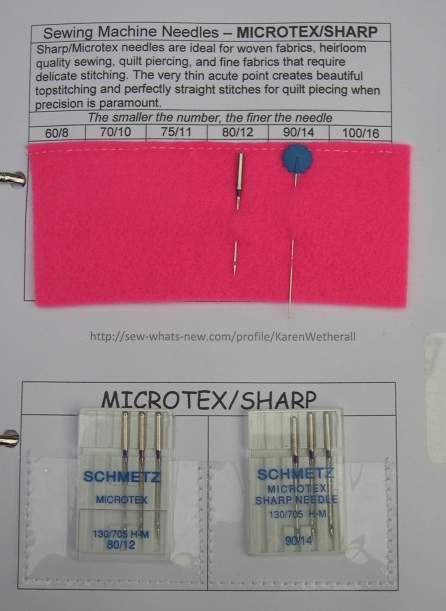
4. Make yourself a ring binder to organize needles. Sewwhatsnew
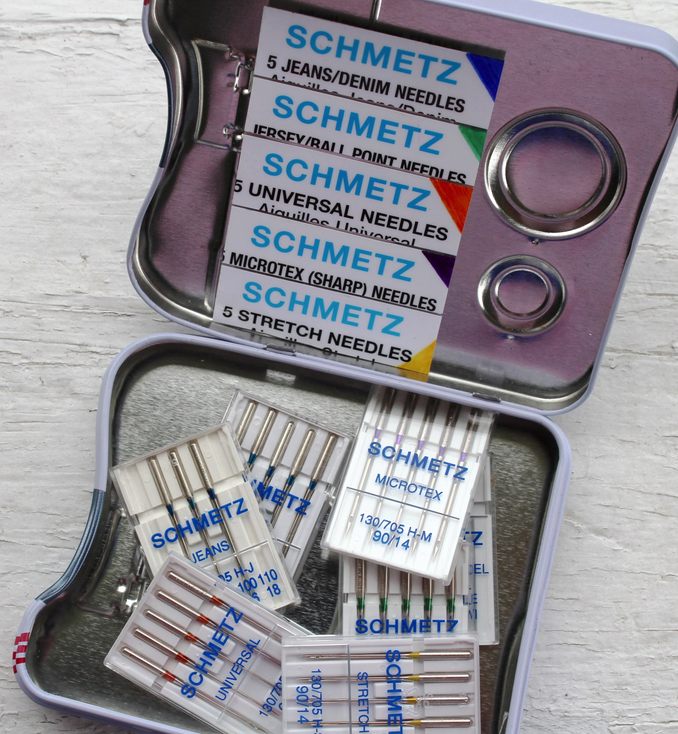
5. Store with color code in decorative tin. 2littlehoolingans
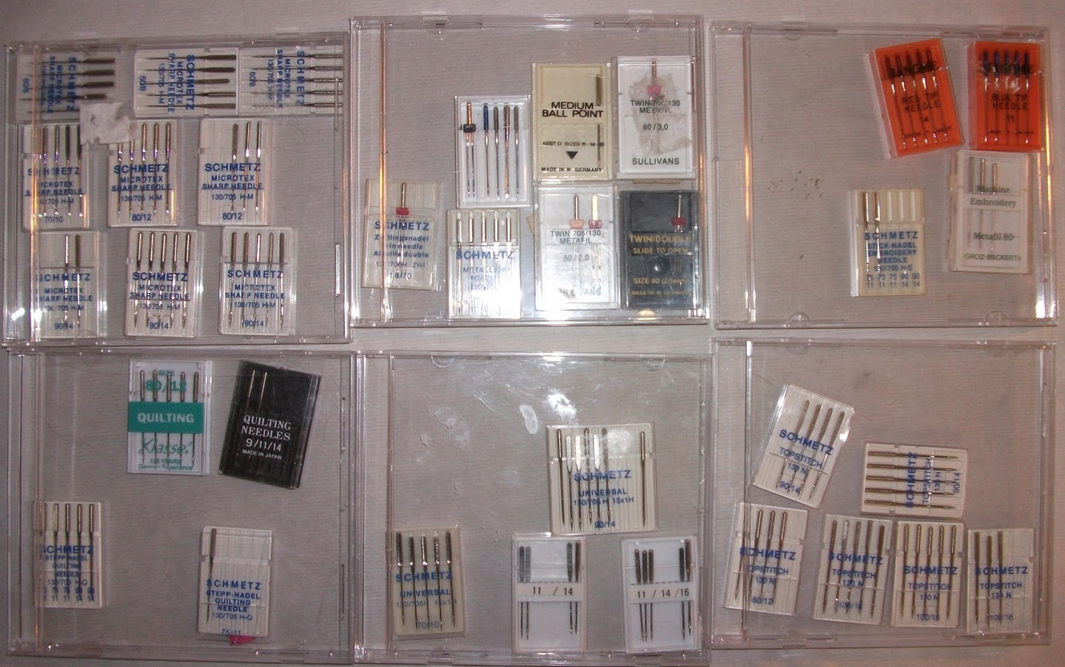
6. Up-cycle old CD cases for your needles. The boxes stack nicely in a drawer. Piecefulliving
Visually Stimulating Options:
1.
2. 3.
3.
4.
5. 6.
6.
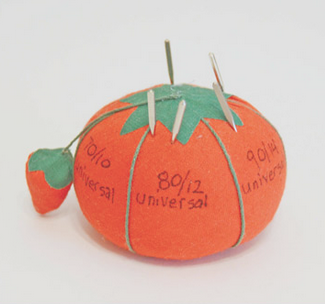
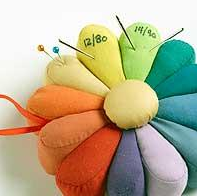
1. Use a traditional Tomato or Dresden Plate Pin cushion. Label the sections by needle type. Fons and Porter
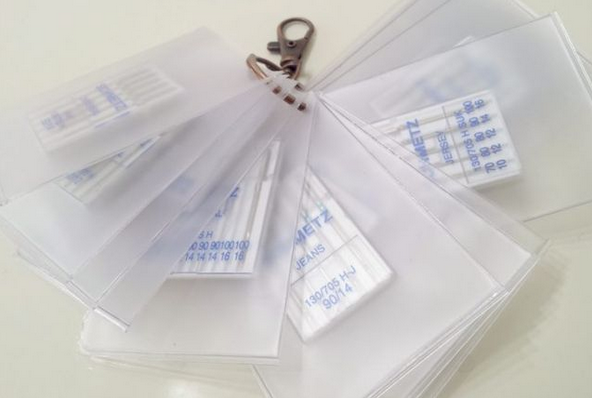
2. Up-cycle the plastic business card insert pages. Cut apart into individual units, punch a hole in one corner and hang on ring near your work area. Bloglovin'
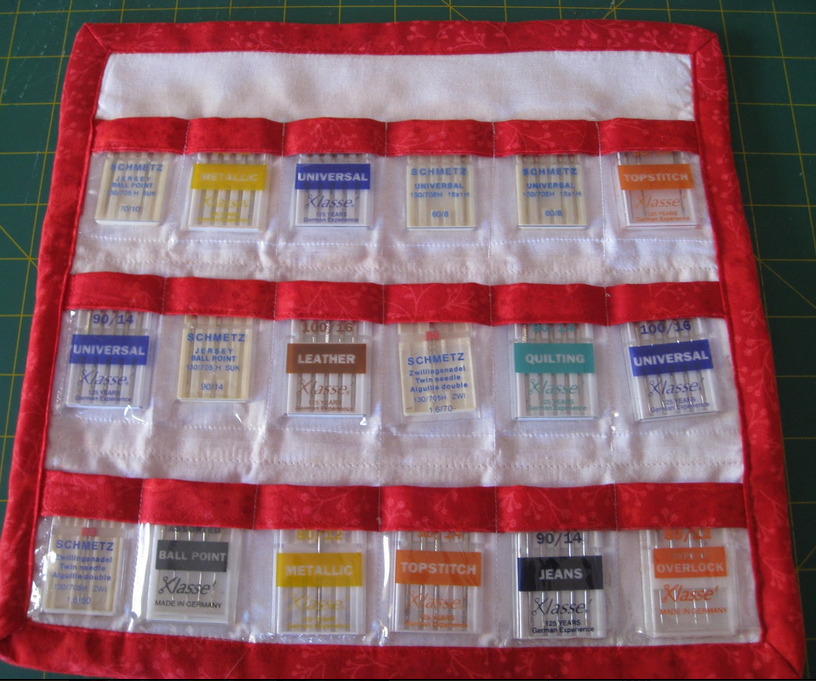
3. Portable needle storage case by Vickysfabricreations
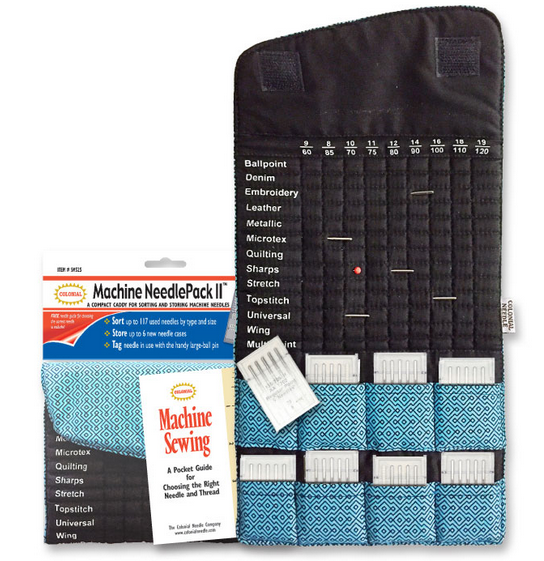
4. Machine Needlepack II. Colonial Needle
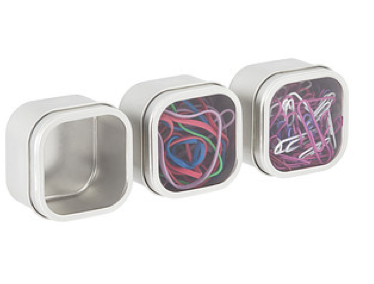
5. Lidded magnetic tin bins. TheContainerStore
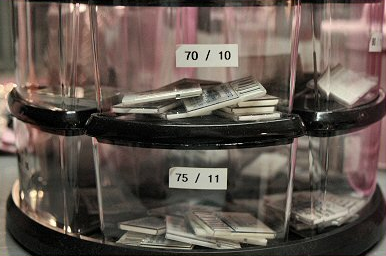
6. Staples carousel system. DomesticDiva
Just joined our year of organizing? Click here for other TQS Organization blogs.


.jpg)
RSS feed for comments to this post