0

3979_knapp_1.jpg

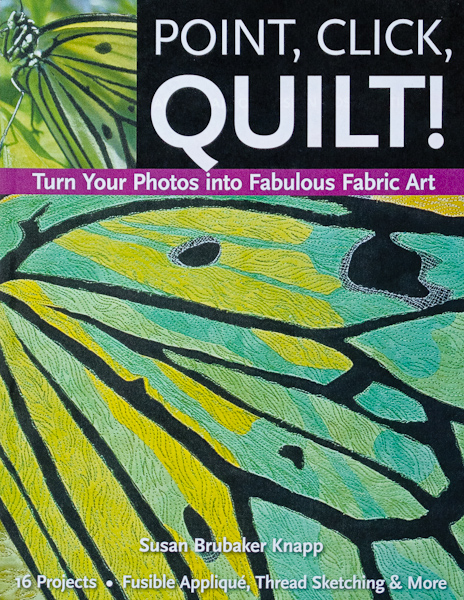
Have you always wanted to create a quilt using your own photographs? Not sure where to begin? Let Susan Brubaker Knapp walk you through the entire process--start to finish--in her book, Point, Click, Quilt! Here are a few great tips from Susan to get your "wheels" turning.

  • Take photo both vertically and horizontally.  While we naturally see the world horizontally, some subjects beg to be shot in a vertical format.
  • Take photos at different times of the day if you are not happy with your initial results.
  • Don't just take photos head on.  Shoot from various angles; high, low, from above, from below.
  • Take lots of photos.  With digital cameras, there's no film or processing charge.  Remember, if you are lucky, you get one good shot in a hundred.
  • Have prints made of your best photographs, the ones you might want to use in the future, and put them in an album.  
  • Categorize the images.  Plants go in one place, animals, landscapes, and so on in another.  This album is a source of images and inspirations whenever the creative well runs dry.
  • Stabilize your work with a fairly heavy stabilizer to help the piece lie flat and hang properly on the wall.
  • Consider drapery-weight fabric as a backing.  It can add a desirable stiffness to art quilts and also acts as an additional stabilizer during the quilting process.

3979_buy_the_book_0.png

  0

3978_medalliontriangle.jpg
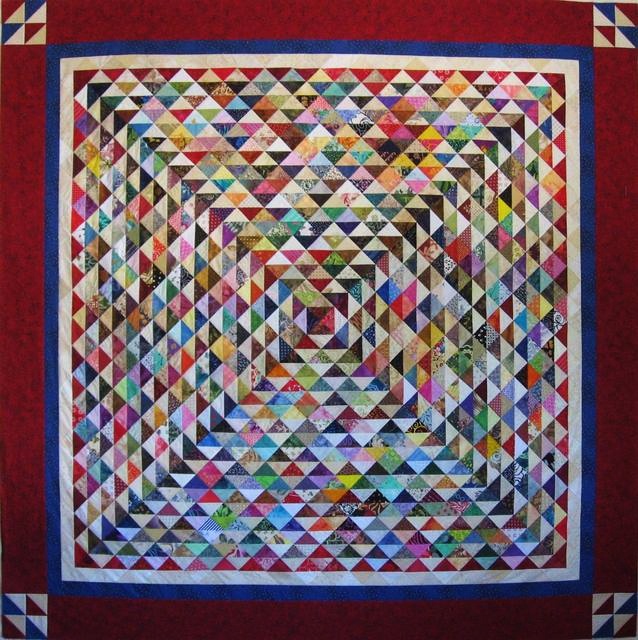
Medallion by fiquilts

It's time to record the story of the recent, exciting TQS Half-Square Triangle/Strip Exchange for posterity! We've been asked by a very ambitious member, CMOELLERS (Carol), to put out a call to all exchange participants.

In recognition of the many, many beautiful quilts being created with the exchange triangles, Carol would like to create a book and DVD to document the process. Anyone who would like to share their own HST Exchange project is welcome to be included.


Your project can be submitted by email or snail mail. 

Submission for entry in prototype due by September 1, 2011 (see #5 below)
Final deadline for submission is May 1, 2012 (see #5 below).

Email is preffered.  Please send all requests for submission to carol.moellers@gmail.com.  If you have any questions regarding the project send them to the address above.  Please keep emails messages to a minimum as Carol wants to reply back as quickly as possible.

1. Submitting your entry

     a.  The subject line of your email should include the words "SOS SoTTT/Batik Exchange Project-My Submission.

     b.  Attach photos of your project (quilt, table runner, wall hanging, etc.) to your email.          

  • Send 2-3 full-view digital photos of your project.
  • Send 2-3 detail photos showing the quilting used in your project.
  • Send a photo of the label on the back of your project.


     c.  If using snail mail, burn the images on a CD.

     d.  Project information (see #3 below)

     e.  Keep deadline dates for inclusion in mind (see above)

2.  Photo Requirements

     a.  Full-view photos must be of the entire project (all sides and edges included).

     b.  No part of the project can be obscured.

     c.  The project must be displayed in full length.  Do not lay your photograph on the floor for photographing.  Use a light or white background in the photograph.

     d.  Please do not stand in the photo or have friends (including pets) in the picture.

     e.  Be sure the digital photo is the best representation of your project as possible.  If you make a garment, try to photograph it on a mannequin, showing the front and back of the garment. 

      f.  Pay close attention to the clarity and color of your photograph.

      g.  Digital photos should be at least 4 MG (megapixel) but no larger than 8 MG saves as a JPEG file.

       h.  Do not send sllides or prints via snail mail.

       I.  Your CD will not be returned if using snail mail.  Please send your CD in a protective case so it will not be damaged during shipping.

3.  Project Information- Include in the body of your email/letter

      a.  Name of your HST project.

      b.  The name of the pattern (commercial or original, giving credit to the artist).

      c.  The size of the project (width & length).  This is not a requirement if it is a garment.  If it is a purse send the approximate dimensions.

      d.  In 300 words or less tell me what inspired you to participate, why you chose the particular design, or anything you want to say to share with your fellow participants.  All HST projects hava a story and this is your opportunity to share your story with others.

      e.  Include your name and/or your TQS screen name.

      f.  Your city, state, country.

4.  Sending your entry via snail mail

      If you choose to use snail mail, send Carol an email requesting a mailing address.  Indicate in the "subject line" of the email-"S.O.S. SoTTT/Batik Exchange-Snail Mail Instructions".

5.  Deadline Dates/Viewing/Buying a Book or DVD/Permission

      a.  A S.O.S. SoTTT/Batik Exchange Book prototype will be available for viewiing at the International Quilt Festival in Houston, TX this November 2011.  If you would like for your project and information to be in the prototype please send it to Carol by September 1, 2011.

      b.  Those not able to attend IQF will be able to see a special Smilebox slide show of the prototype book/DVD.  TQS will announce the slideshow in a Weekend Fun and Daily Blog.

      c.  The final deadline to have all submissions for the S.O.S. book/DVD is May 1, 2012.

      d.  Information regarding when the book/DVD will be available will be announced on TQS in early 2012.  This will include how to order your own copy, cost, postage, etc.

      e.  By submitting your HST projects/information for the S.O.S SoTTT/Batik Exchange Project you are allowing Carol permission to use and share your HST project/story in the book and DVD.

The TQS gand, Edyta, Debbie, Clara, Ritzy, Margo and all the sorting helpers did all the hard work, now it's time for us to have fun and share our completed HST projects.  Now, start sewing and get those SoTTT/Batik projects finished, we have a story to tell.


  0

Gammill is having a blow out sale including the Statler Stitcher.  Savings are as high as $4000

Alex found out that Capt'n John didn't know what a Statler Stitcher was.  So she took him to the Gammill booth to find out.


  0

3963_folkartmuseum.jpg
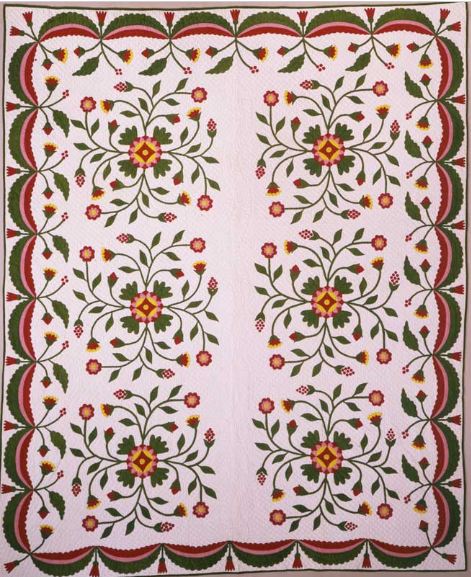
Whig Rose Quilt with Swag and Tassel Border.  Photo courtesy of AFAM

Don't miss your this rare opportunity to view a collection of quilt masterpieces from the American Folk Art Museum.  These rarely shows pieces will only be on view through July 8, 2011.

According to guest curator Elizabeth V. Warren "given the rarity of the fabrics used in most of the museum’s historic quilts, the fine workmanship, and the quilts’ well preserved condition, it is clear that they are examples of “best” bedcovers, saved for use on special occasions or when company visited. During the late 19th and early 20th centuries, when quilts no longer needed to be made for mere warmth, quiltmakers used the art form to express their creativity within the confines of popular decorating trends."  For more information on the American Folk Art Museum click here.

  0

3960_julybom1.jpg
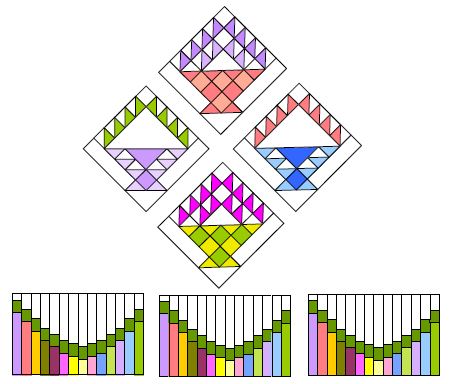
It’s not a surprise, or at least it shouldn’t be: this month you will be making four more baskets and three more pieced swag border units.

3960_july_pattern_0.png

  0

3953_img_1136.jpg
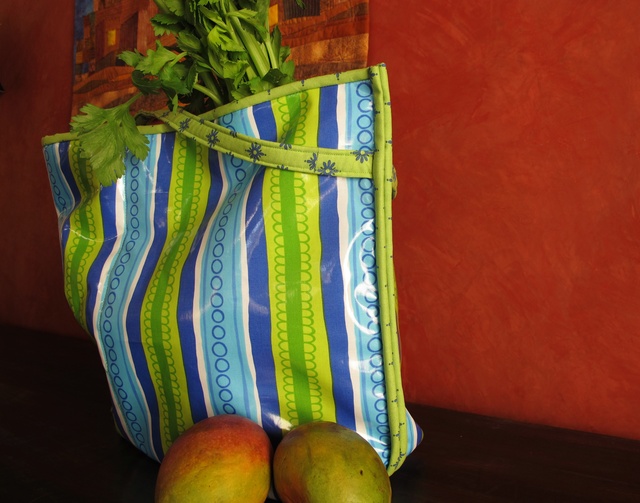
Insulated Market Tote

Laminated cotton is all the rage. It's turning up everywhere! Perfect for everything from totes to raingear, this fun, easy-care fabric is currently available in a wide range of colors and patterns. Knowing how to work with it requires a bit of a learning curve, and we're here to help you glide through the process.


  3953_get_the_details_0.png


  0

3922_sharingstories.jpg

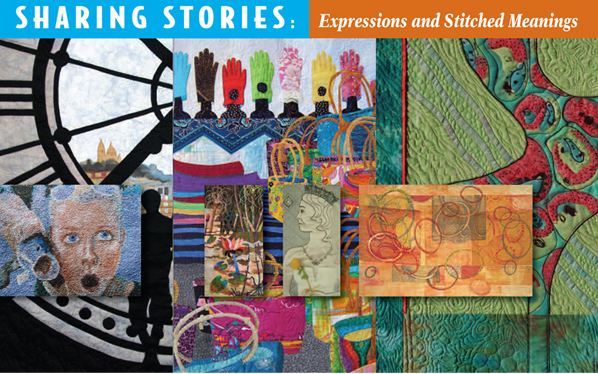
Forget all preconceptions about the quilts of yesteryear.  Using a wide range of fabrics, media, and techniques, today's quilters are producing works of art worthy of hanging in the most prominent of galleries. 

The Studio Art Quilt Associates (SAQA) is offering a number of opportunities for you to view works that are pushing this textile tradition into the 21st century. at the Front Porch Gallery in Carlsbad, CA.

Front Porch Gallery

Opening Reception:  Saturday, July 9 from Noon- 2pm

Exhibit Dates:  July 9 - September 4, 2011


  1

3919_img_2649.jpg
Photo by Gregory Case Photography

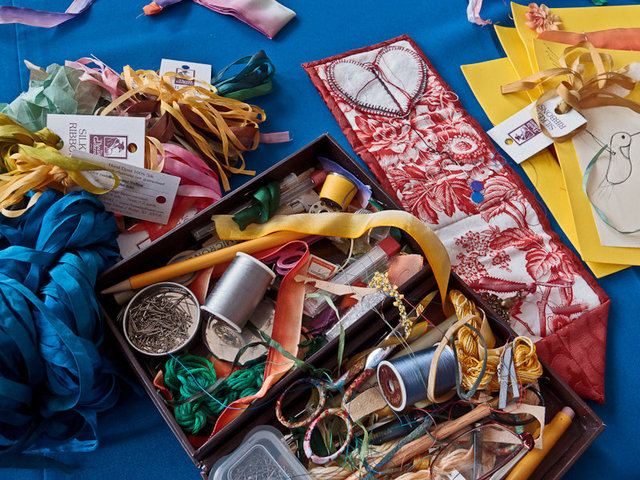
Wendy Grande, our featured artist on Episode 813, shares some helpful hints to guide you in stitching your own luminous, silk-ribbon creations from her book book Ribbon Applique: A Primer.

  • Be sure to check the needle to the thread by threading the needle and rolling the needle and silk between your finger and thumb.  The needle and silk should feel the same dimension.  If you 'feel' more ribbon than needle - use a larger needle.  If there is more needle than ribbon - do a sample stitch in the foundation fabric - if it looks ok-use it!
  • In some cases I have used a sewing awl for the larger ribbons.  Use the awl to spread the warp and weft threads - do not break them.  The first time I made the holes, I started to panic!  Then I pulled the needle through and it quickly filled with ribbon.  I was relieved.  The lesson:  use the awl - it will save your fingers from pulling the needle and your ribbon from fraying on the edges.
  • When working your stitches pay attention to what is happening on the wrong side of your work.  Use your needle to move ribbon out of the way to minimize the layers you pull the stitches through.
  • Always work your petal stitches from the center to the outside edge.  This will ensure the petals lay flat - int may take a little extra ribbon, but the results are worth it!
  • Office Dots - Fold them in half, then quarters, then eighths and use them as a guide for the centers of flowers.  The folding leaves a line that i use to line up my needle.  This process helps me to keep the petals straight!
  • Keep your stitches close together to minimize the ribbon that might show through the foundation fabric.
  • Use a light hand when pulling the ribbon - the puffiness of the stitches adds a nice dimension.

3919_buy_wendys_book_0.png

  0

3892_20100504r35w4fbccffgtgrenh9fs3hwbb.jpg

Here's some great news! Bernina is providing TQS with thirteen, brand-new instructional videos to help you expand and sharpen you machine-stitching skills.

A new video will be introduced every other week, beginning Friday, June 10. Don't miss this stellar opportunity to explore a whole new range of possibilities for working with your machine, its stitches, and its various feet.

In the first video, Double-Needle Stitches, you'll learn to attach ribbons to your projects using double-needle stitching and a #20 foot.

Click on the button below or the banner in the upper-left border (of the wesite) any time, for these short, informative sewing lessons.

3892_learn_more_1.png

  0

3875_img_0889.jpg

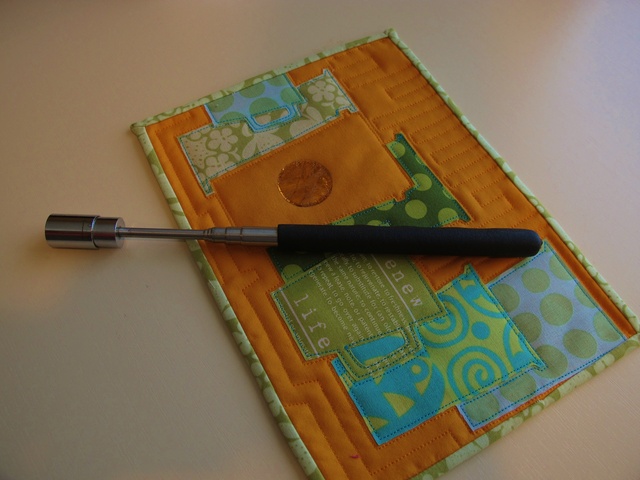
Last week, we shared the home and studio of Lauren Vlcek, a talented doll and mixed-media artist. While photographing in her studio, we came upon this "cool tool" that Lauren found at a local hardware store.

3875_img_0887.jpg

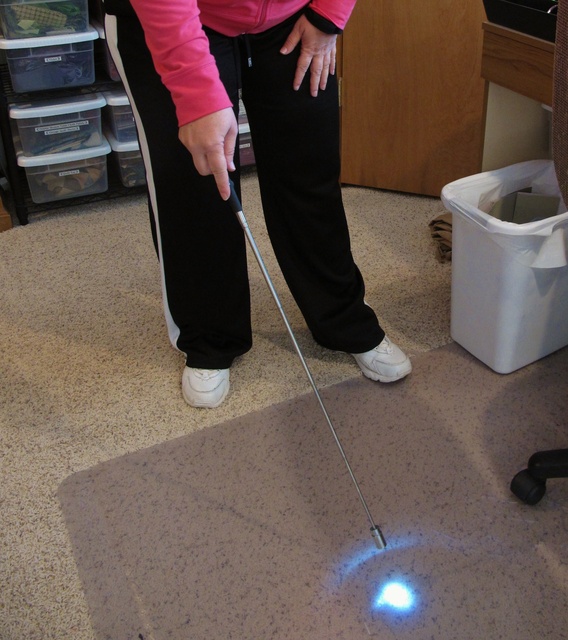
It's a telescoping magnet light.

In an effort to avoid unnecessary trips to the vet with Charlie the Boston Terrier, Lauren is always on the lookout for runaway pins. This telescoping magnet allows her to sweep across the floor while listening for the familiar clink that signals that a pin has been "caught." The light helps in darker areas, such as under her sewing area or worktables.

Do you have any 'cool tool's to share, send us a note here.  3875_button_1_0.png