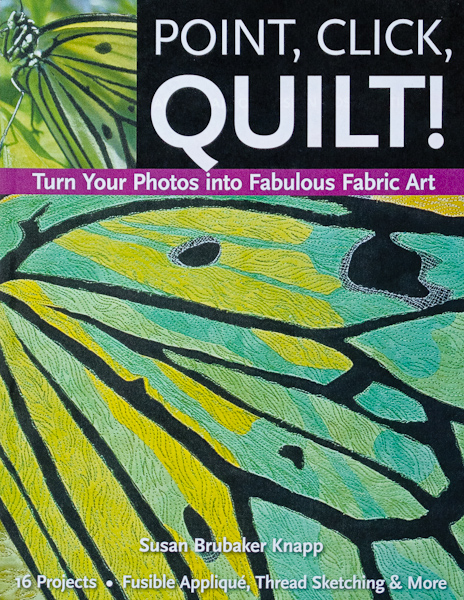
Have you always wanted to create a quilt using your own photographs? Not sure where to begin? Let Susan Brubaker Knapp walk you through the entire process--start to finish--in her book, Point, Click, Quilt! Here are a few great tips from Susan to get your "wheels" turning.
- Take photo both vertically and horizontally. While we naturally see the world horizontally, some subjects beg to be shot in a vertical format.
- Take photos at different times of the day if you are not happy with your initial results.
- Don't just take photos head on. Shoot from various angles; high, low, from above, from below.
- Take lots of photos. With digital cameras, there's no film or processing charge. Remember, if you are lucky, you get one good shot in a hundred.
- Have prints made of your best photographs, the ones you might want to use in the future, and put them in an album.
- Categorize the images. Plants go in one place, animals, landscapes, and so on in another. This album is a source of images and inspirations whenever the creative well runs dry.
- Stabilize your work with a fairly heavy stabilizer to help the piece lie flat and hang properly on the wall.
- Consider drapery-weight fabric as a backing. It can add a desirable stiffness to art quilts and also acts as an additional stabilizer during the quilting process.


.jpg)
