Photo by Gregory Case Photography
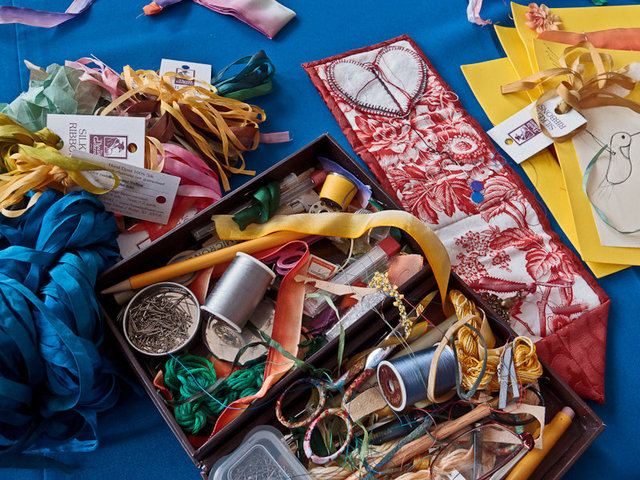
Wendy Grande, our featured artist on Episode 813, shares some helpful hints to guide you in stitching your own luminous, silk-ribbon creations from her book book Ribbon Applique: A Primer.
- Be sure to check the needle to the thread by threading the needle and rolling the needle and silk between your finger and thumb. The needle and silk should feel the same dimension. If you 'feel' more ribbon than needle - use a larger needle. If there is more needle than ribbon - do a sample stitch in the foundation fabric - if it looks ok-use it!
- In some cases I have used a sewing awl for the larger ribbons. Use the awl to spread the warp and weft threads - do not break them. The first time I made the holes, I started to panic! Then I pulled the needle through and it quickly filled with ribbon. I was relieved. The lesson: use the awl - it will save your fingers from pulling the needle and your ribbon from fraying on the edges.
- When working your stitches pay attention to what is happening on the wrong side of your work. Use your needle to move ribbon out of the way to minimize the layers you pull the stitches through.
- Always work your petal stitches from the center to the outside edge. This will ensure the petals lay flat - int may take a little extra ribbon, but the results are worth it!
- Office Dots - Fold them in half, then quarters, then eighths and use them as a guide for the centers of flowers. The folding leaves a line that i use to line up my needle. This process helps me to keep the petals straight!
- Keep your stitches close together to minimize the ribbon that might show through the foundation fabric.
- Use a light hand when pulling the ribbon - the puffiness of the stitches adds a nice dimension.


.jpg)
