4

As promised, here are more quilts from the annual Arizona Quilter's Guild show being held at the Mesa Convention Center in Mesa, AZ this March.  This time we included the Best of Show, Hall of Fame, and Award of Merit Winners.

Click here to see Part 1.

Click here for a complete list of winners.

Click to play this Smilebox slideshow


  2

1_alex_2.jpg

Sign up for the "Quilting with Alex Anderson 2016 Retreat" this Fall in Pleasanton, CA. Join Alex and her guest teacher, Becky Goldsmith of Piece O'Cake Designs. Required skills:  A good sense of humor and the ability to have fun with those who share their passion.

Click here for all retreat details.


What to Expect:

A fun-filled four days and three nights of sewing, laughing, shopping, and eating.  Bring a quilt or two to share at show and tell and plan to visit some of our local quilt shops. Enjoy learning opportunities with Alex and Becky.  Attendees can attend the guest lectures and classes and/or bring your own project(s) to work on. Alex and Becky will be available all day, every day to help you with your projects and demonstrate tips and techniques. Our sewing room is open 24 hours a day.  Sew on your own schedule.  Enjoy shopping at our on-site, full-service quilt shop, provided by Cotton Patch and visit several local quilt shops within easy driving distance.


Dates: 

No Frills Early Start: 9/28/16 at 12 noon - 9/29/16 3:00 PM

Retreat: 9/29/16 3:00 PM - 10/2/16 12 noon

This year the retreat will be held at the Marriott Hotel, 11950 Dublin Canyon Road, Pleasanton, CA 94588 - 925-847-6000

This is our first year at this venue and we are excited to find this gem hidden away yet so close to everything.

  11

Watch in awe as these amazing artisans painstakingly create beautiful Moroccan art.

  8

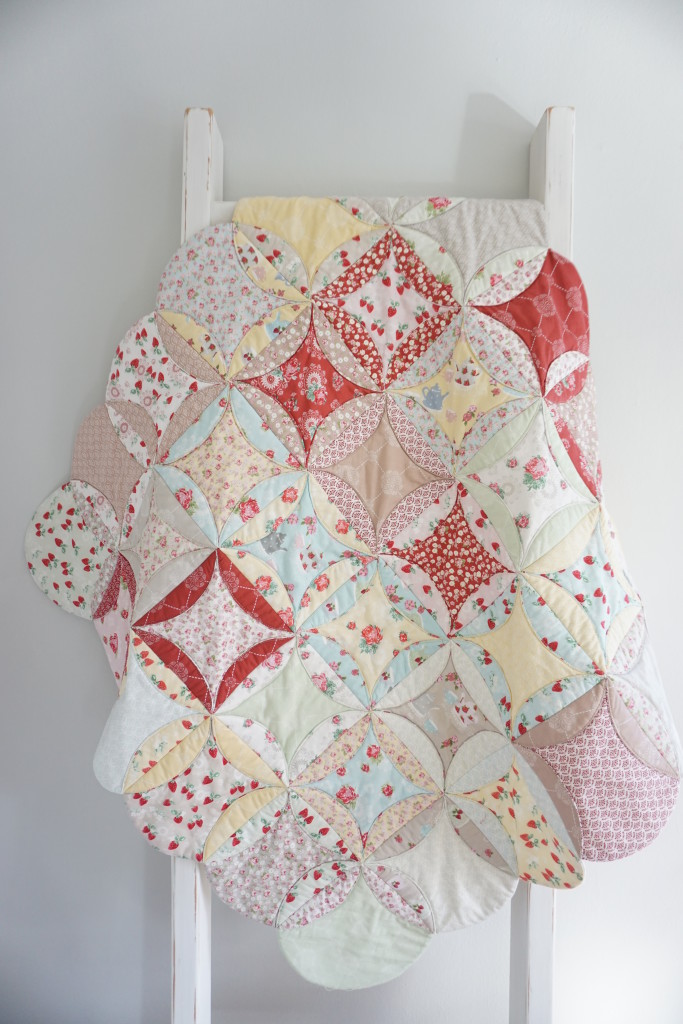
Intimidated by Cathedral Windows? Jera Brandvig at "Quilting in the Rain" has a terrific method for creating a Cathedral Windows quilt using a "no-binding, quilt-as-you-go" method that will have you finishing in no time. The back looks so good, it's practically reversible.


  5

Who can resist a stack of freshly made pancakes, covered with the first ripe strawberries of the season? Now, there's no need to ever resist this wonderful breakfast treat. This is a recipe I've been using for years and it's the only way I can imagine eating pancakes. When I get up in the morning, I can whip up this recipe-for-one, to make some wonderful strawberry pancakes to have with that first cup of coffee!

Known around the internet as "protein pancakes," the recipe's so simple, there is no need for a link. In a food processor or blender combine: 1/3 cup each of oatmeal, cottage cheese and 2 egg whites. Add a pinch of salt, a dash of vanilla and a sprinkle of Splenda. Whir together, while you have a pan heating on the stove with a bit of oil spray in the bottom (don't forget the oil spray!). Pour the batter out into three equal sized rounds. Cook at a medium heat for 2-3 minutes, then spray the top of the pancakes with oil before flipping. Cook for 1-2 minutes longer. While they are cooking, mash 3 or 4 strawberries and mix with a bit of sugar free syrup for your topping. Slice the rest of a cup of strawberries and arrange on top of your pancakes.

Dig in, and enjoy guilt-free! 

Visit Debby's healthy living blog by clicking here. 

  17

In Lesson 6, Sharon teaches you how to draw a hexagon.

  13


Congratulations to TQS Member, Judy Shelton, winner of the fabulous BERNINA 570 QE!  Judy has been a member on the site for years and is also the current President of the Gold Coast Quilter's Guild in Boca Raton, Florida.
 
Have fun with your new machine, Judy!

  12

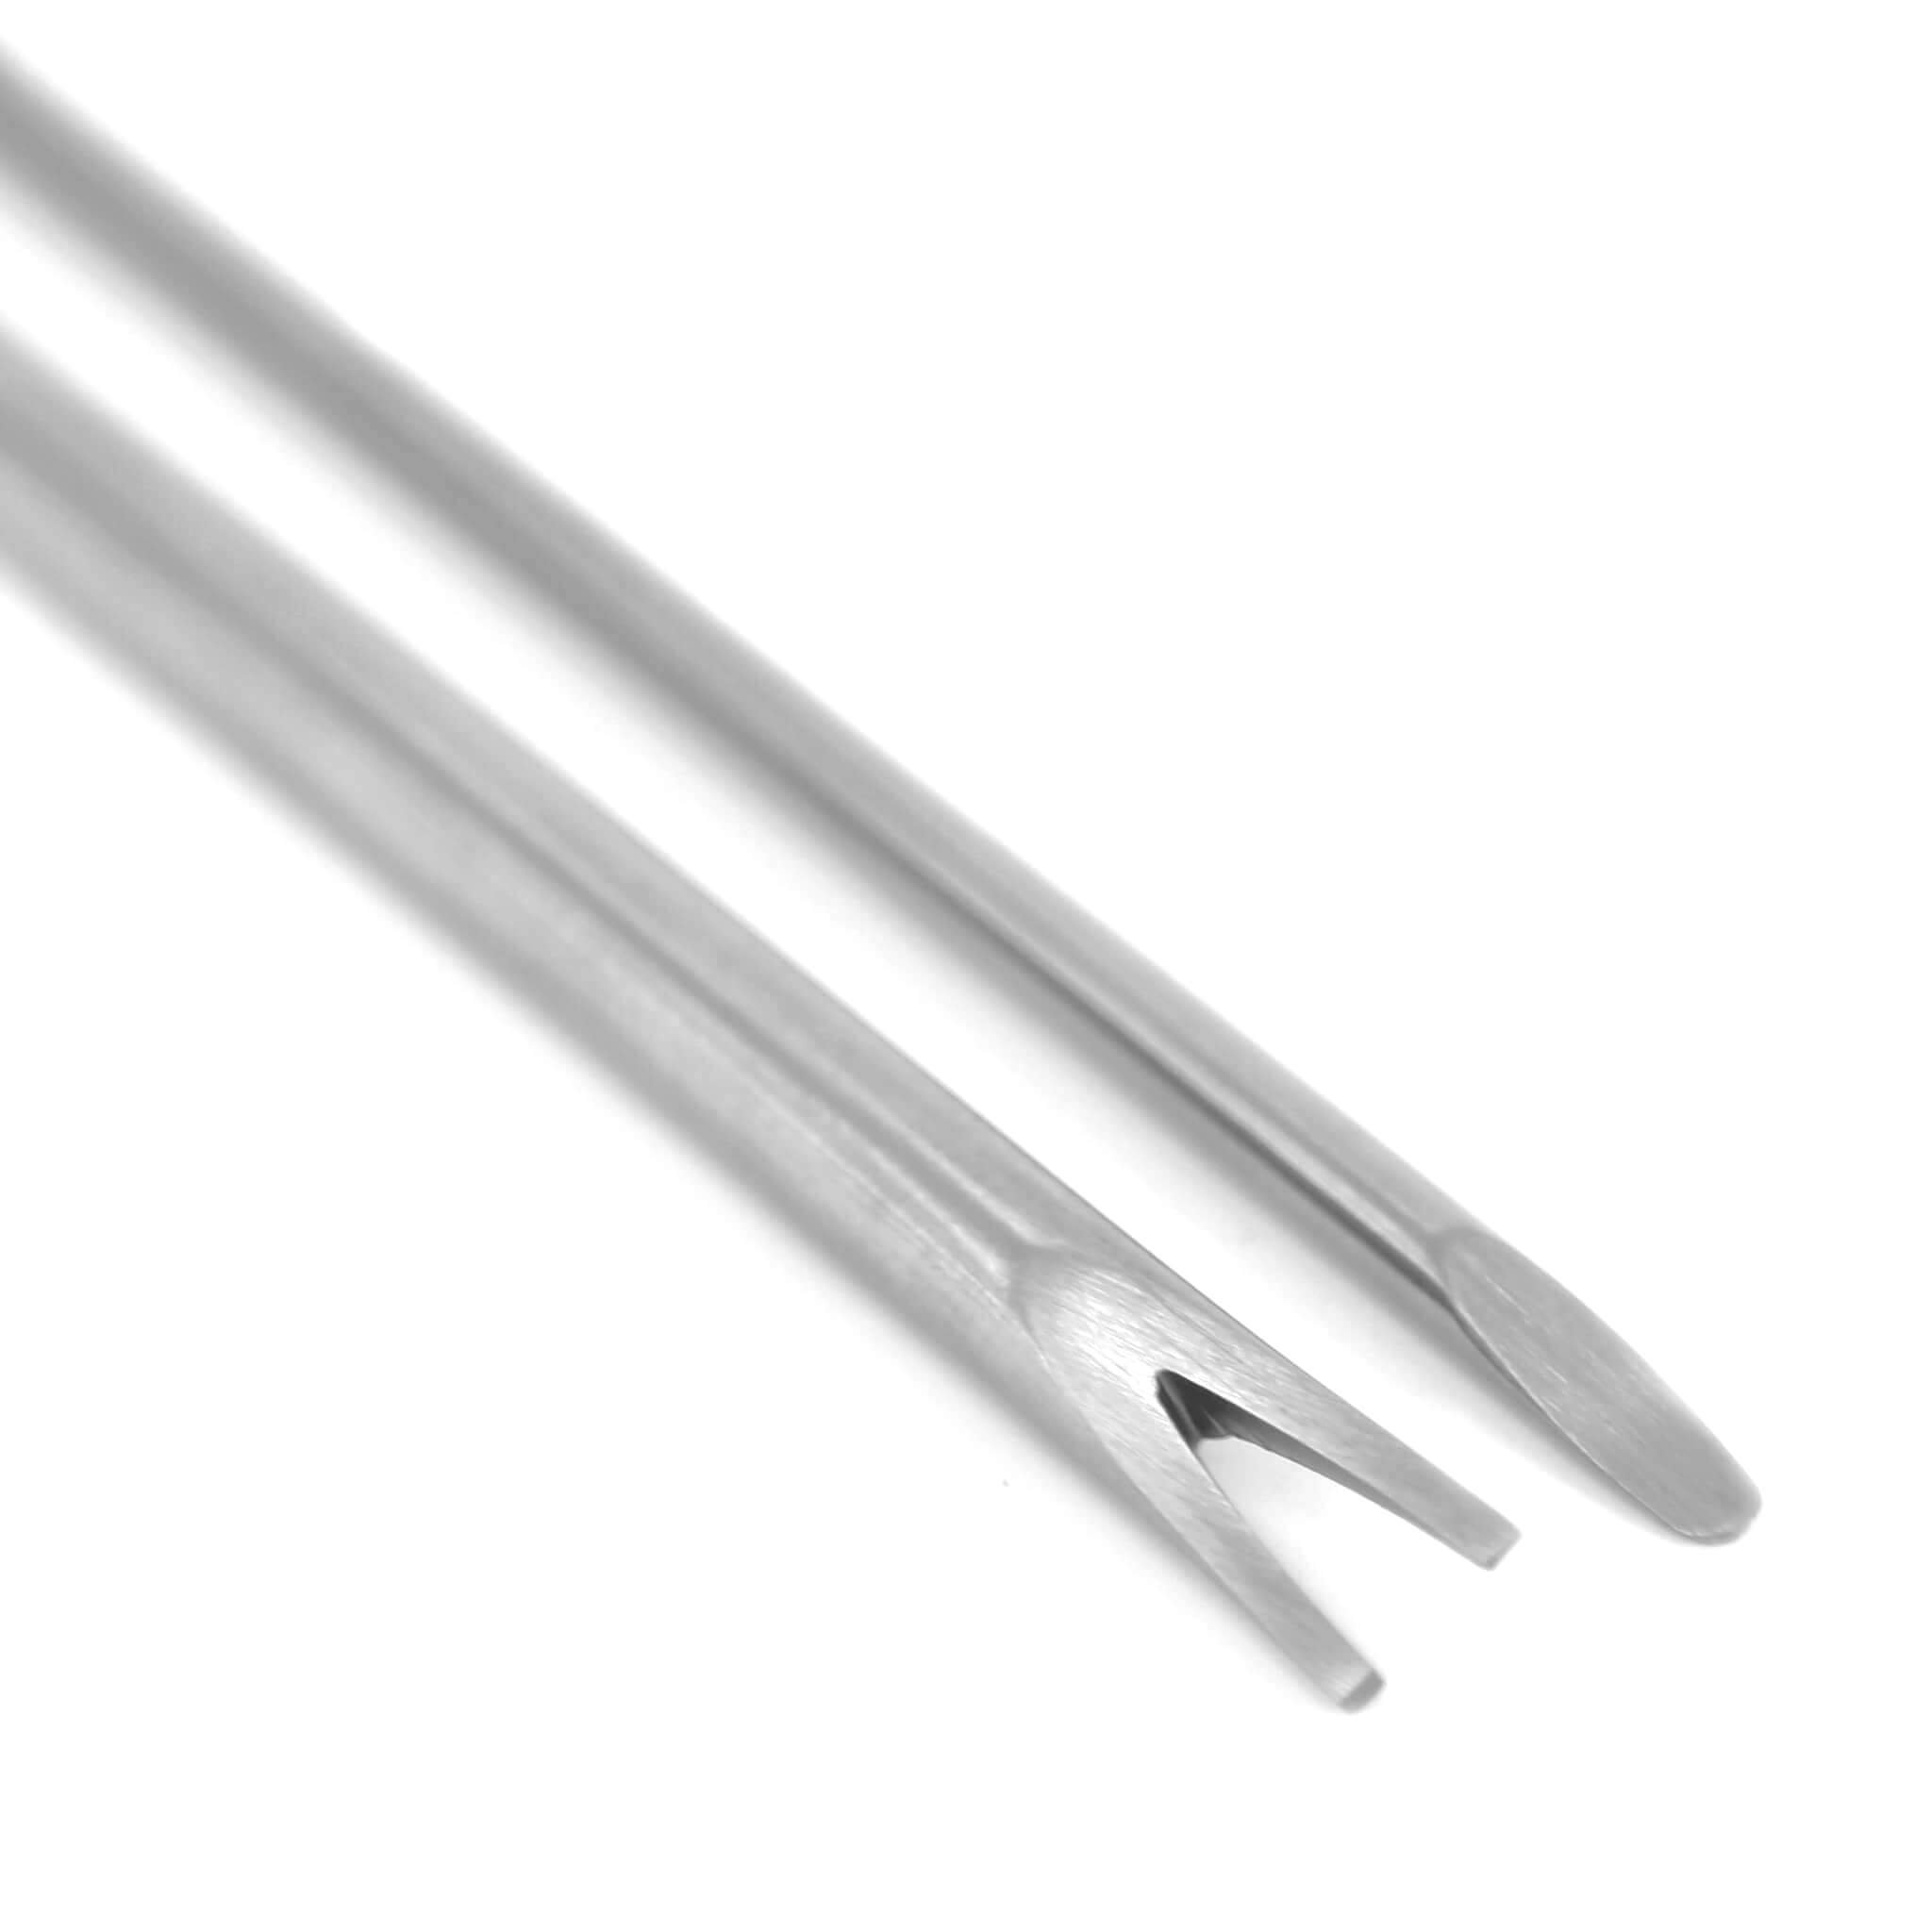
Do you know how pins and are needles are made? This fascinating video from "How It's Made" walks you through the steps required.

  4

When you are on the road, you occasionally come across an unexpected treasure.  Such was the case when TQS the annual Arizona Quilter's Guild show being held at the Mesa Convention Center in Mesa, AZ this March.  There were many fabulous quilts on exhibit.  Here are just a few.  There will be more to come.

Click here for a complete list of winners.

Click to play this Smilebox slideshow


  27


(Photo by Gregory Case Photography)

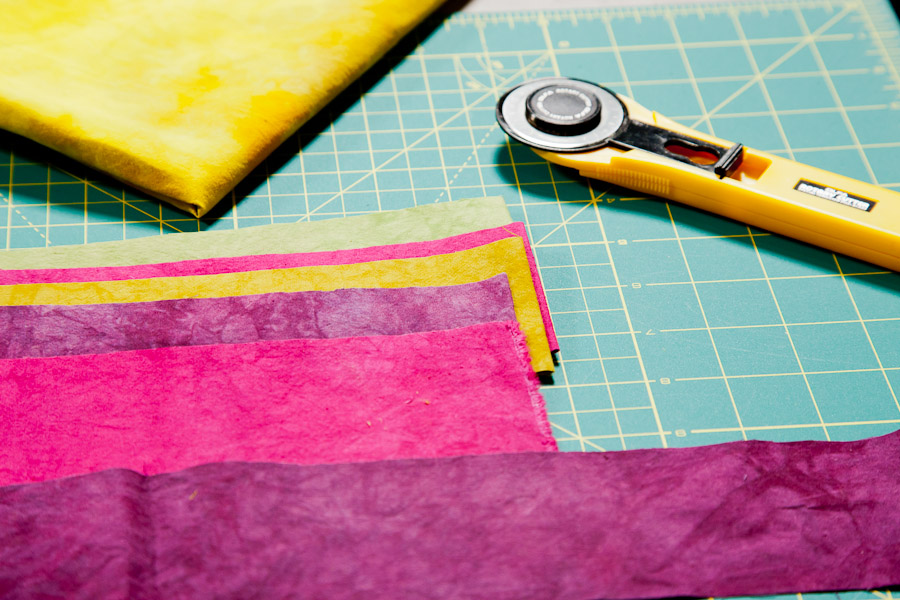
This week's homework is to go through your rotary cutting mat collection. A rotary cutting mat is one of those basic workhorse tools that every quilter should have in their workspace. As you go through your collection, take note of cutting mats that you have, their condition and what you might need. Exactly how many cutting mats and what type does one quilter really need? Well, that depends on each individual. Some quilters prefer a basic group of cutting mats, while others love having a wide range.

Rotary mats come in a variety of sizes, colors and specialities (rotating & folding). Whether you like a cutting surface that is green, gray, yellow, pink, white or blue mat is your personal preference, but keep in mind that some surface colors might be more visually difficult/distracting for you personally, so do a bit of research before investing in a specific brand.

Quilters Select cutting mats offer a light/dark grey side with two sets of corresponding numers to keep your place when cutting Olfa mats are green on both sides, but only one side has pre-marked measuring lines. Some quilters prefer to use the non-measuring side. Do you often work with patterns in metric measurements? Havel's Sewing offers a mat in hot pink with metric measurements one one side and inches on the other. While June Tailor offers a mat that is a two-sided cutting mat and pressing surface in one.
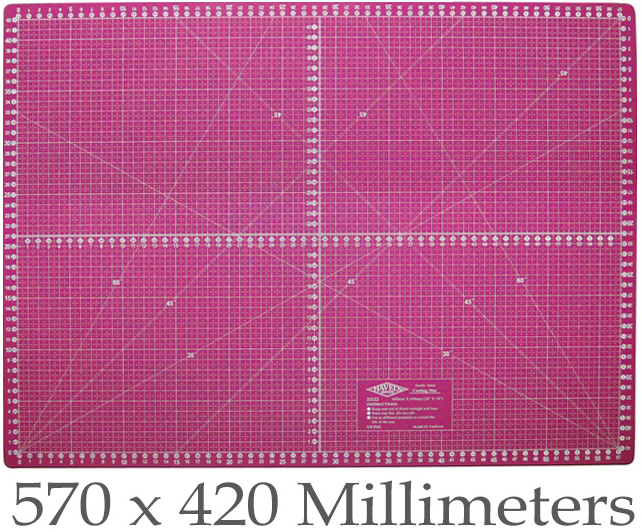
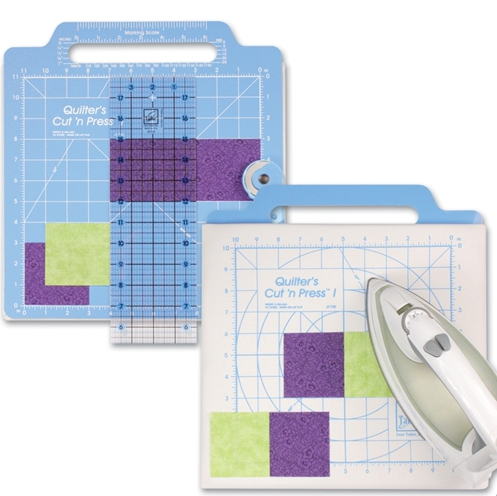
                                          

                                                                    (Havel's Sewing)                                                                               (June Tailor)
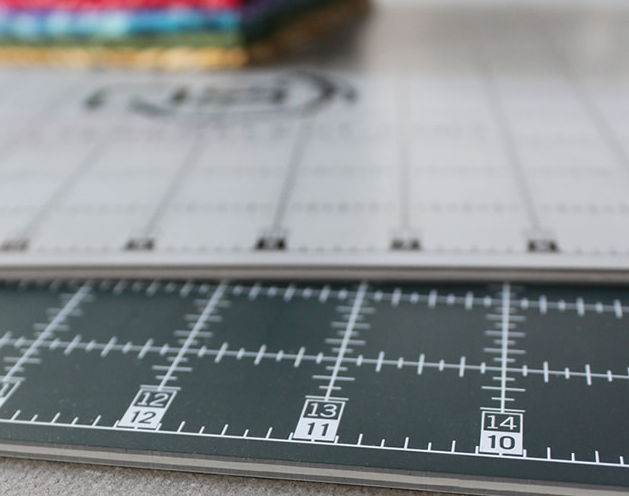
 
(Quilters Select)

A good basic set of rotary cutting mats that you will get the most use in your work space should include the following:

18" x 36" - quilting workspace
18" x 24" - quilting workspace
12" x 18" - good for class or travel

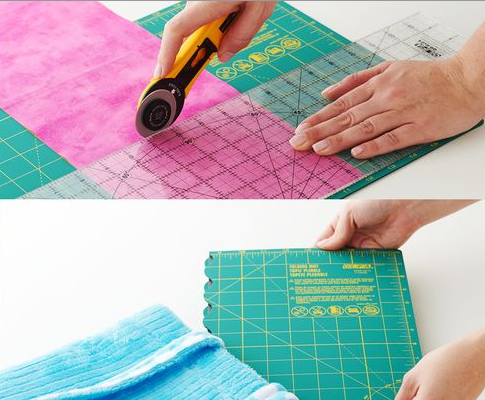


Don't have a lot of dedicated space for cutting or want to take a cutting mat to a class/retreat? Olfa offers a folding cutting mat in two sizes. The smaller fits nicely into a tote.
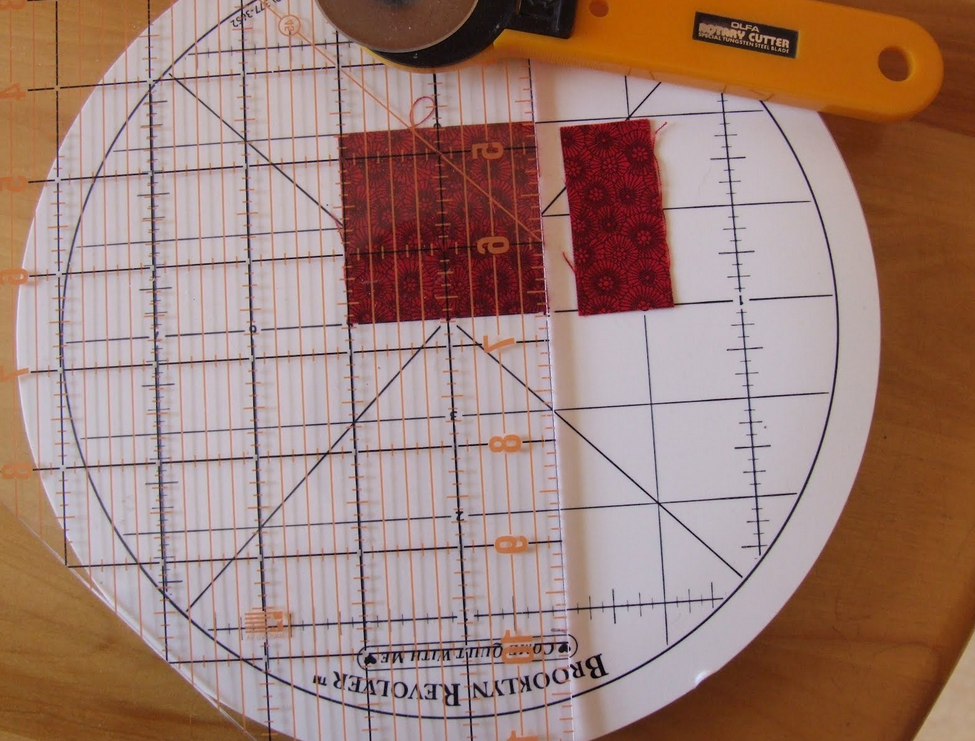
                             
                                                 (Brooklyn Revolver)                                                           (Olfa Rotating Mat)

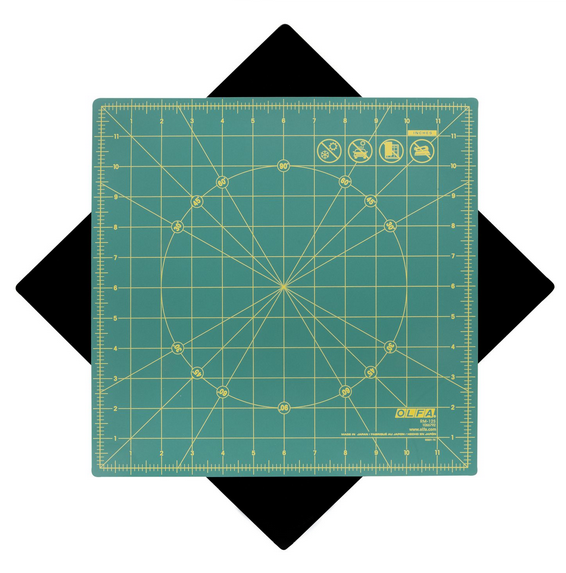
Round and square rotating cutting mats are also an option for those who don't like to shift or lift fabric pieces as they cut. These smaller cutting mats also fit easily into a tote for a retreat or class.

Rotary Mat Care:

No matter what mats you decide to have in your sewing space, like other tools that need cleaning, your rotary cutting mat also needs care and maintenance.

  • Remove lint, bits of threads and fuzz off your mat by using a gum art eraser that can be purchased at a local art supply store. 
  • Use a small plastic net scrubby (the kind you find in the kitchen cleaners area), gently rub in a circular motion to remove imbedded items.

Did you know that your cutting mat needs moisture just like your skin. Who knew? Kelly Hanson from National Quilters Circle has a great tutorial for cleaning your mat:

  • Soak the mat flat for 15-20 min in a container or tub with a mixture of 1/4 cup (60ml) white vinegar to 1 gallon of cool water (just under 4 liters). The mat must lay flat the entire time.
  • After soaking, add a small amount of very mild detergent (such as Palmolive, Ivory) into the cool water.
  • Using a mushroom brush, gently brush the entire surface of the mat and rinse in cold or cool water.
  • Place wet mat between two lint free towels on a flat surface and blot dry.

Broken or damaged Mat:

  • If your mat is broken beyond repair, why not repurpose the better sections of it? Using an older rotary cutter, cut a smaller mat. This will require some elbow grease. It may take several cuts to get the original mat to snap apart and break off. This smaller mat can be used in a pinch by your machine or at a class.

While we don't recommend this method for fixing a warped cutting mat, Charley Hanney of Olfa Deal's says this works about 85% of the time. This might be worth a try before going out to purchase a new one. 

  1. Get a piece of heavy plywood 3/8"-1/2" thick. Make sure it is not warped.
  2. Lay the plywood on concrete, and ONLY concrete, in a totally all day sunny area. The concrete is imporatnt
  3. Put the damaged mat on the plywood.
  4. Using HEAVY PLATE GLASS (NOT WINDOW GLASS) which you may find on a table top, a dresser top, or shelf glass  Any combo, and cover the mat so that mat is completely covered.  Not just the affected area...THE WHOLE MAT. The glass can extend over teh edges of the mat.
  5. Leave this set up in the totally sunny area all day.  No moving, no peeking, just leave it alone.
  6. Early the next day, after the mat has cooled overnight, your mat should be straight.


Click here for links to other Organization articles.