10


(Photo by Gregory Case Photography)

Markers, pens and colored pencils are another way of adding interest to your quilts and sewing projects.  Enticingly displayed at art stores and craft shops, these jewels of enticing color can make even the most strong willed individual thrill with excitement.  These items are often collected randomly in mugs, plastic bags or laying on your work table.  This means trouble!  Pencils, which are prone to breakage by rolling off tables and pens and markers dry out when not stored properly. Then, finding what you want is a huge frustrating task as you sort through all the mugs and bags. 

So gather up all of your markers, pens and pencils and lets get organized to keep them all ready to be used when you need them.


Color Your World recommends these tips for keeping your items at their best shape:

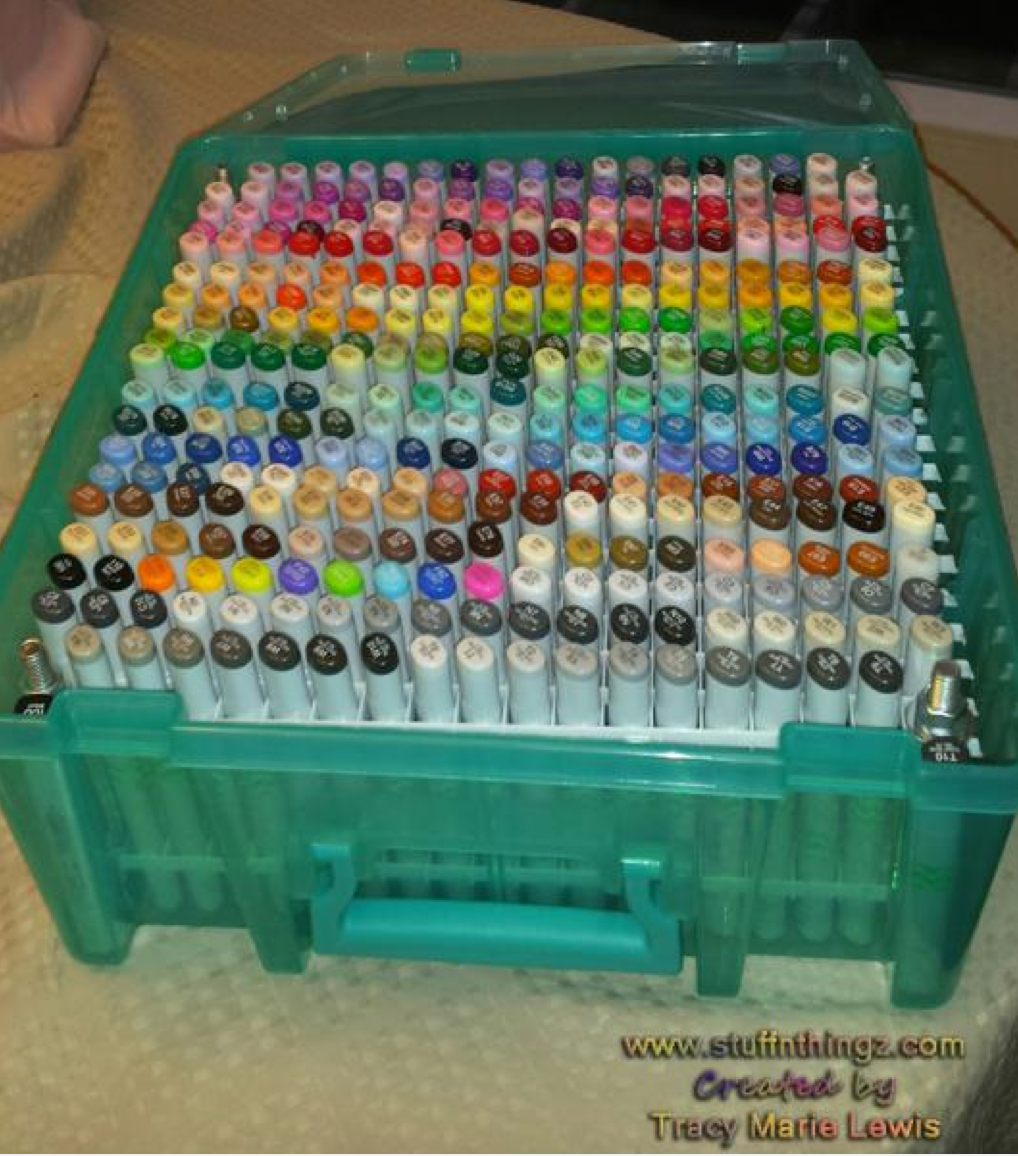
  1. Store dual-ended markers and pens horizontally.  If you store markers, like Prismacolors and Tombows, on their ends, the ink will settle at one tip and the other may dry out. Storing them flat will  make the pen or marker last longer because the ink in the barrel is less likely to dry out in general.
  2. Store single-ended markers and gel pens vertically with the capped tip facing down. This way the ink stays at the nib and is ready to go when you are – no slipping or streaking.
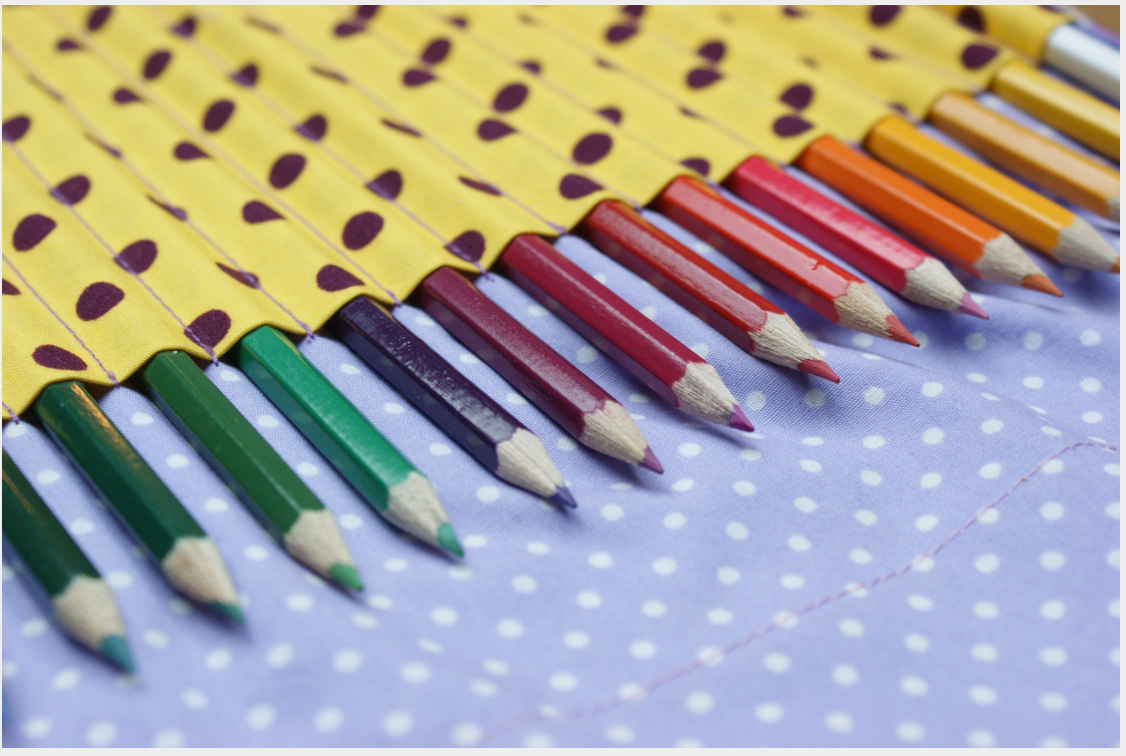
  3. Store colored pencils vertically or horizontally. If vertically, make sure the sharpened tips are pointing up. The tips are less likely to snap off and you won’t have to sharpen them as much. If you store them horizontally, place a piece of foam or fabric over the tips to protect them.
  4. Always keep your colored pencils in a container.  If a colored pencil falls on the floor, not only will the tip break, the core can shatter making it practically impossible to sharpen – ‘bye ‘bye pencil. If you are using a lot of a few pencils in one sitting, keep a little tray or cup handy to hold them.  You won't have to keep digging through your whole collection for the same color over and over and it keeps them from rolling off your work surface. I kept a couple of the divider trays that came inside my Prismacolor pencil tins for this.
  5. Keep colored pencils stored away from direct light or heat. It can be a nasty surprise to have a pencil lay down a glop of color when you wanted to use a light hand.
  6. Organize large collections in groups of similar colors. To make this easier, have one section of your storage for color groupings based on the basic Color Wheel.  You will have an easier time finding just the color you want.
  7. Keep your markers and pens tightly capped. Some manufacturers say that you can leave them uncapped for up to 24 hours and the tips won’t dry out.  This may be the case, but the ink will keep evaporating from the pen – such a waste. Keep ’em capped.

Now it's on to the fun ideas we found.  Once again, we offer ideas for two types of creative spaces.

Options for Clean and Clutter Free 

If you prefer a clean and clutter free space, consider these options for storing your embellishment items.  Each offers a close at hand, organized solution without being a visual distraction.

                        1. 2.
 3.


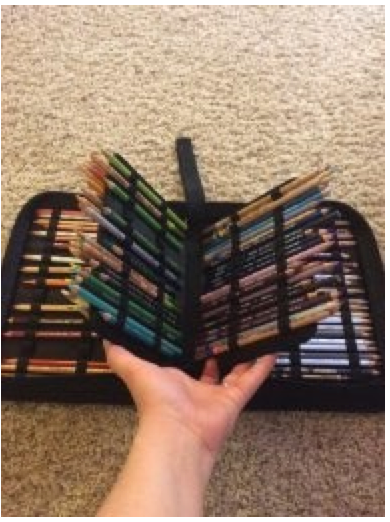
1. Tran Delux offers pencil cases that hold assorted numbers of pencils.
2. LoveMeSew shares a tutorial for making your own pencil case.  (article no longer available)

3. StuffnThingz created a dedicated storage box for her markers.

Options for Visual Inspiration and Admiration

Do you prefer a visually inspiring space, or love having your collections of pens, pencils and markers out in the open and easily accessible? The following ideas might just be the perfect solution.

  1.   2.


 3. 4.

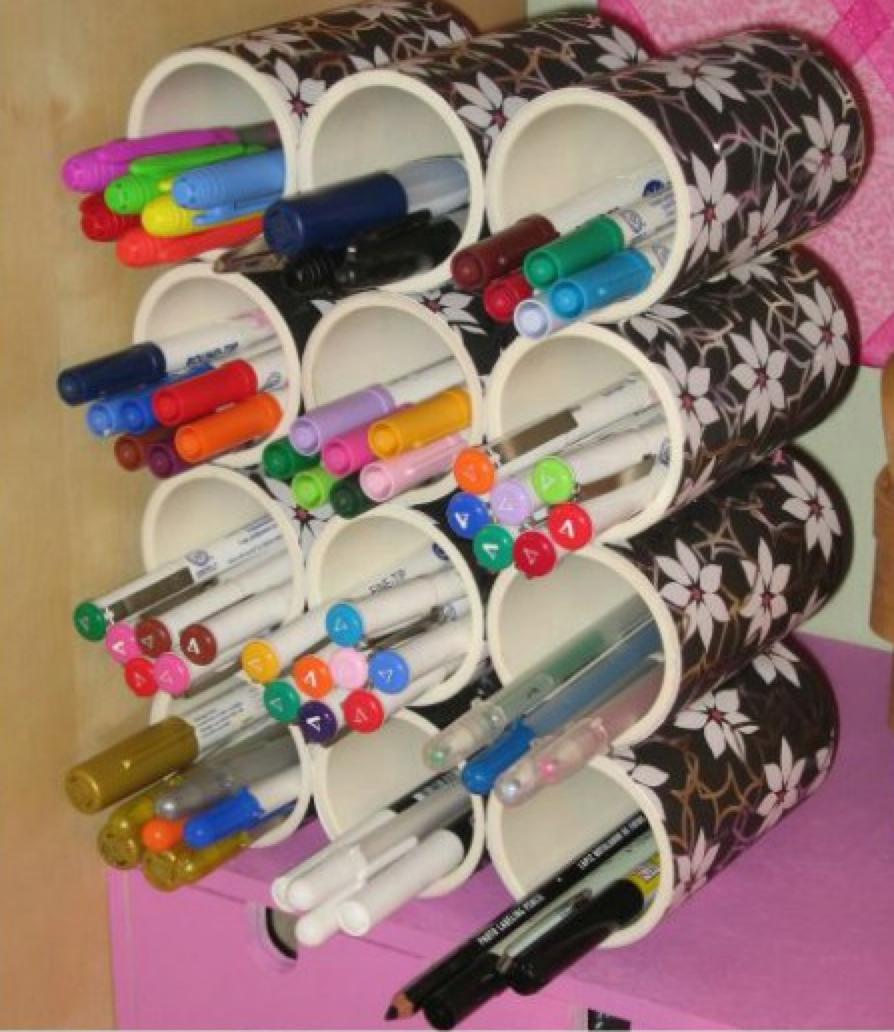
1. Tangii at TheInkingSpot used ordinary household drain spout material in PVC form cut into 5 1/2" lengths and glued together with contact cement.  A bit of spray paint in your choosing is the perfect finish to this project. 

2. DIYCrafts shares another idea using PVC pipes.

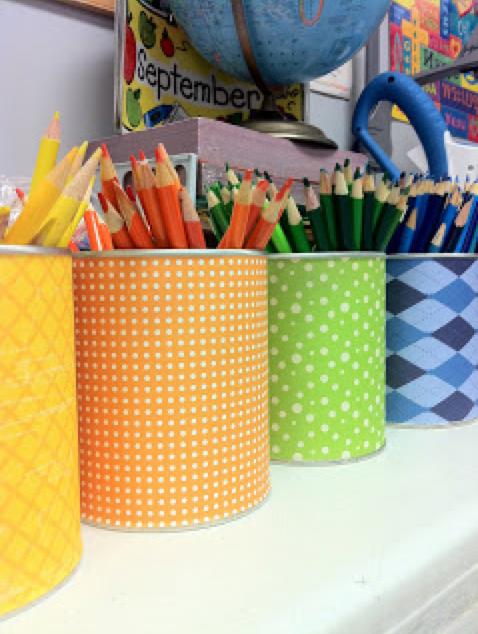
3. Baby formula cans covered in pretty colored paper from Allthingspink.  Any can in the right size and shape will do.

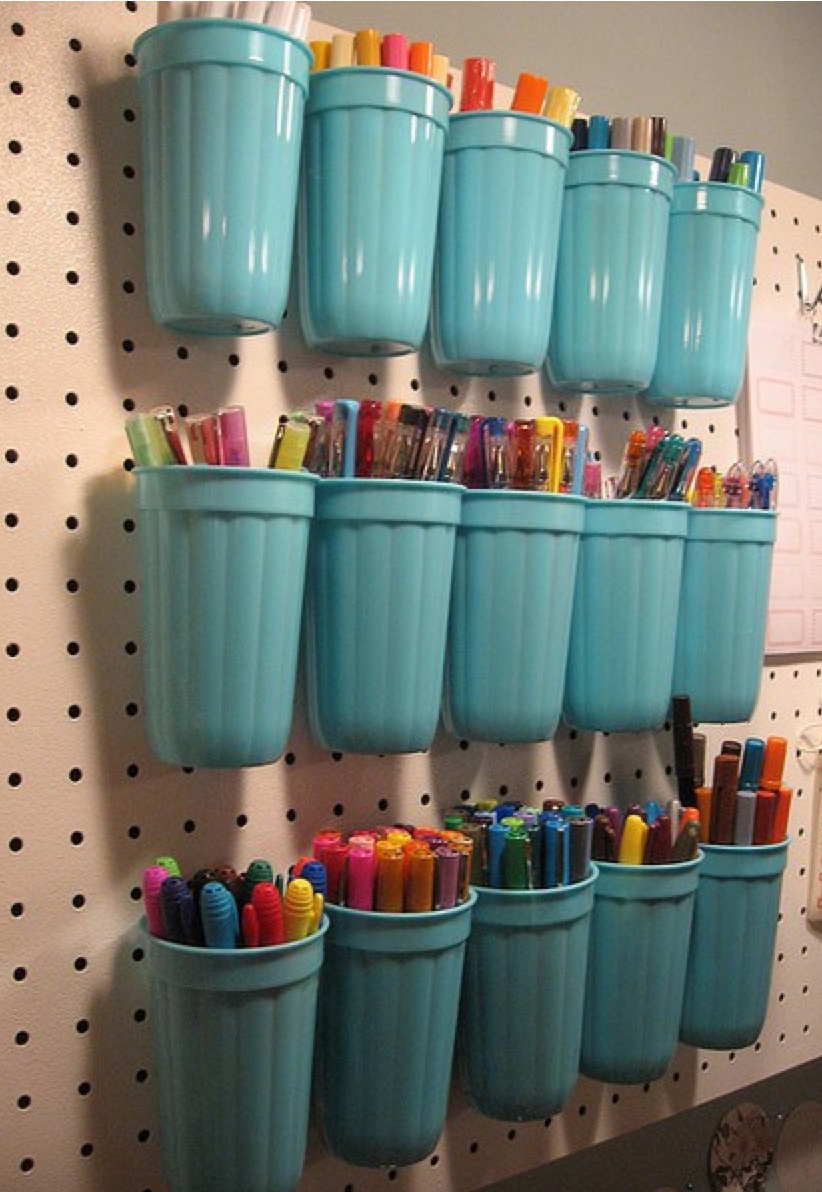
4.  Look for heavy plastic cups that can be hung on a peg board to organize your pens.  Just drill a hole in the back and use an "S" hook to hang on the peg board. 


5. Pencilpets shares a clever way to make a lazy susan style pencil holder.

  5

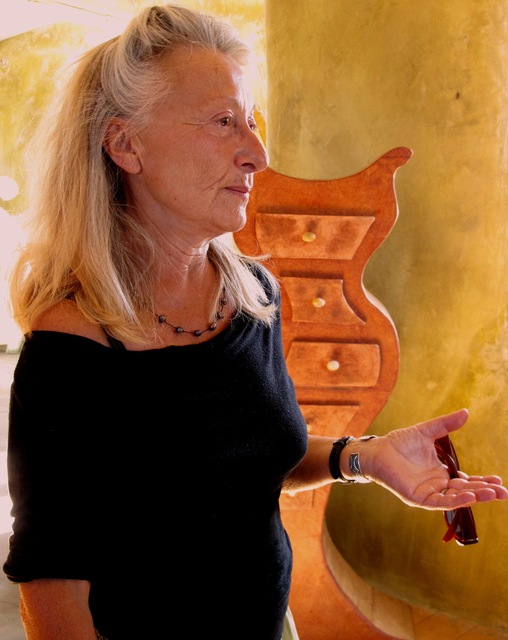
4470_img_1633.jpgIn a time when so many things are made of plastic, it's refreshing to find an artist whose works are created using such seemingly basic and ordinary items as paper, cardboard and twigs. Join us as we visit the studio of Clodie Francois of Mesdames Carton.
(Photo: Clodie Francois of Mesdames Carton.)

The Magical Work of Clodie Francois
by Lilo Bowman

Perched high on a mountain at 7,000 feet, near the village of Chamisal, New Mexico, is the home and studio of Clodie Francois (Mesdames Carton). The beautiful scenery provides a stunning backdrop for the whimsical furniture and lamps produced by this petite, self-taught artist.

In 1988, Clodie traveled with her two children from France to the town of Ojo Sarco, New Mexico, to join her husband, Maximilien. Clodie very quickly fell in love with the area and never returned to her native country. In 2002, the family moved to their current mountain-top location.

Born in Paris, Clodie graduated from La Sorbonne with a degree in literature and psychology. For a number of years, she taught high-school-level art classes to at-risk students, at the same time pursuing her love of the theater (both on stage and backstage). She was able to combine her desire to write with her passion for the theater by becoming a journalist for the daily newspaper, Liberation, covering stories focused on art and the theater. 

The move to New Mexico also led Clodie to re-evaluate her skills. It was during this time that she remembered her friend Eric Guiomar, the creator of furniture designed using cardboard. She placed a call to Paris—which started her on a path that she now feels was destiny. Eric was very enthusiastic and willingly shared his furniture-building process. Over time, with a combination of Eric’s help and her own creative spirit, Clodie became an expert in the artform.   By using recycled wood and introducing her own whimsical and theatrical touches she created her own style.

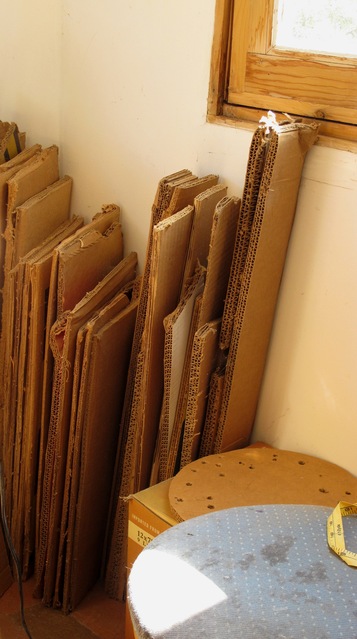
An idea for a new piece can come at any time, so Clodie carries a little notebook for recording quick sketches. Once an idea has formed on paper, she begins the long process of producing it as a three-dimensional object using corrugated cardboard. This particular type of cardboard—used for transporting watermelons and other large produce—is very difficult to come by. Clodie collects boxes from local stores when they call to tell her that boxes are available.

4470_img_1624.jpg

First Clodie draws a full-sized pattern on sheets of this scavenged cardboard. She makes multiple copies, which serve as the “frame” of the piece. Using a special technique, she "weaves" the shapes together to form the structure. This weaving technique results in a finished piece that is lightweight, but very strong, which Clodie, less than 5' tall, demonstrated by effortlessly lifting a chaise lounge. She then asked me to sit on the piece, which was remarkably sturdy and comfortable because of the elasticity of the cardboard. 

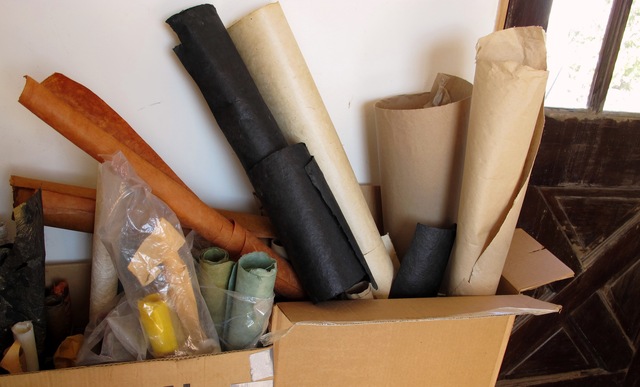
Once the structure has been built, she adds another layer of cardboard. Some pieces are made exclusively from cardboard, others combine wood for added stability. Then the real magic begins. Clodie covers some of her pieces with lacquered sheets of handmade paper from Nepal. Others are lacquered with thousands of pieces of white tissue paper with pigment sandwiched between each layer. This soft, lacquered pigment provides an impenetrable, waterproof barrier, which at the same time adds an ethereal beauty.

4470_img_1625.jpg

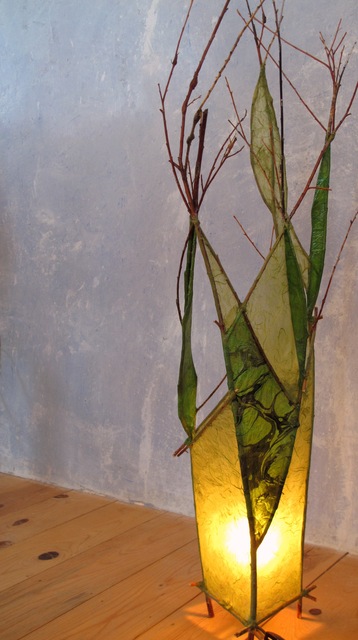
As she focused on making furniture, Clodie realized she needed light to showcase her creations.  This brought another idea: Why not make lamps? Clodie's lamps are made using willow that she cuts while on her daily walks along the Arroyo Seco (dry creek).  The willow is cured for a year before it is used and matched up with handmade paper from Thailand and Japan. She has formulated her own "secret recipe" that keeps the paper from fading or becoming brittle and is easy to clean with an air-spray canister. 

4470_img_1630.jpg

Clodie's studio, with its combination of whimsical furniture and organic lamp designs, transports one to a magical place.

To see more of Clodie's work click here.

To visit Clodie's website click here.

To contact Clodie click here.


  5

4314_ricky2.jpg

One very lucky TQS Member (who has posted a quilt in the Quilt Gallery) will win a Ricky Tims Rhapsody quilt when the Gallery reaches 36,000 quilts. Your fellow TQS viewers would love to see your quilts. Yes! Yours!  

Keep the quilts coming. Upload photos of your quilts today. Each TQS Member can enter up to twelve quilts. They do not have to be your quilts; they can be an antique quilt that came down through your family, or a top that you proudly finished.

TQS wants to have the largest online quilt gallery in the world!

To enter a quilt, select MY ACCOUNT from the top navigation bar, then select MY PROFILE, then click PHOTOS and UPLOAD PHOTOS. It's as easy as that. While you are at it, don't forget to enter a little bit of information about yourself as well as your quilts.

Here's just an example of the wonderful quilts which can currently be found in the Quilt Gallery. It is Ehrnst Rhapsody by keeper. Click here to learn more about the quilt.

4314_ehrnst_rhapsody.jpg

  7

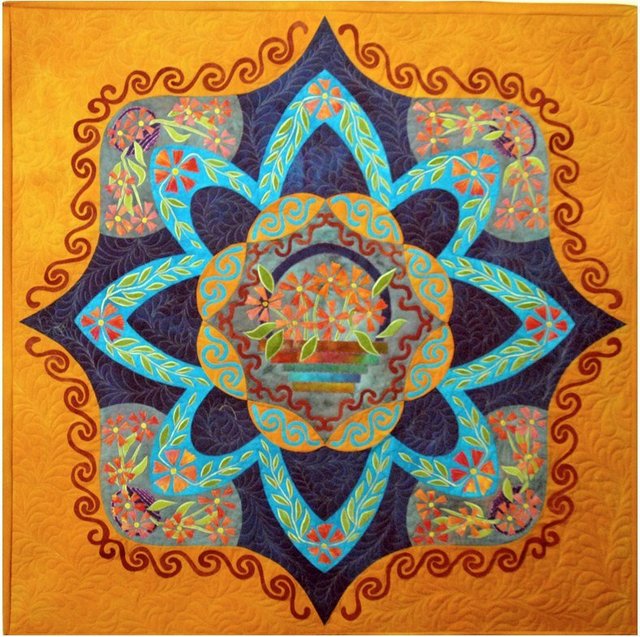
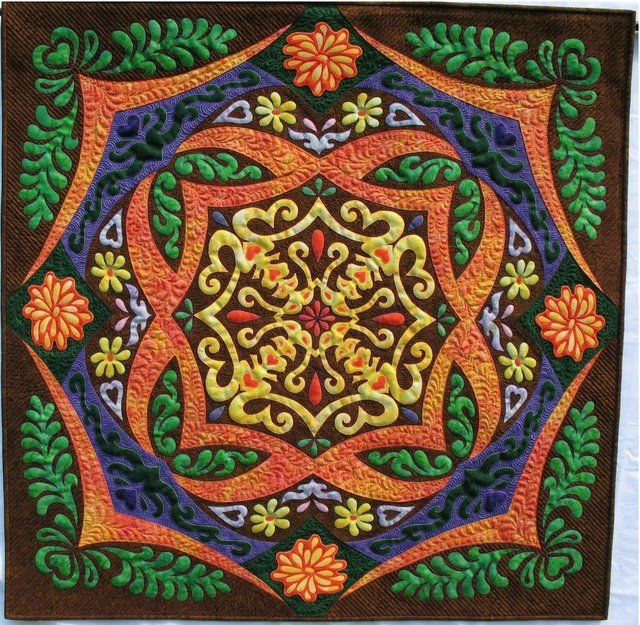
While we'd love to show them all, sometimes it's just not possible.  We hope you'll enjoy this wrap up of quilts from 2016 AQS QuiltWeek Paducah.

Click here for a list of winners.

Click to play this Smilebox slideshow


  2

Make this adorable travel sewing kit from Art Gallery Fabrics and WeAllSew.com. In the Travel Sewing Kit you can learn how to apply a zipper with tabs and how to sew with the walking foot.


Click here to download instructions.


Or watch the video below.


  6

Here is "Miss Celie" by Lola Jenkins.  She really captures the character that Whoopi Goldberg portrays in the movie "The Color Purple."

This original quilted wallhanging is for sale, visit Lola's website for more information.

Star Members can learn more about Lola and her portrait quilts in Show 1809: Portrait Collages and Binding Concepts.

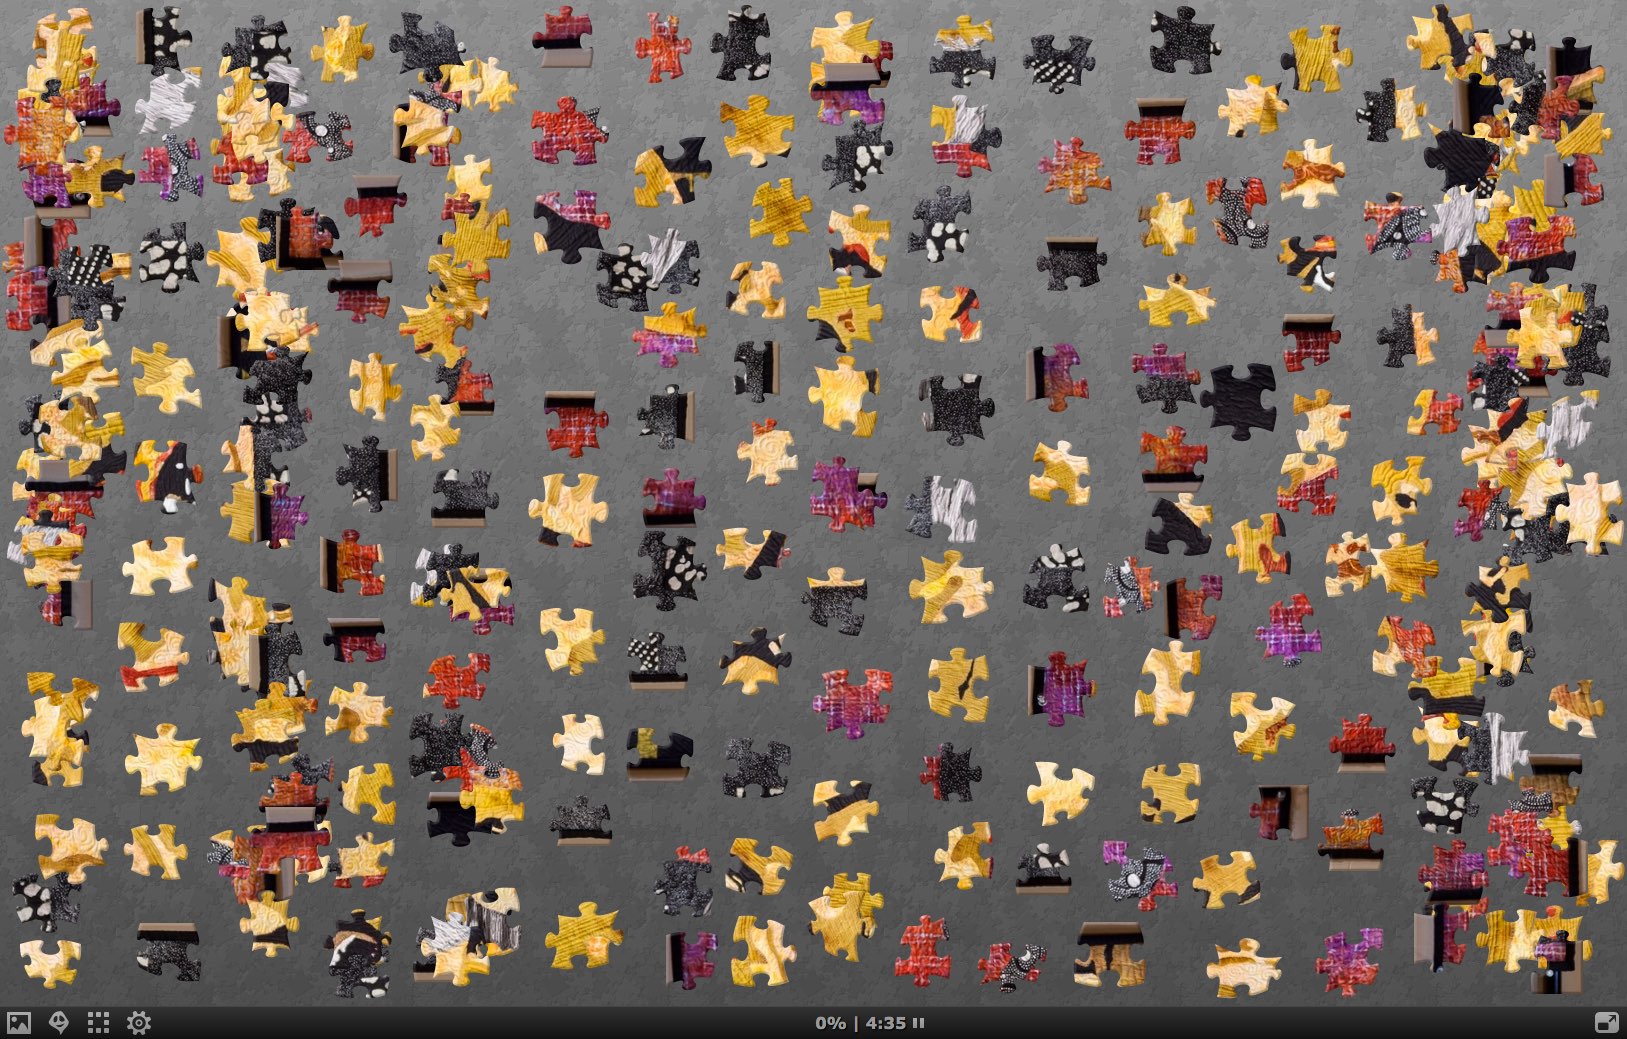
MissCeliebyLolaJenkins - 36 Pieces Non-Rotating

MissCeliebyLolaJenkins - 100 Pieces Non-Rotating

MissCeliebyLolaJenkins - 289 Pieces Non-Rotating

MissCeliebyLolaJenkins - 36 Pieces Rotating

MissCeliebyLolaJenkins - 100 Pieces Rotating

MissCeliebyLolaJenkins - 289 Pieces Rotating

Original Photo: Gregory Case

  6

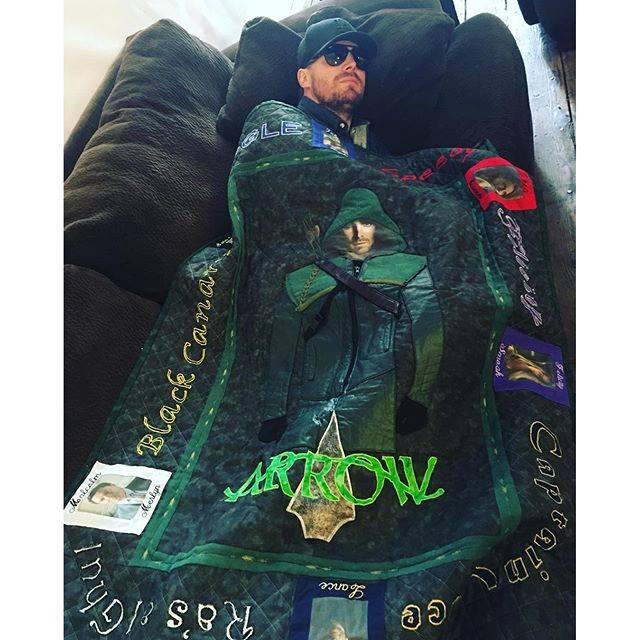
Even Super Heroes love their quilts and TV star Stephen Ammell, AKA "Green Arrow," is no exception.  Must be great to have fans who quilt.

He posted:


  2

Here is "Miss Celie" by Lola Jenkins.  She really captures the character that Whoopi Goldberg portrays in the movie "The Color Purple."

This original quilted wallhanging is for sale, visit Lola's website for more information.

Star Members can learn more about Lola and her portrait quilts in Show 1809: Portrait Collages and Binding Concepts.


  5

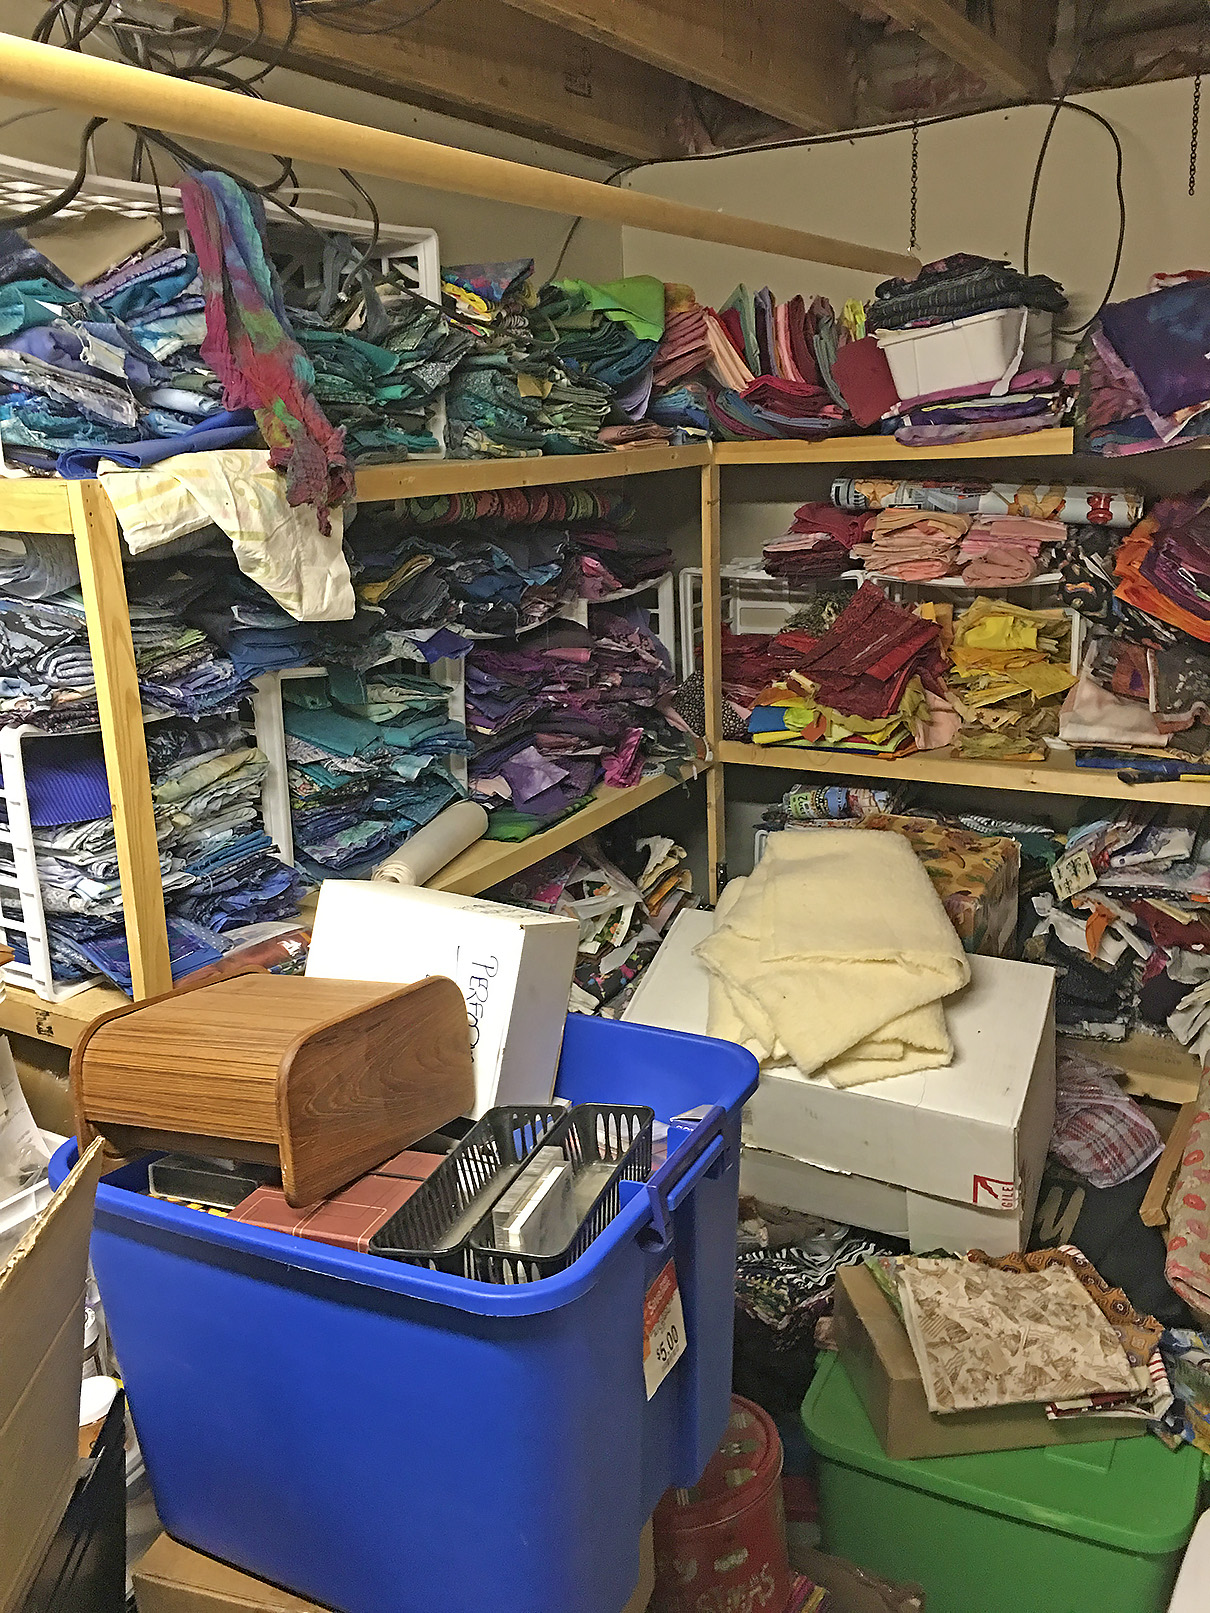
Yes, this messy room of fabric belongs to Ricky. Apparently his attempt at fabric organization became an epic fail. Ricky says, “The photo of the messy fabric is of a storage closet in our basement that was next to my sewing space when we first moved into this house. If you look close, you’ll see there is some logic in all the mess. I’ve always organized my fabric by color and for the most part that is still evident from the piles. I did put all my plain solids in one area regardless of color. I also used plastic bins or crates to contain each grouping. The advantage here is that I can see most all of the fabric. Another bonus is that the room is dark so I don’t have to worry about the fabrics fading in daylight or artificial light. The problem is that the more I dig into the piles, the more the stacks tip and shift. Over time, they just tumble out and I tend to just stuff them back in. While these are rarely used older commercial fabrics, I still enjoy having them on hand when I have a project where I might need them. I need to set aside a day and just tackle this mess. I will organize it the way I organized my main storage closet."

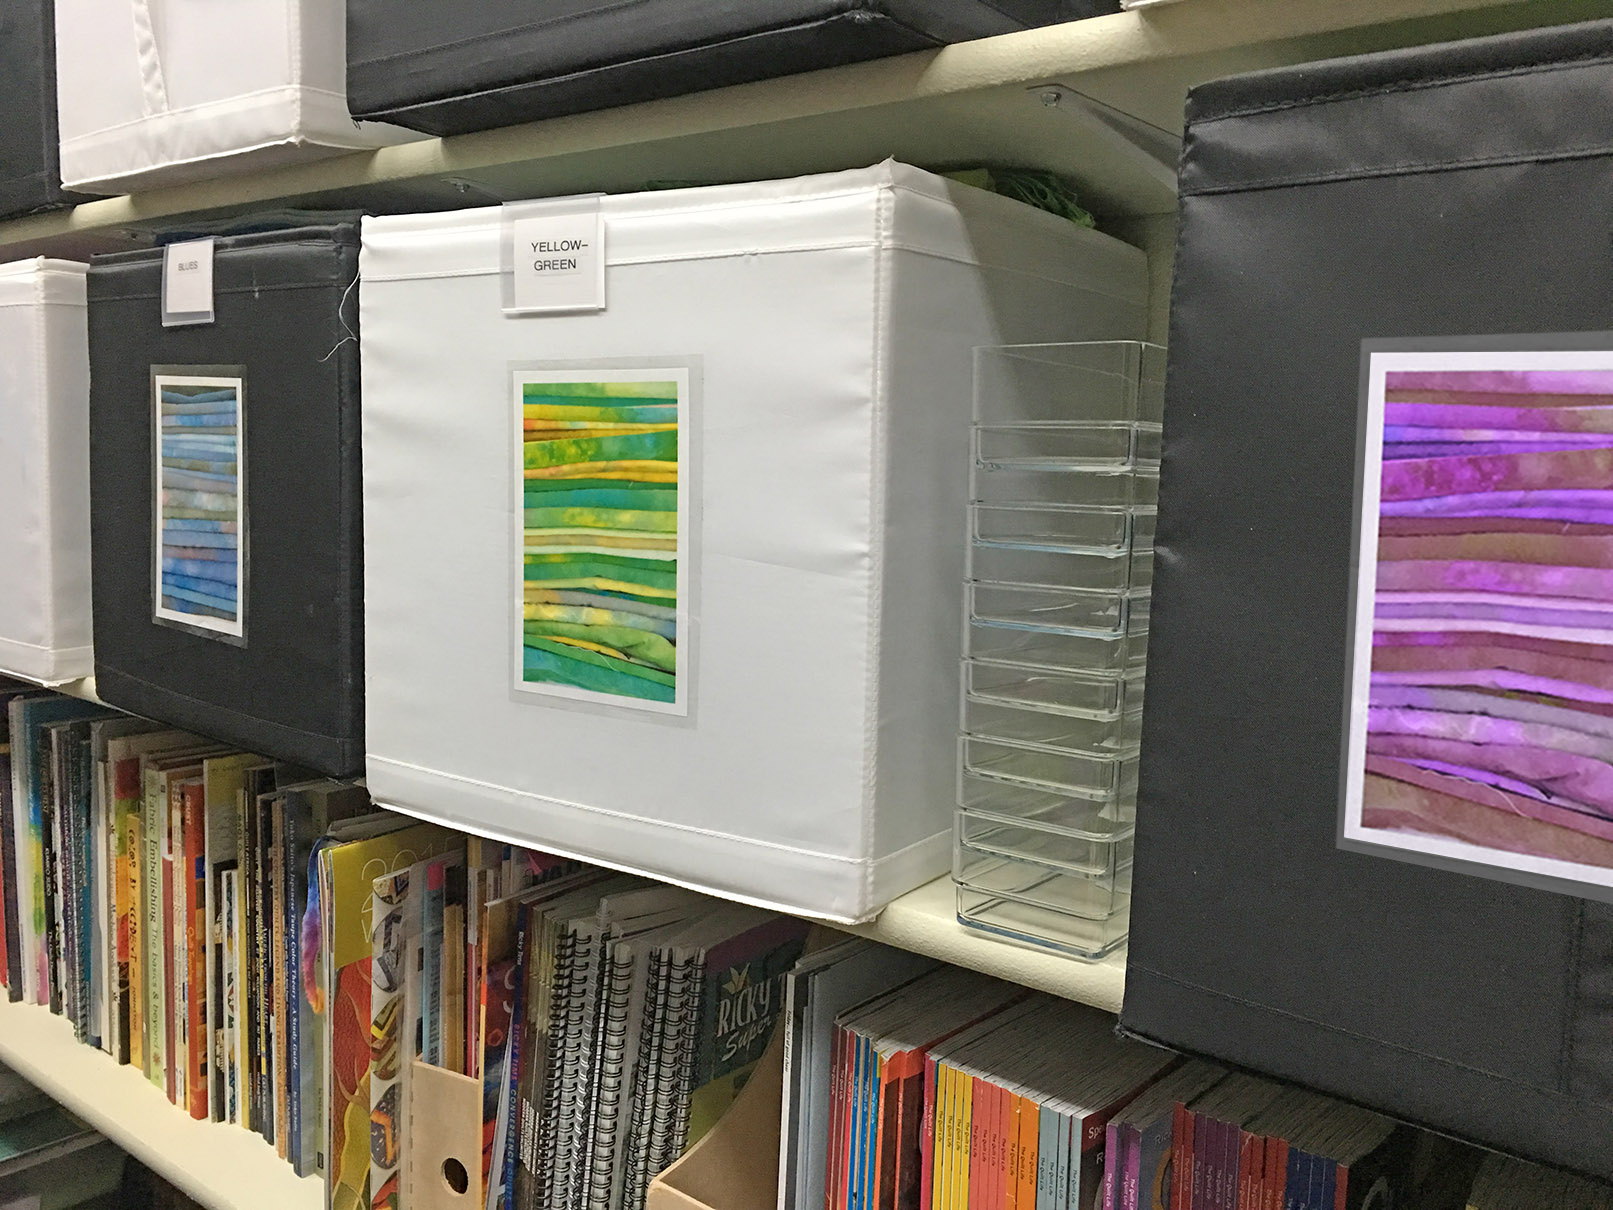
When Ricky remodeled a garage to create his current studio space, he had organization assistance from Libby Lehman—the Queen of Organization. Between the two of them, they settled on a storage system using bins on shelves. The bins are upright so no fabric can possibly fall out. The downside is that you can’t see into the bins. Ricky solved that problem by putting laminated images showing the fabrics that are in each bin. Ricky says, “I’ve had this new system in place for almost five years and I have not had to reorganize any of these. This new system works like a charm!"


  7

Lola Jenkins captures the spirit of an "Old Lady" in this quilt.  Her eyes tell the story of all that she's seen.

Star Members can watch Show 1809: Portrait Collages and Binding Tips.  Lola also visited TQS in Show 902: When Serendipity Strikes - Portrait of a Quiltmaker.

OldLadybyLolaJenkins - 36 Pieces Non-Rotating

OldLadybyLolaJenkins - 100 Pieces Non-Rotating

OldLadybyLolaJenkins - 289 Pieces Non-Rotating

OldLadybyLolaJenkins - 36 Pieces Rotating

OldLadybyLolaJenkins - 100 Pieces Rotating

OldLadybyLolaJenkins - 289 Pieces Rotating

Original Photo: Gregory Case