 11
11
This week we continue our exploration of line as it relates to design. When creating a composition, lines can capture the viewers attention by being expressive, creating a mood or a feeling. Understanding the way different types of lines give visual cues can help you as the artist communicate a message that can impact the viewer in a subtle, or not so subtle manner without a great deal of dialogue.
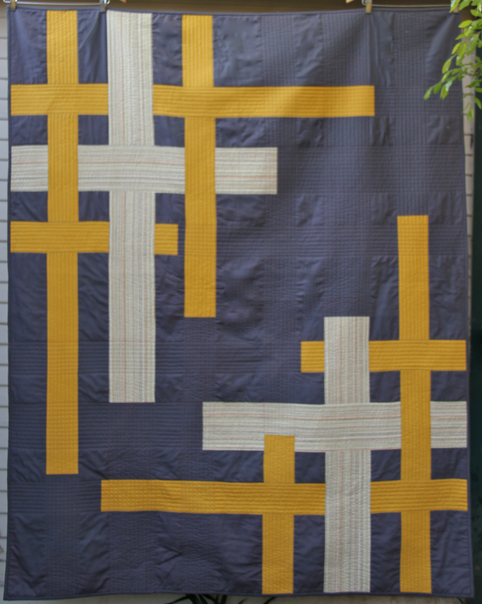
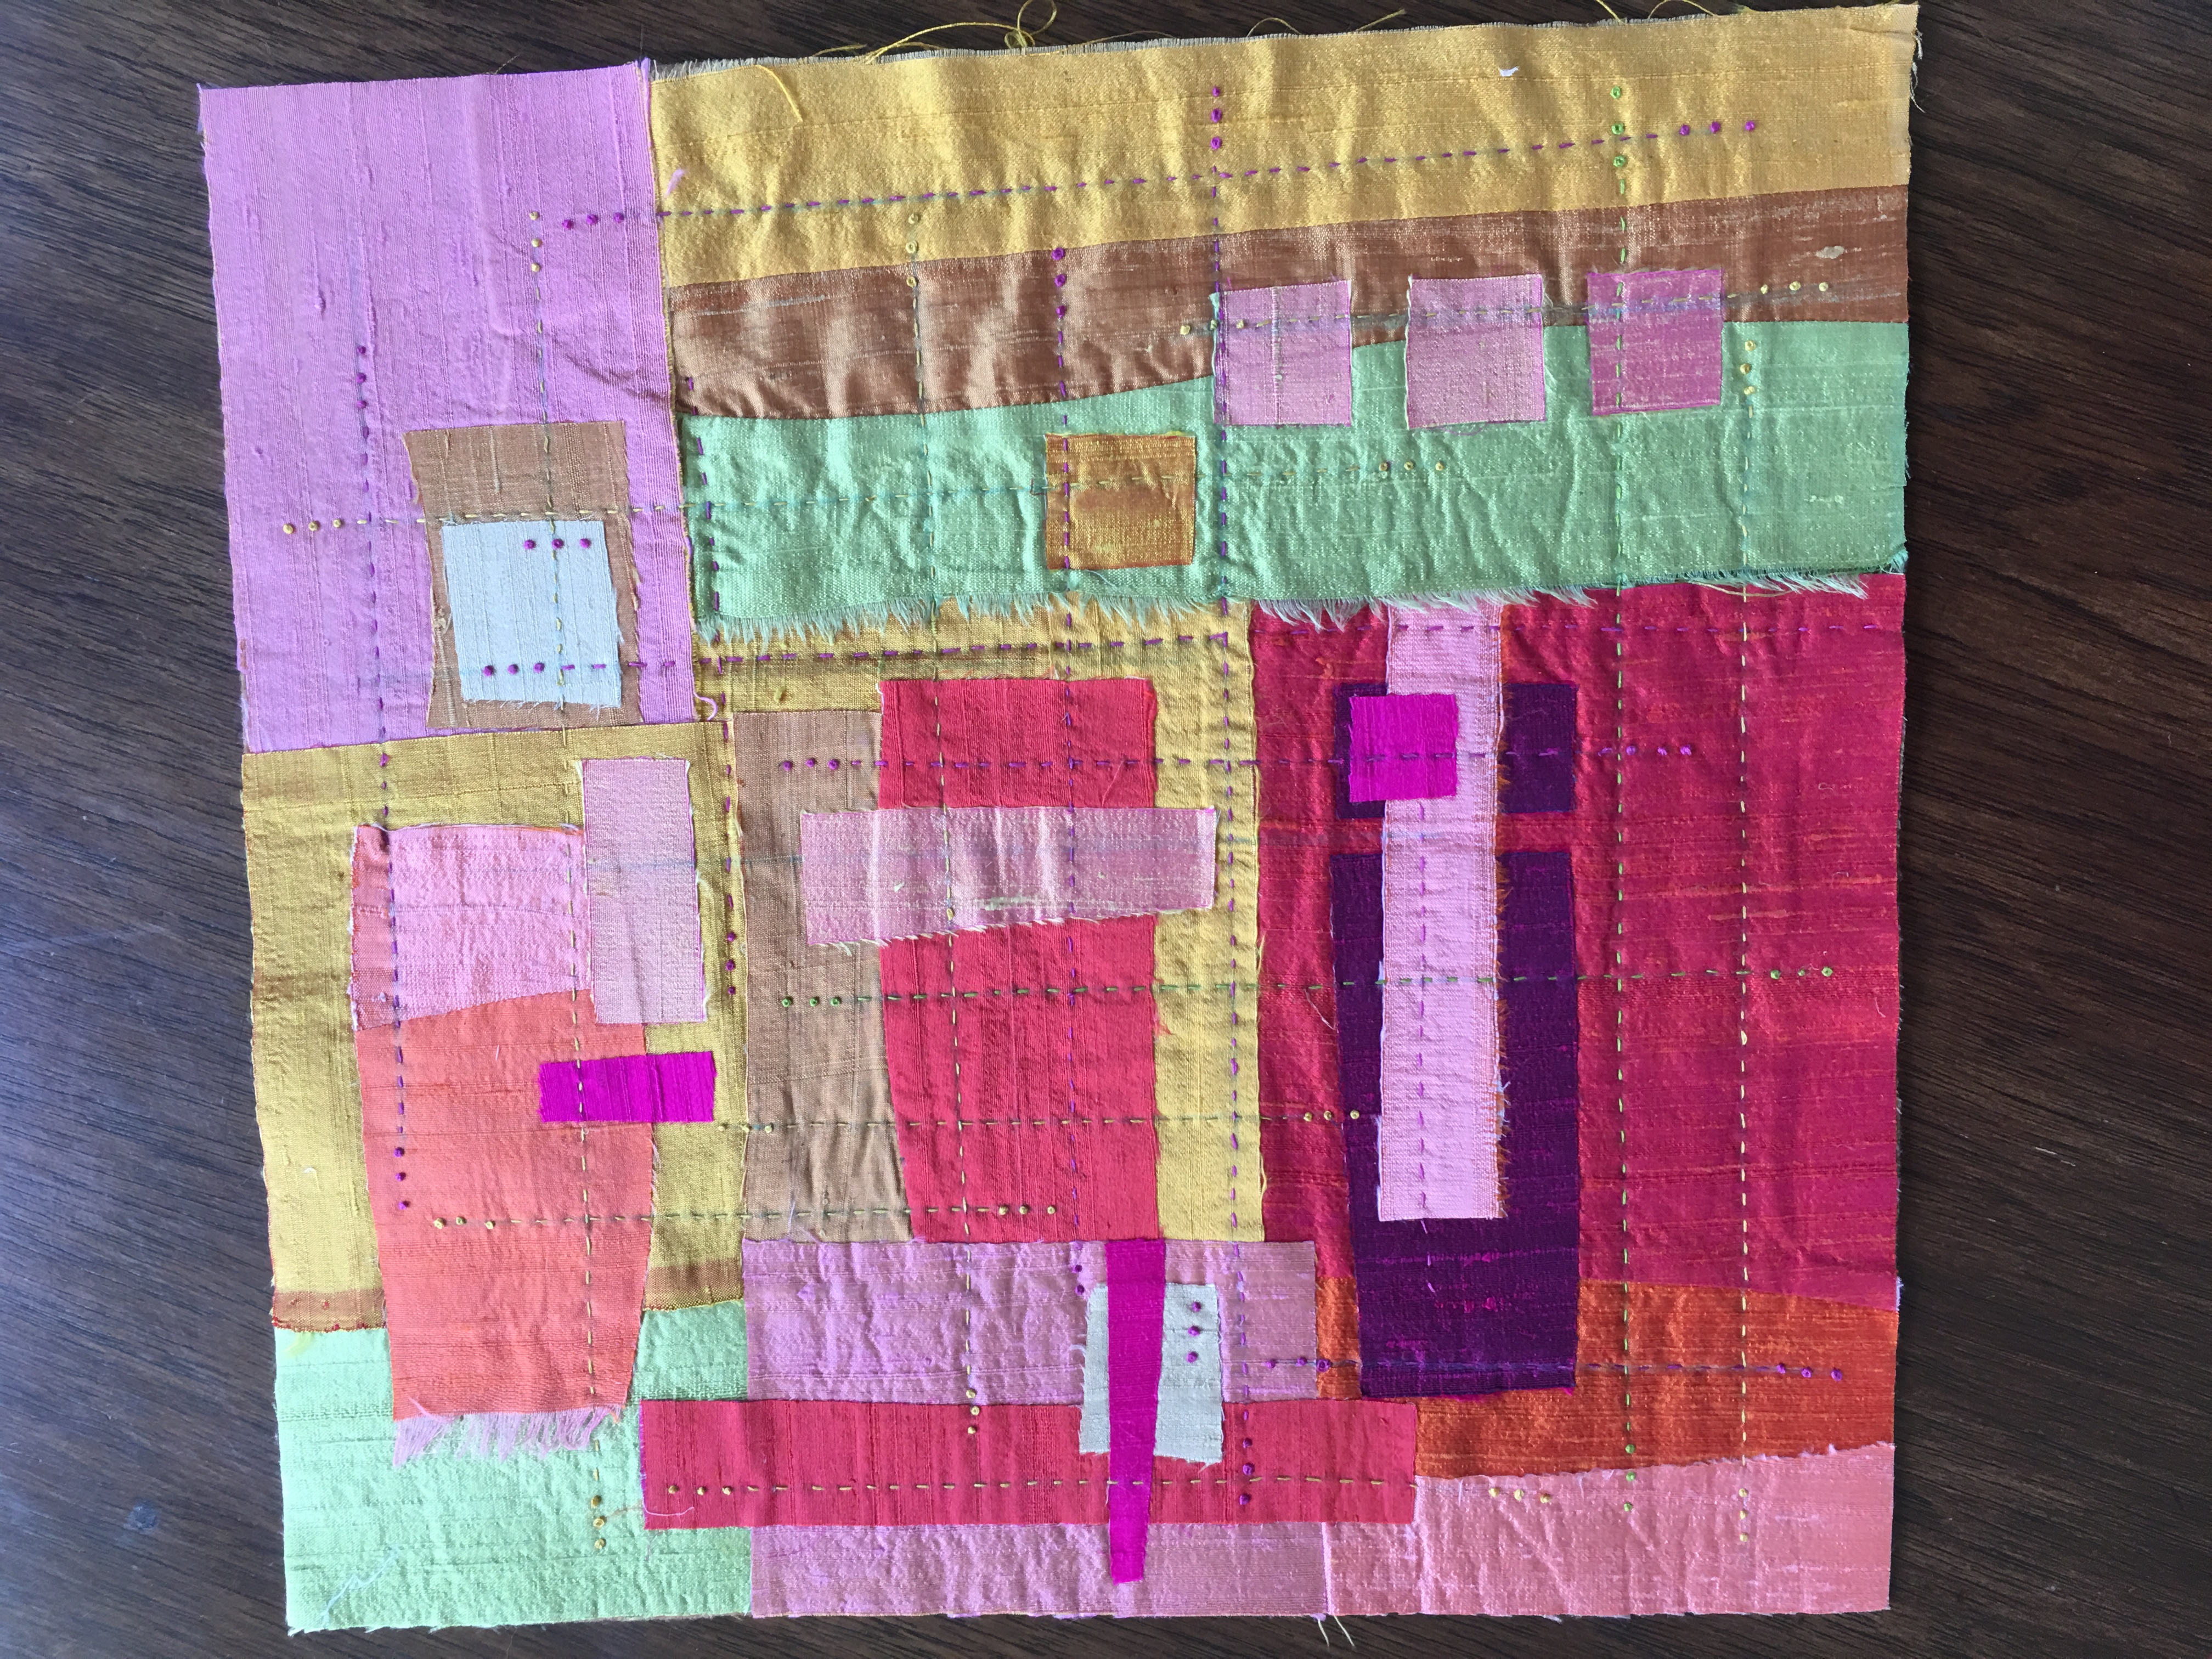
Below are words that we can associate with different types of lines and quilts that illustrate these meanings.
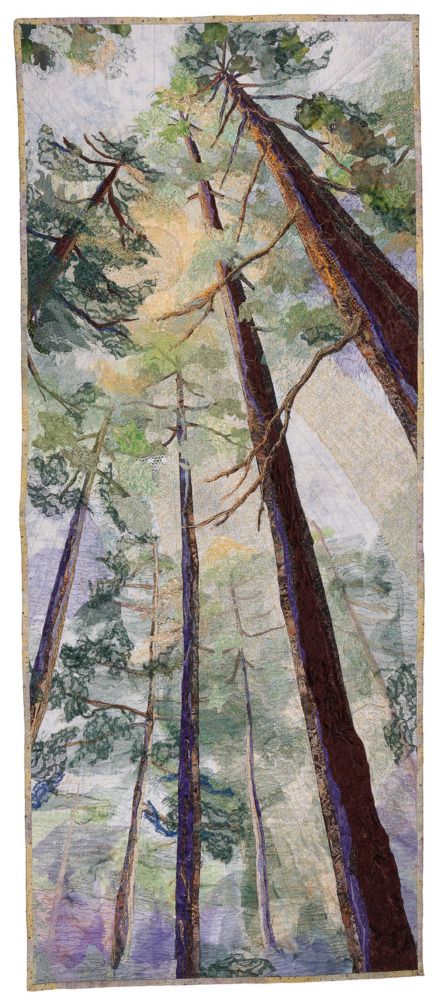
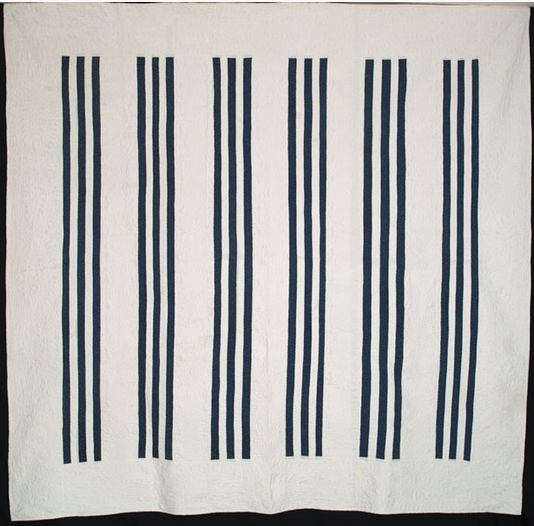
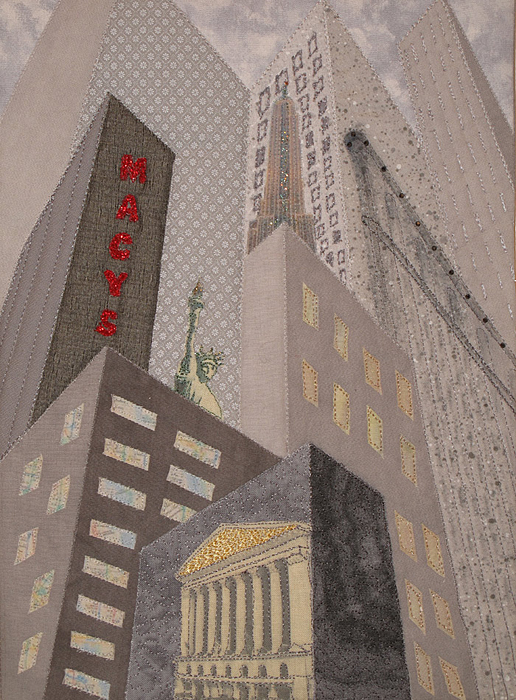
Vertical - Strength power, dignity, grandeur, authority.
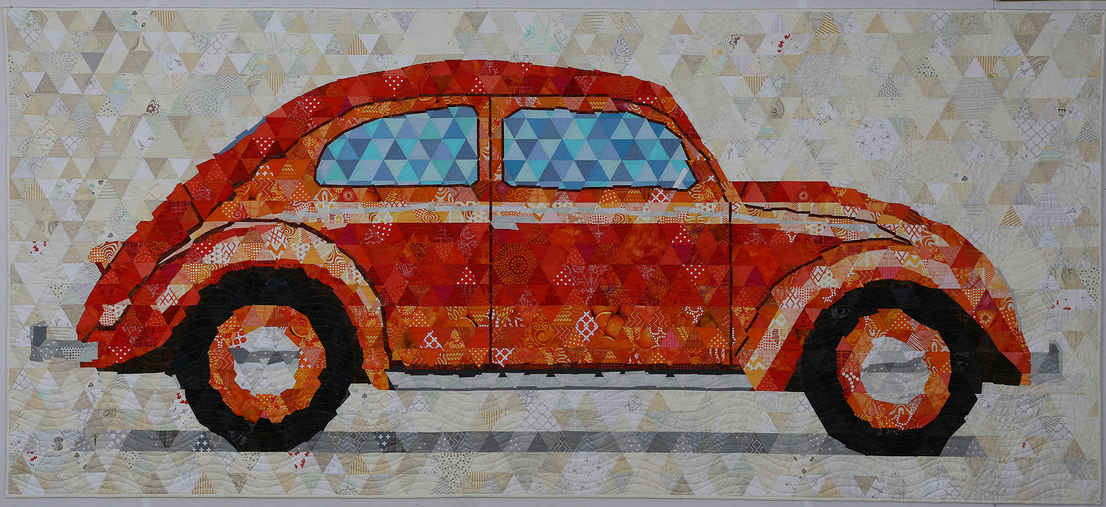
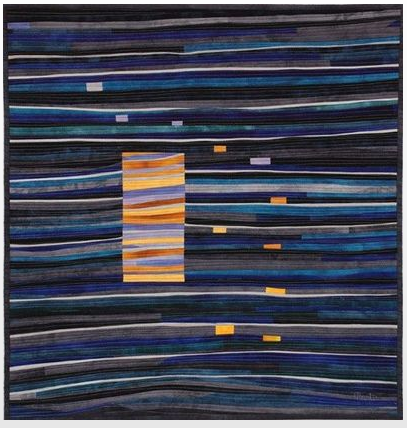
Horizontal - calm, relaxed, balanced, stability, constancy
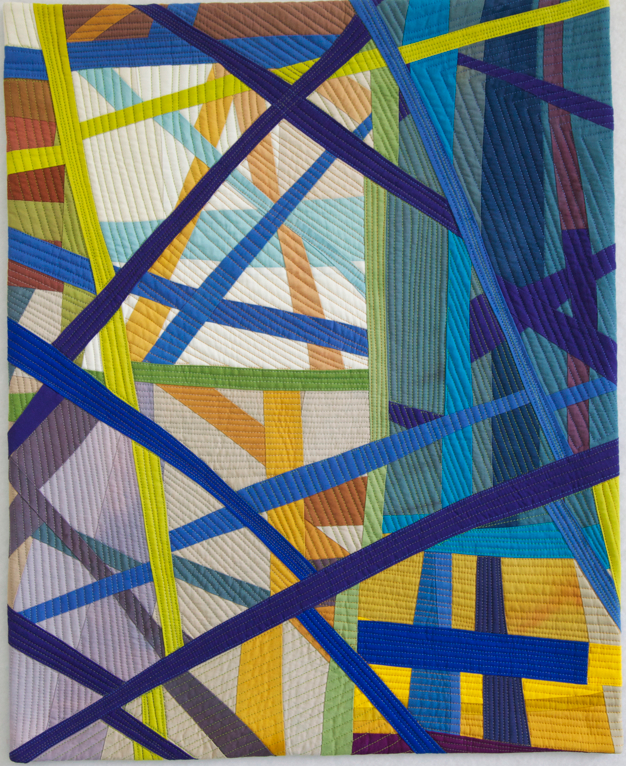
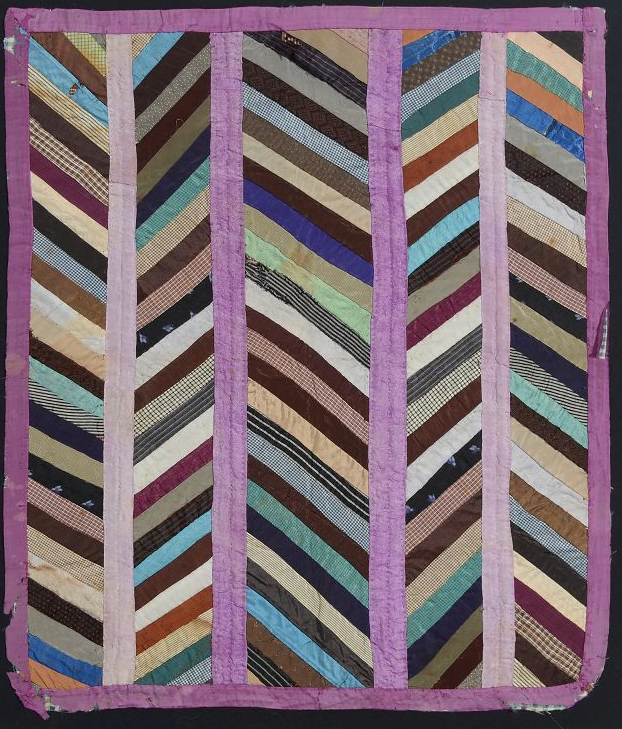
Diagonal - excitement, movement, power, action, vitality
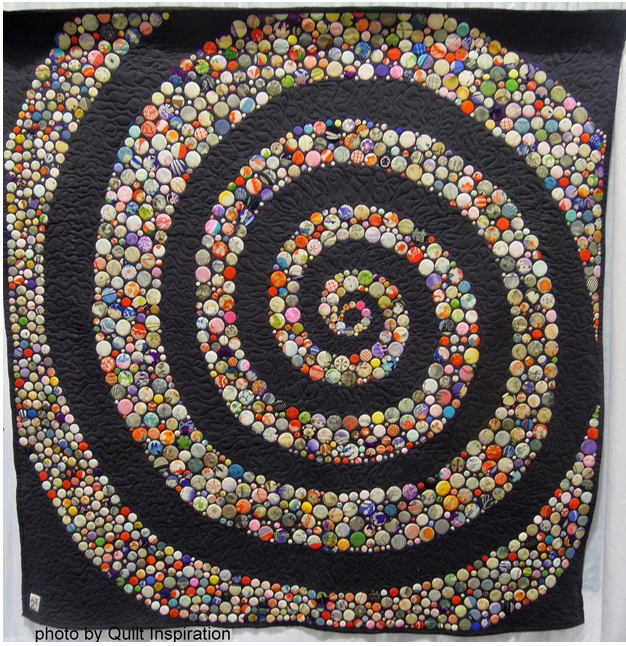
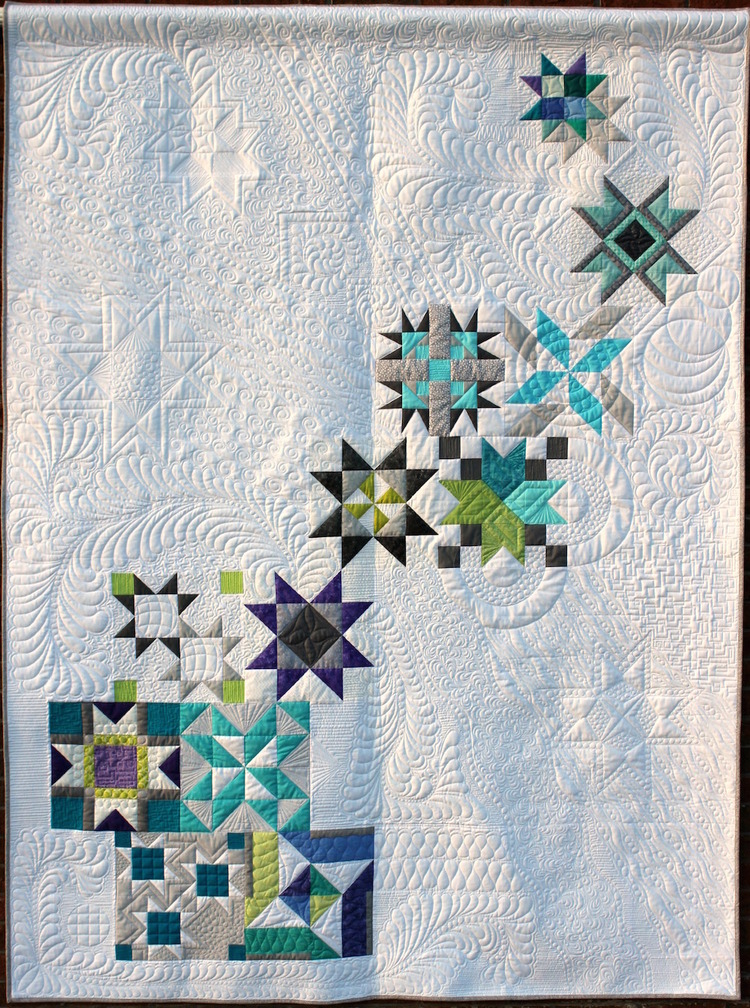
Open curve - organic, comforting, calm, relaxation
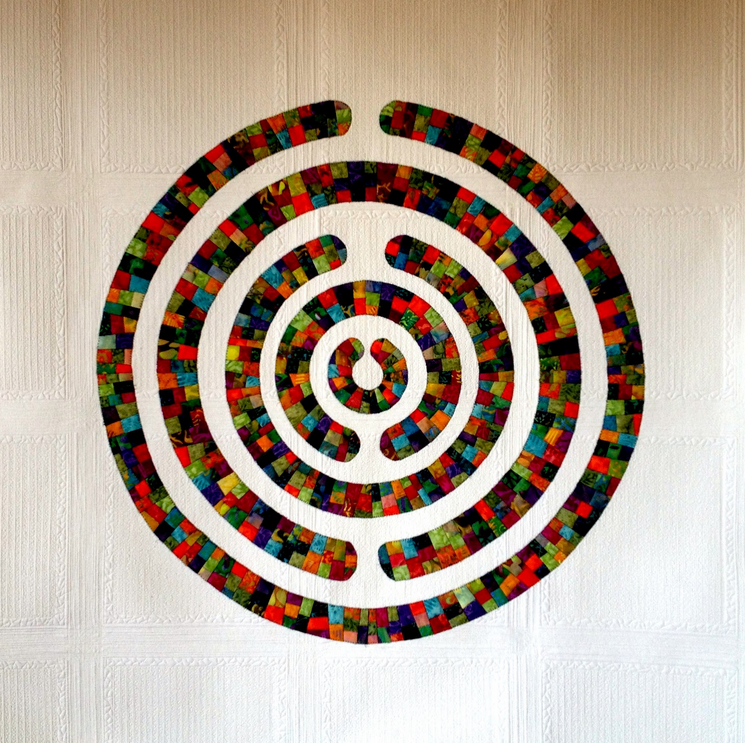
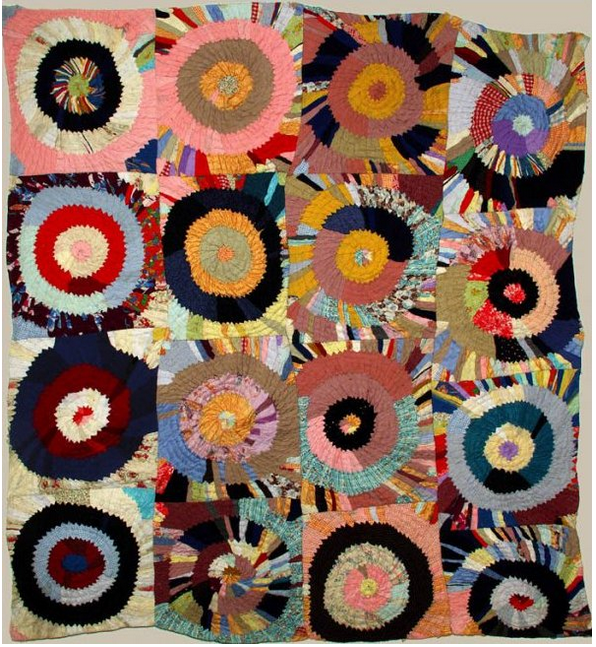
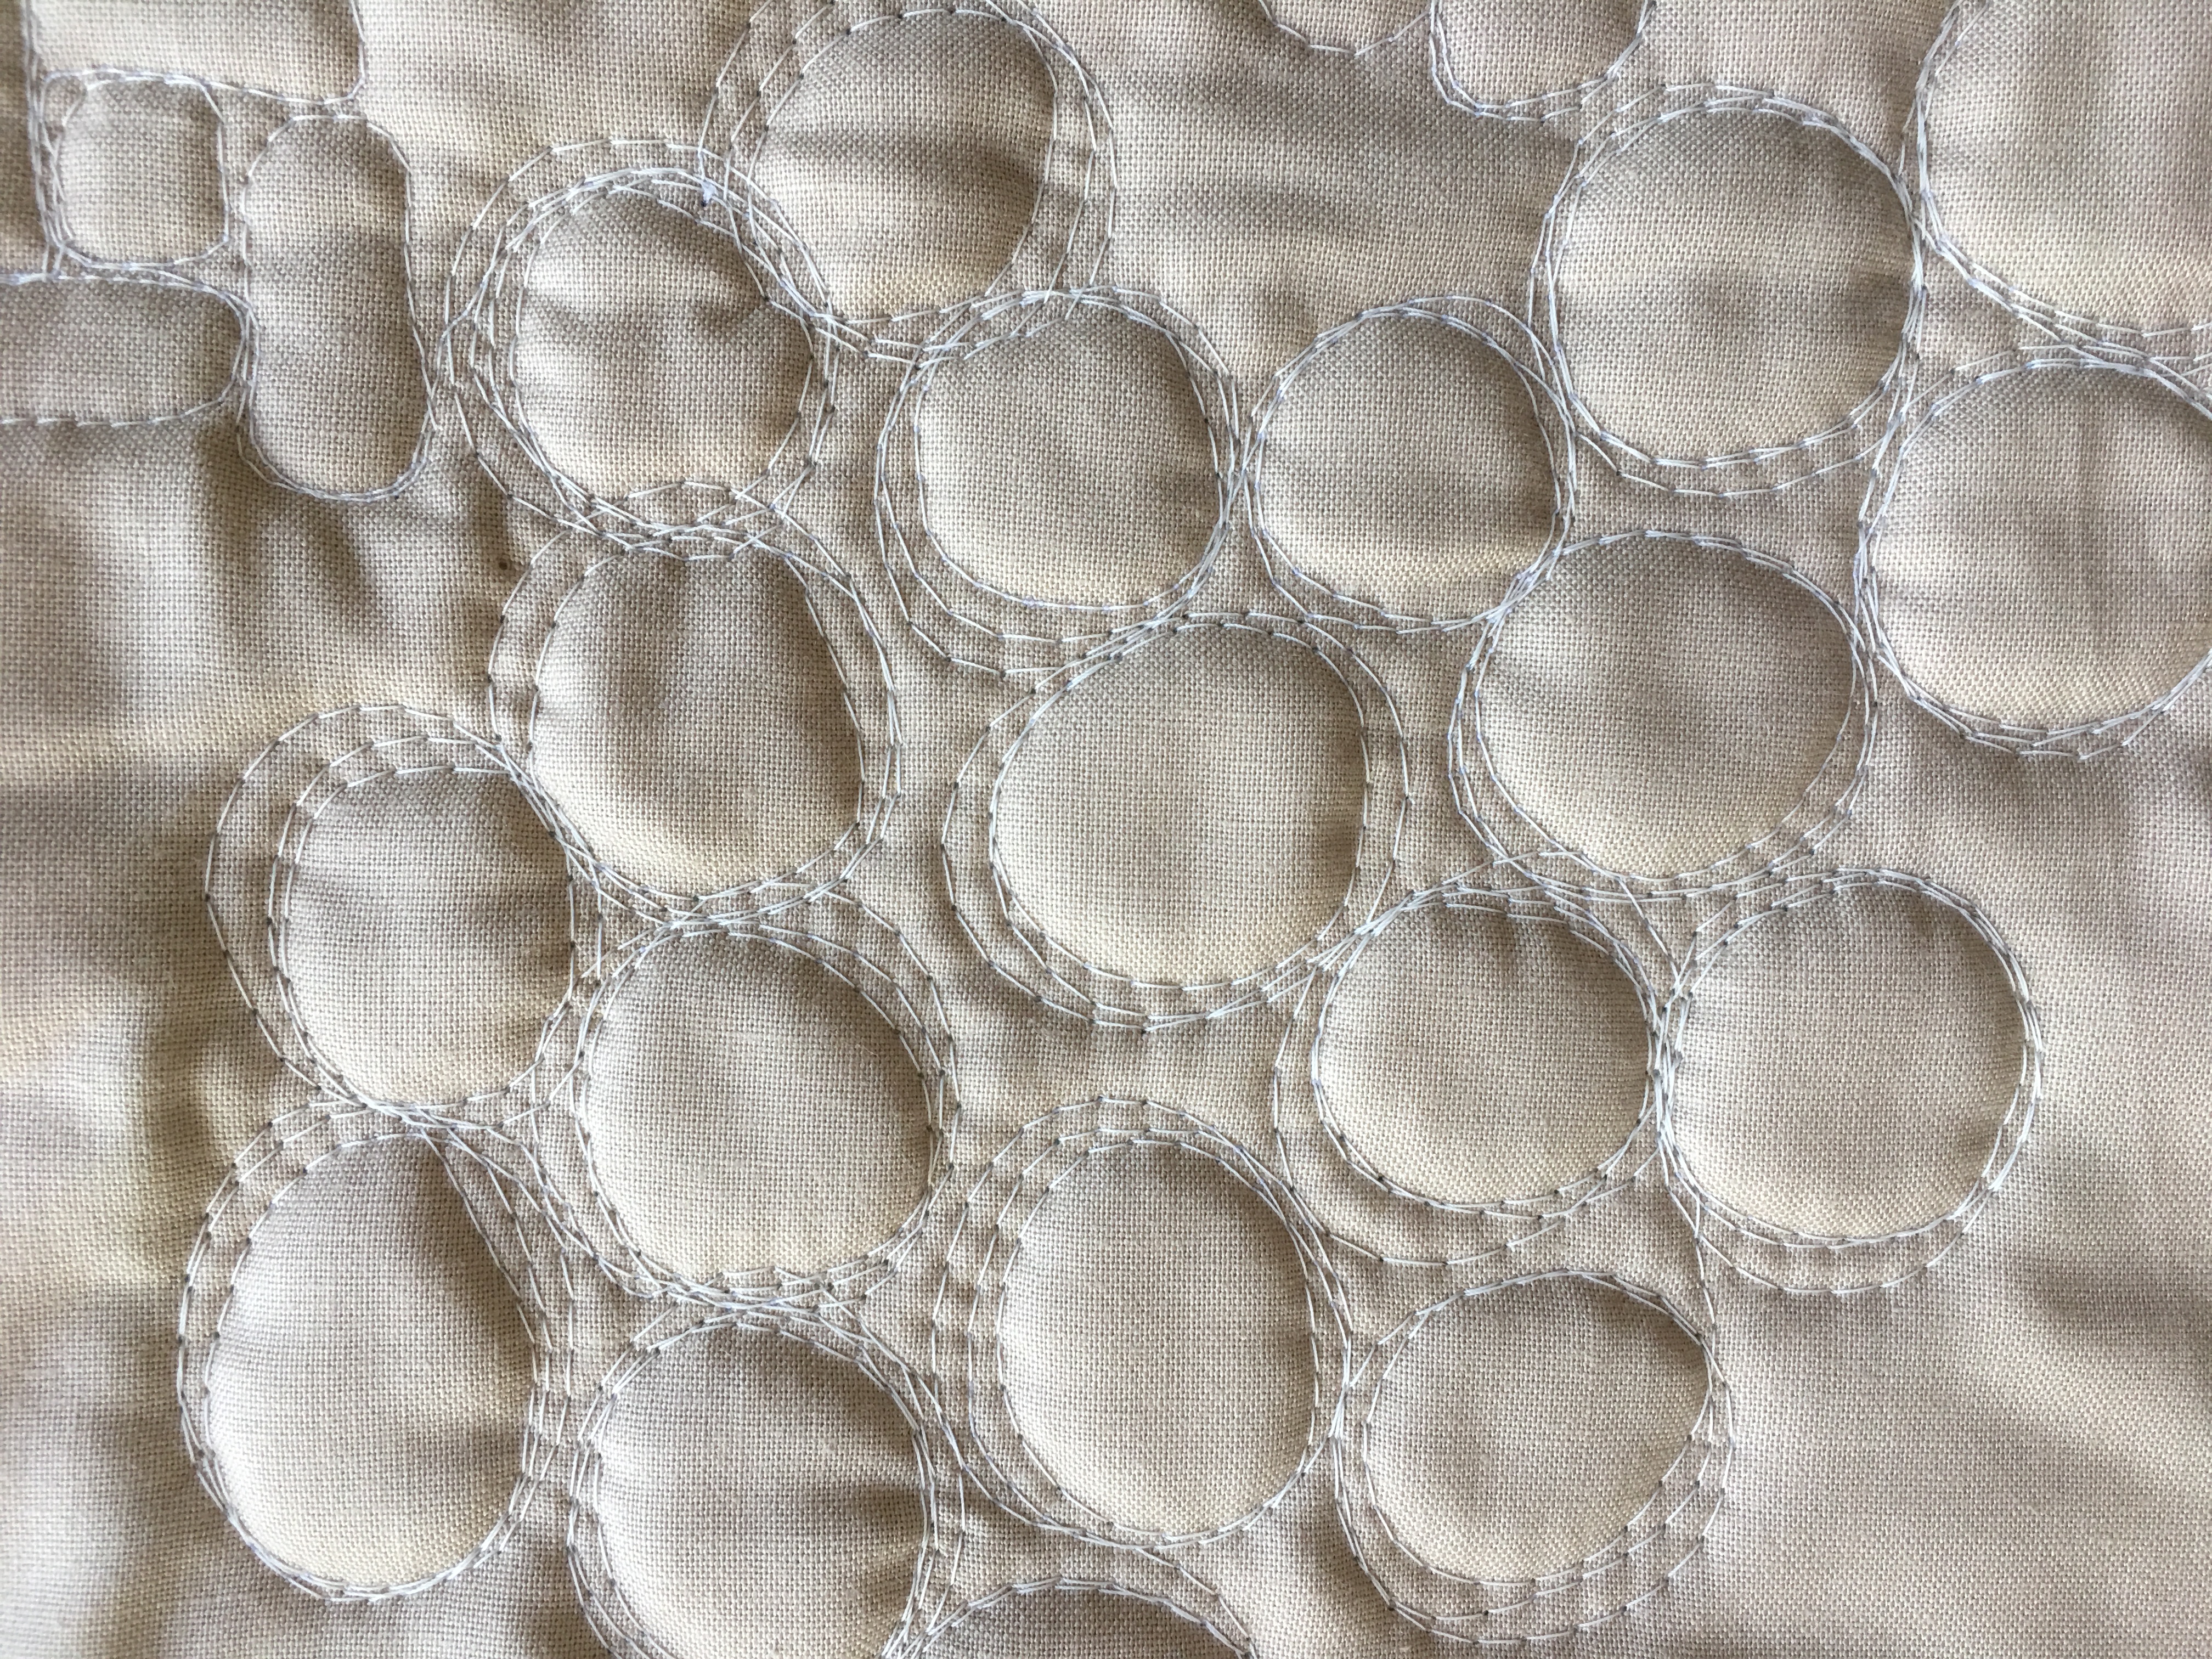
Closed curve - completness, the eternal whole, continual movement
Along with meaning, lines can also be expressive. Some examples of words associated with different lines we found at Sophia include:
Flat - Calm

Wide - bold strength
Gentle curve - unhurried pleasure

Sharply angled- Excitement, anger, danger, chaos
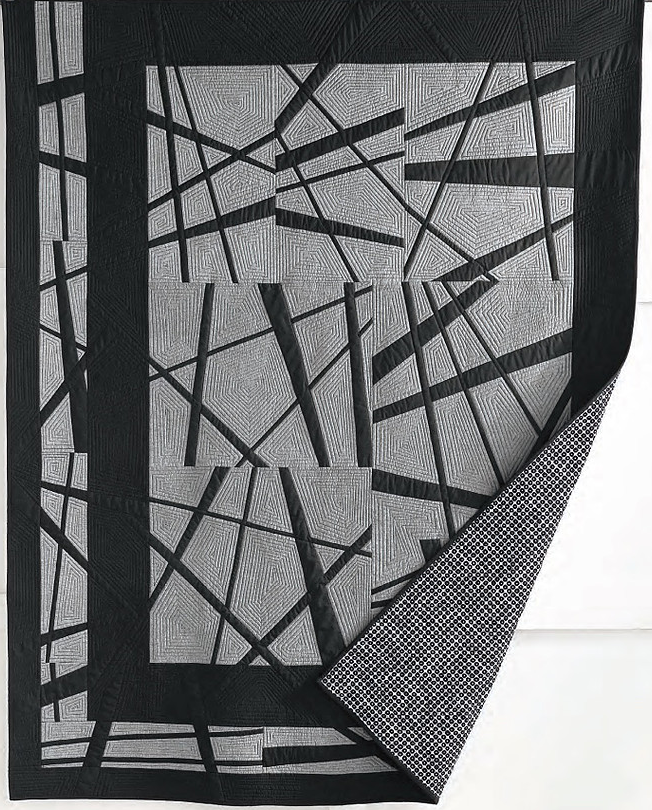
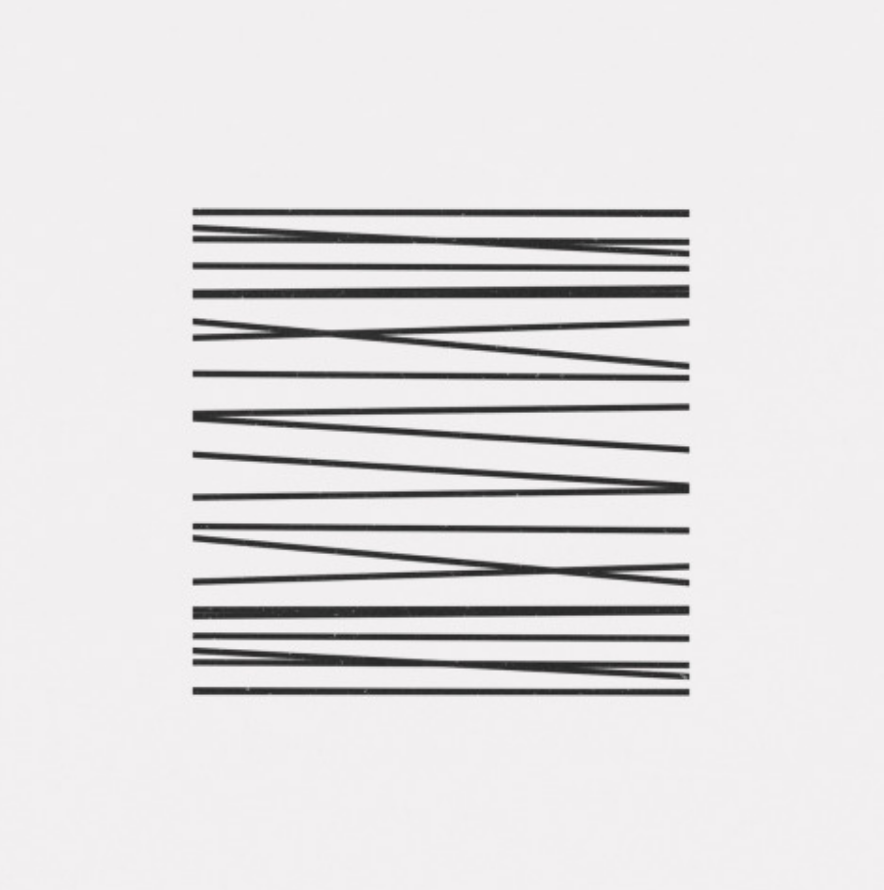
Image from Rebloggy
Practice Exercise: Using Line to Create a mood or feeling
In this exercise you will be making (5) framed line drawings using white sheets of paper.
Step 1. Making the frames 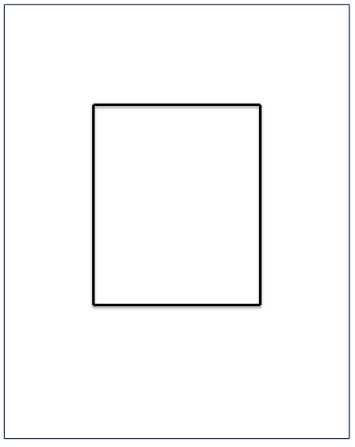
Cut your paper to 8 1/2" x 8 1/2".
Using a pencil, draw a line 2" from one side of the paper. Repeat for all four sides of the paper.
You should now have a 'frame' drawn in the center of your paper that measures 4 1/2" square.
Carefully cut out the center square, leaving the opening 'frame' in your piece of paper.
Repeat with the remaining (4) sheets of paper.
Step 2. Preparing your line drawing foundations 
Cut your paper to 8 1/2" x 8 1/2".
Using a pencil, very lightly draw a line 1 3/4" from one side of the paper. Repeat for all four sides of the paper.
You should now have a 'frame' drawn in the center of your paper that measures 5" square. This center square will be your design area.
Repeat with the remaining (4) sheets of paper.
Step 3. Drawing your designs
Using only a black colored pencil, marker, torn or cut paper, create (1) line design (using lthe principles from the lesson) while staying within your lightly drawn square. Repeat with a different line design on each of the remaining (4) foundation pages.
Step 4. Evaluating your designs
Once you have completed your designs, cover each drawing with a frame. Compare how each drawing suggests a different feeling or mood.
Optional Exercise
Create frames using black construction paper. Compare how a design changes when the overlaying frame is black vs. white.
Click here for more topics related to the Design to Quilt program.





.jpg)

