We decided to add some cheer to the office with holiday trees made from festive fabric scraps.
You can make them too!
.jpg)
Here is what you will need:
- Fabric scraps. We used five squares of fabric for each tree. The large tree was made with 8" squares, the medium tree was made with 6" squares, and the smallest tree was made with 4" squares.
- Terial Magic
- A rotary cutter, ruler, and cutting mat
- Sharp scissors
- Fabric glue
- Wonder Clips or small binder clips
Before you begin, prepare your fabric with the Terial Magic Fabric Stiffener following the instructions on the bottle. Once your fabric has been stiffened move to step 1.
Step 1: Cut the fabric
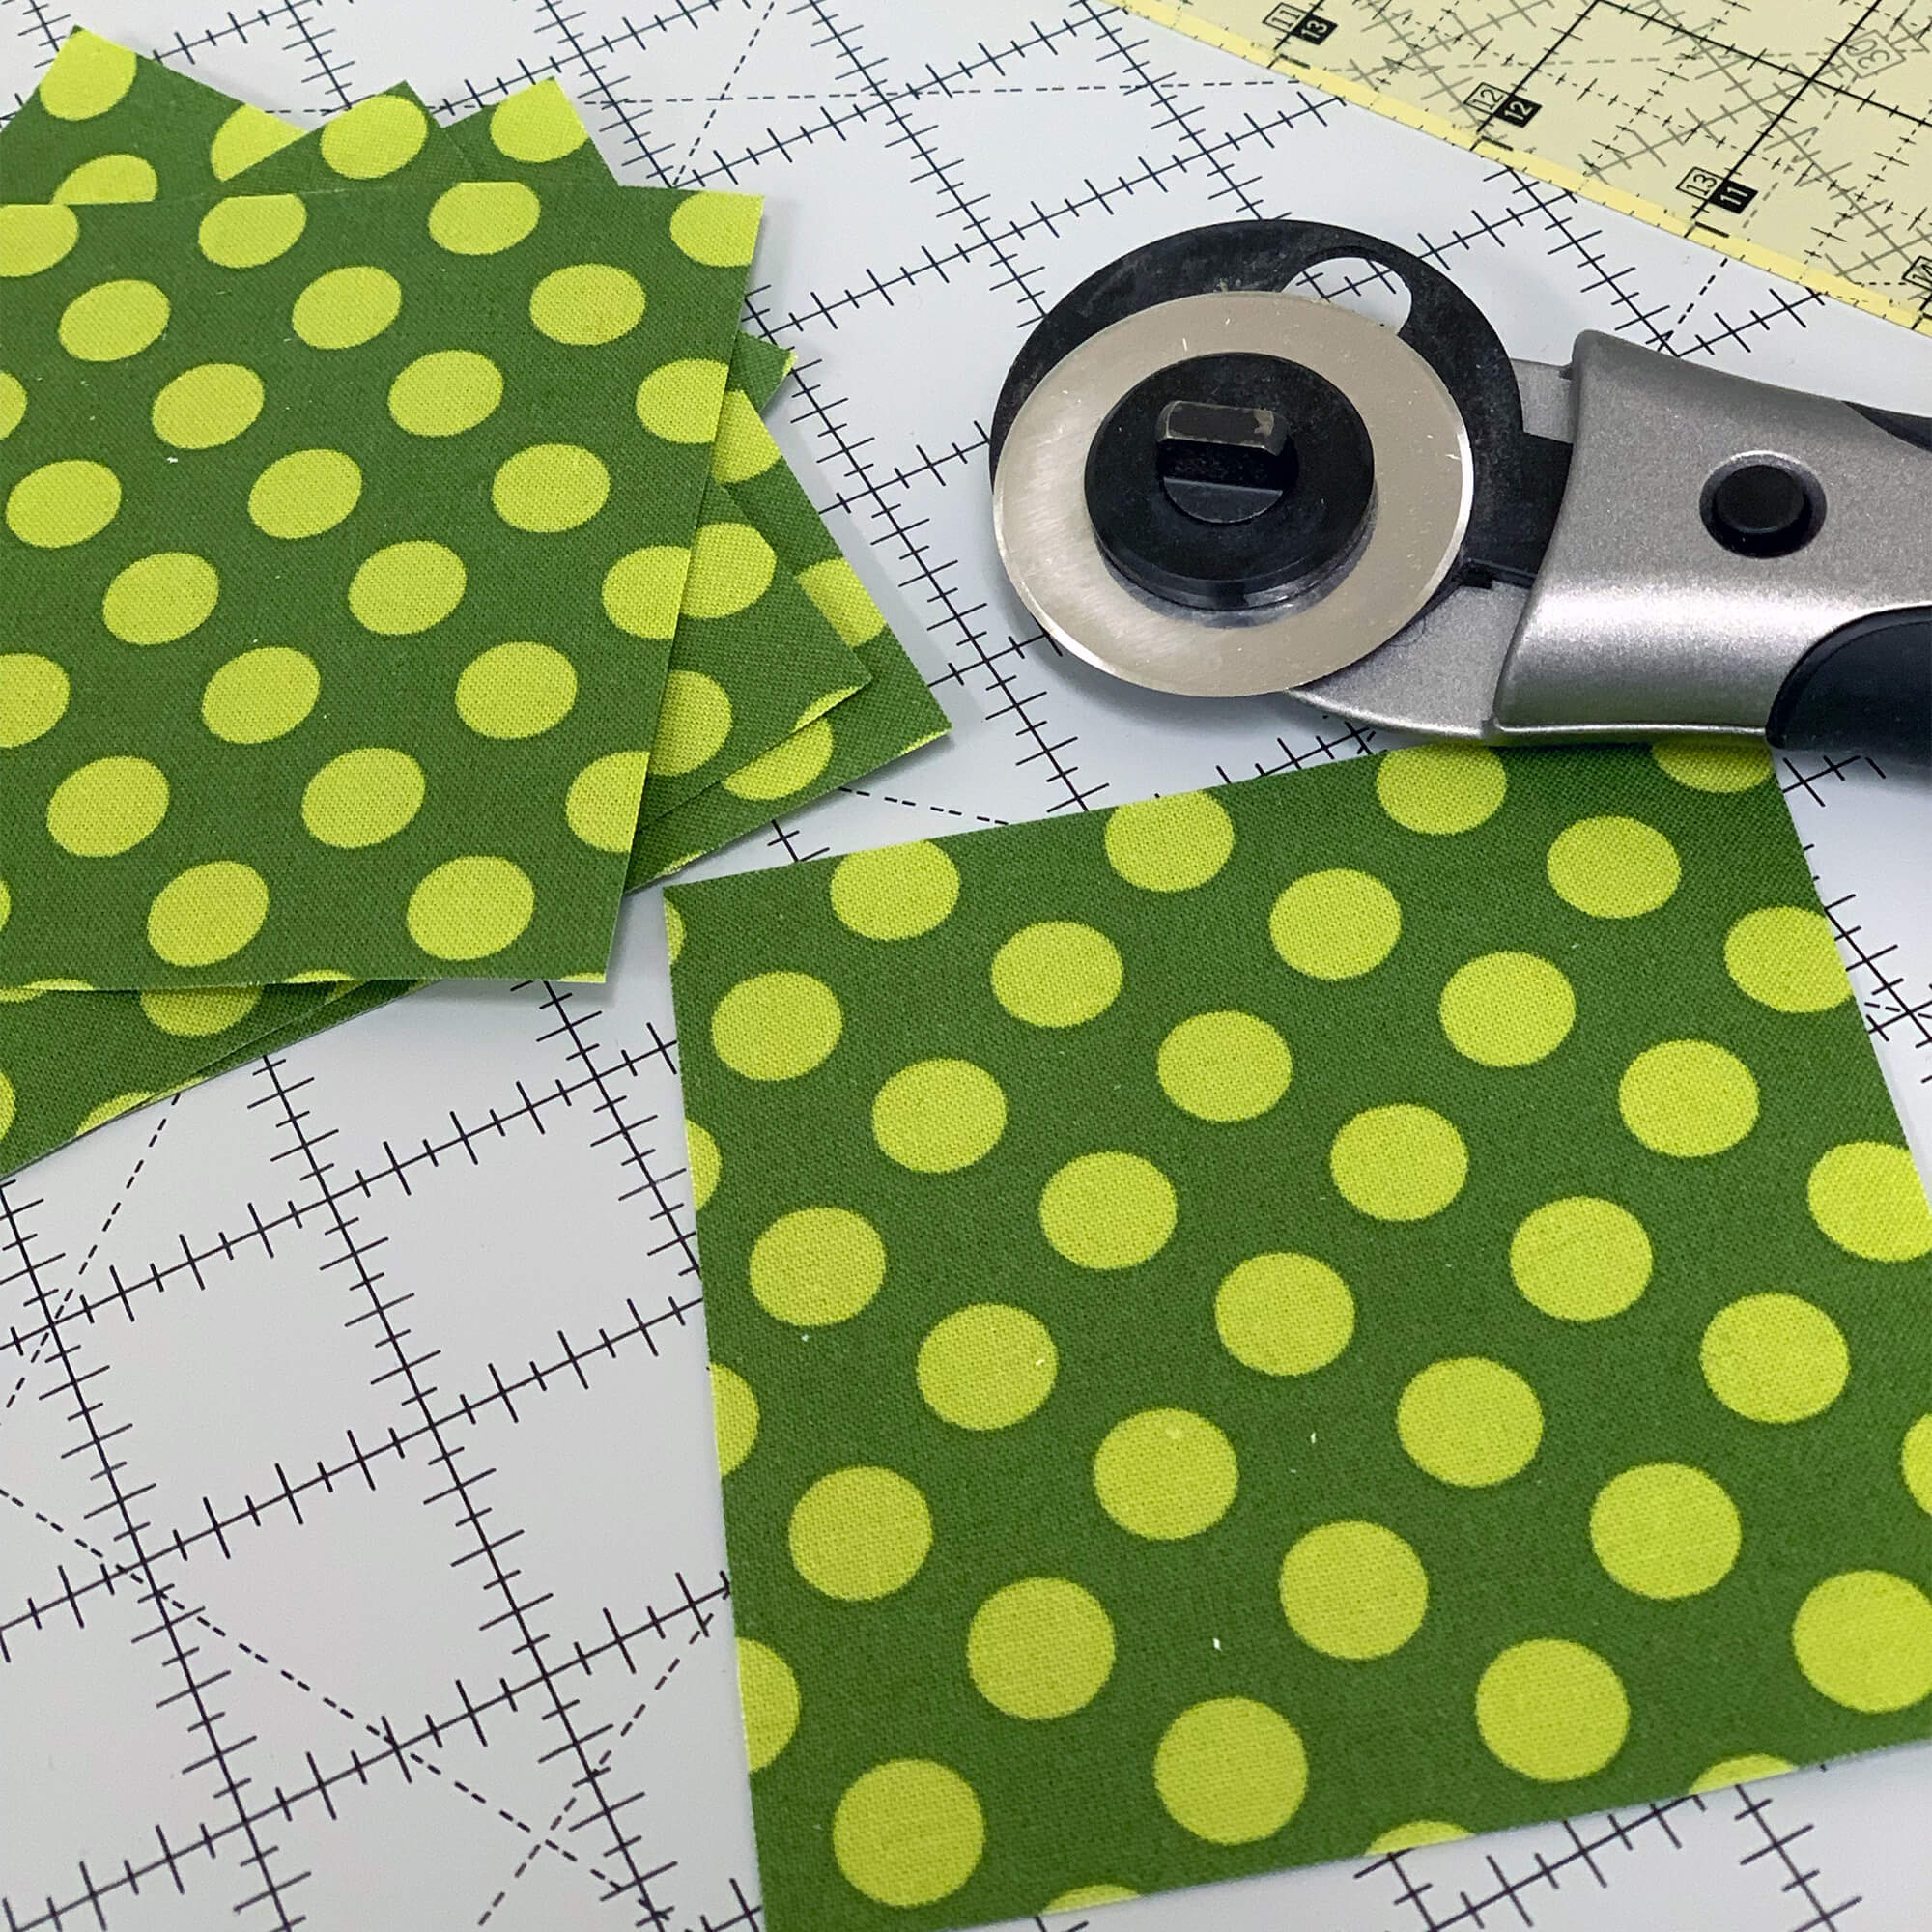
Cut 5 fabric squares for each tree. We cut 8" squares for our big tree, 6" squares for our middle-sized tree, and 4" squares for our small tree. We used one fabric for each tree, but you can mix and match too!
Step 2: Fold your squares
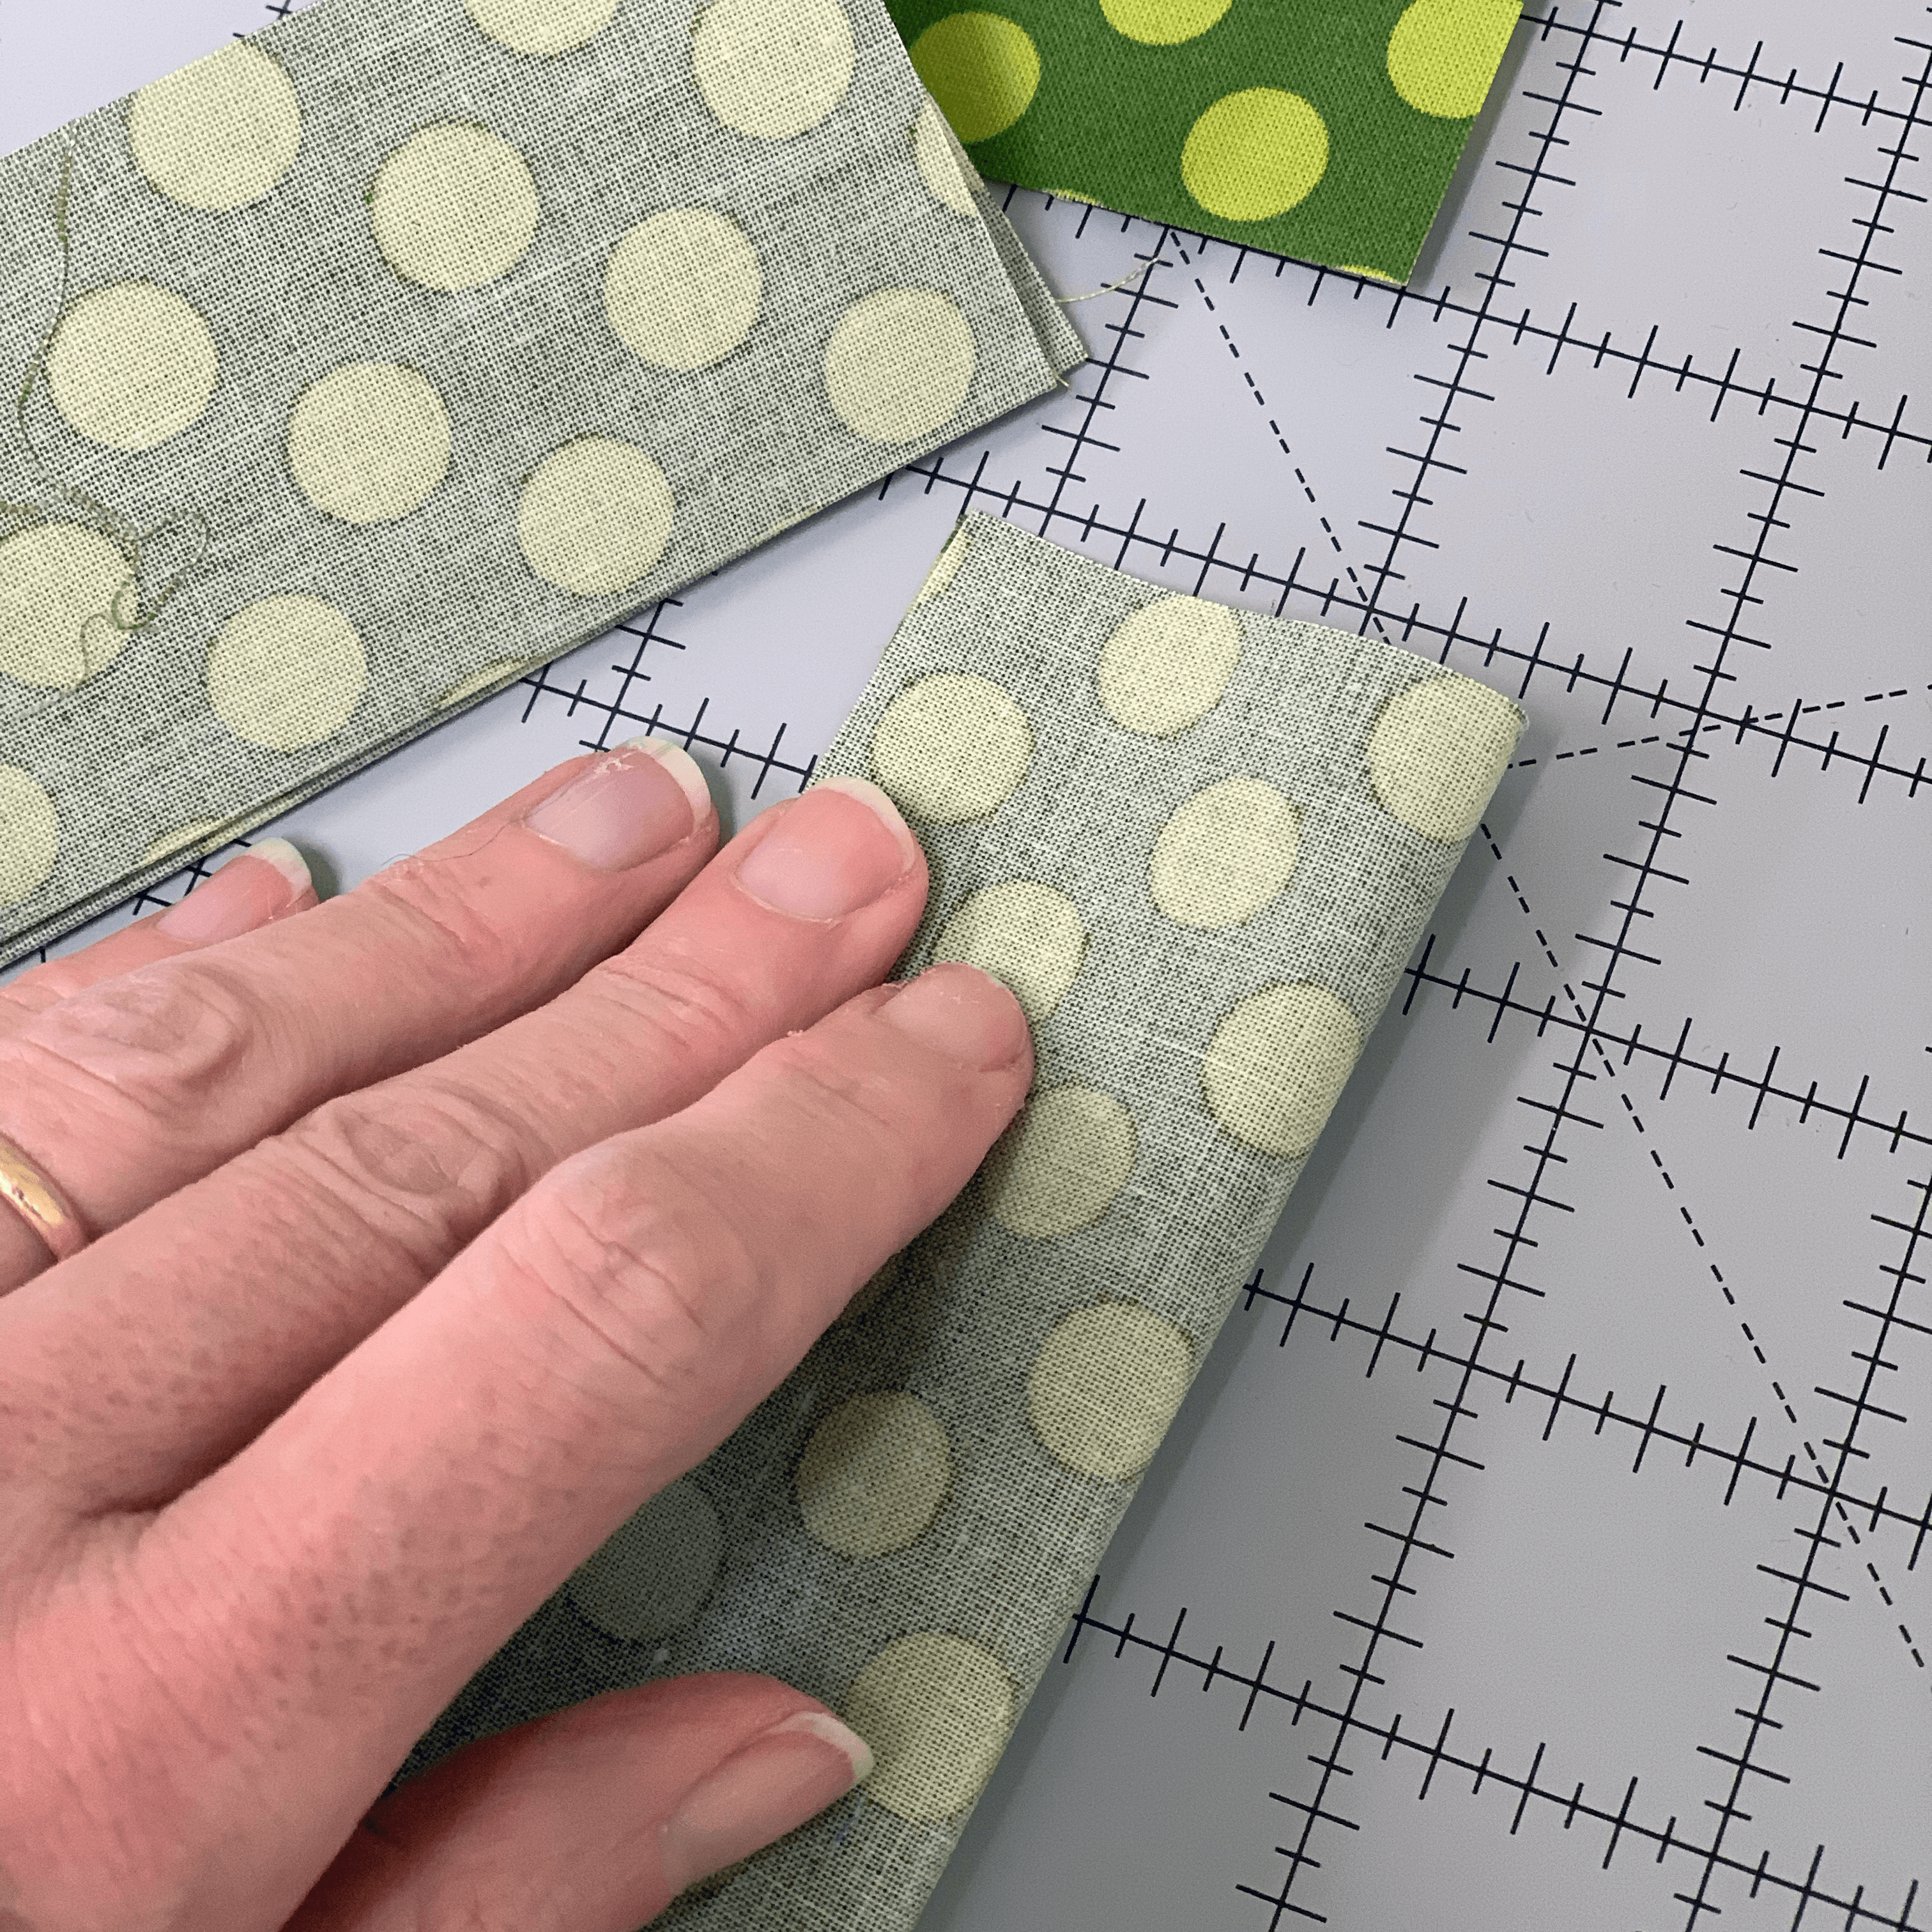
Fold your fabric squares in half and stack them neatly with the folded side aligned. You may wish to clip your pieces together along the folded side with Wonder Clips or small binder clips to keep them aligned.
Step 3: Shape the tree
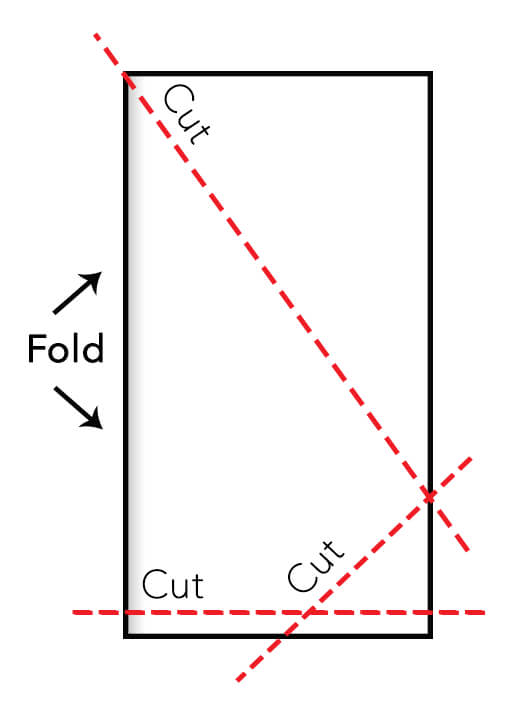
Using a rotary cutter and ruler, trim the bottom of your tree at a right angle to the folded side. This will be the base of your tree.
Make a second cut from the bottom edge to the outside edge at a roughly 40 degree angle, starting about half way across the bottom edge.

Make a third cut from fold side of the the upper corner to the outer edge right of the last cut you made.
Step 4: Add branches
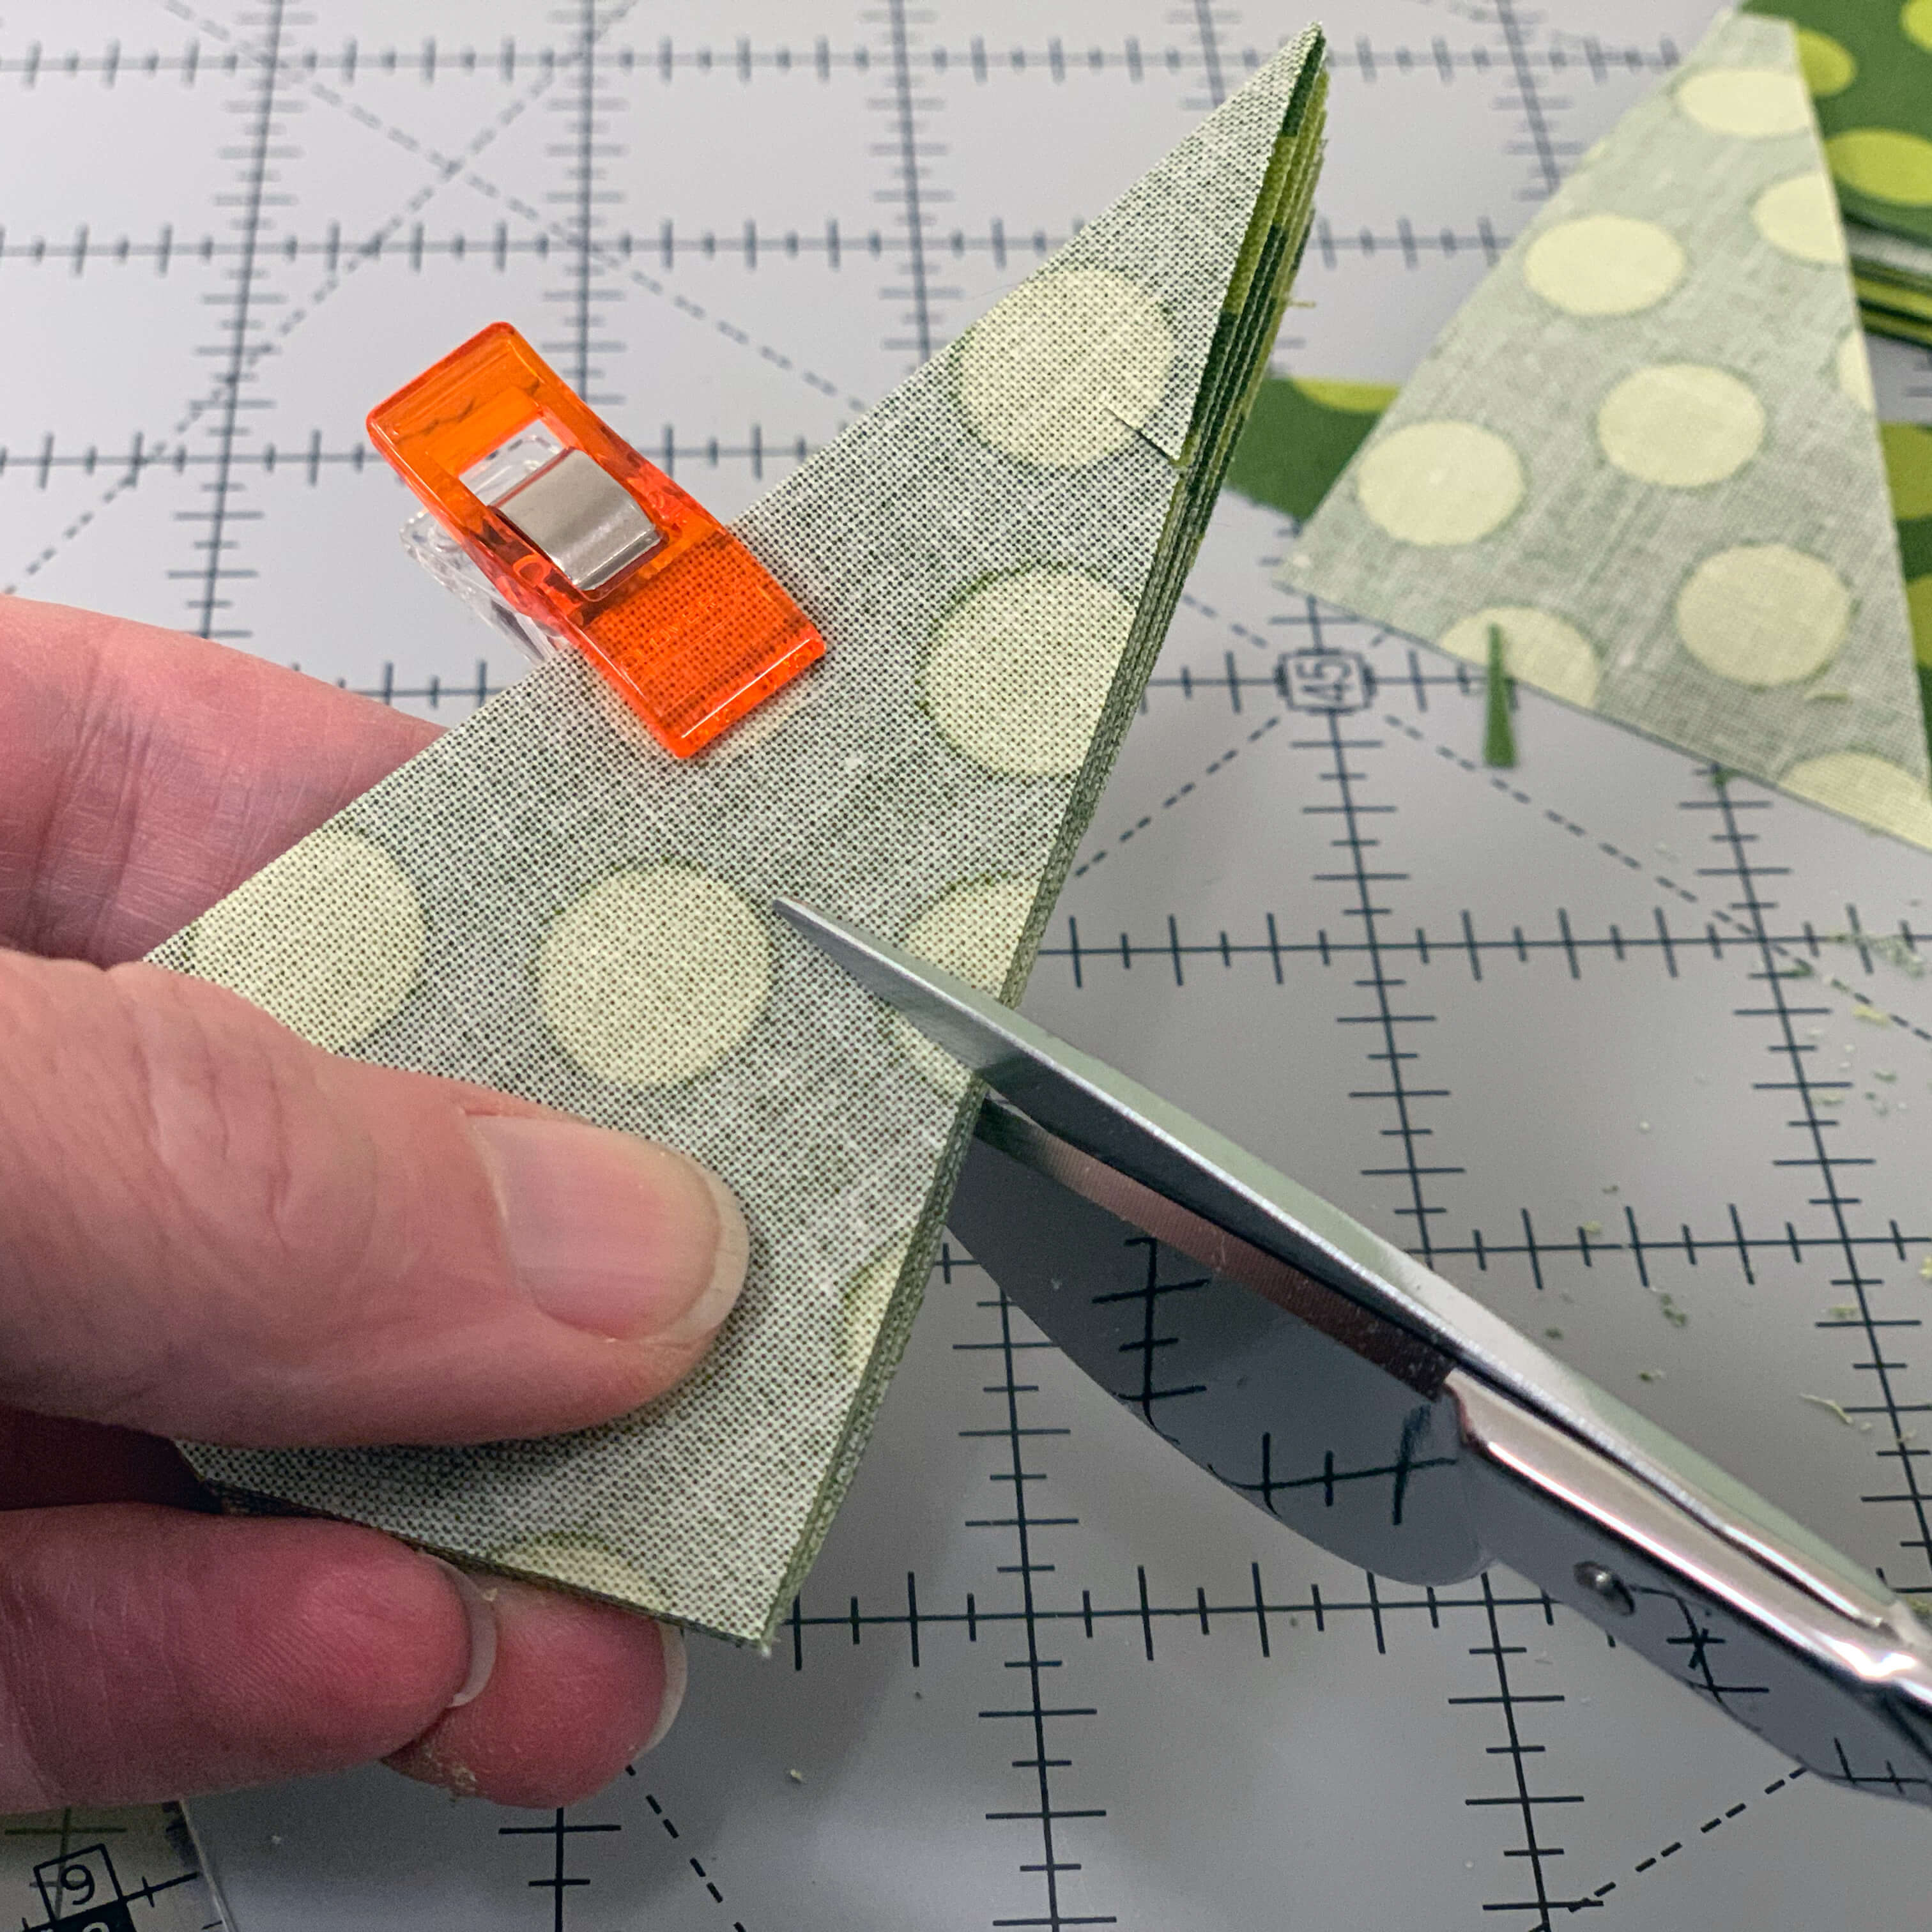
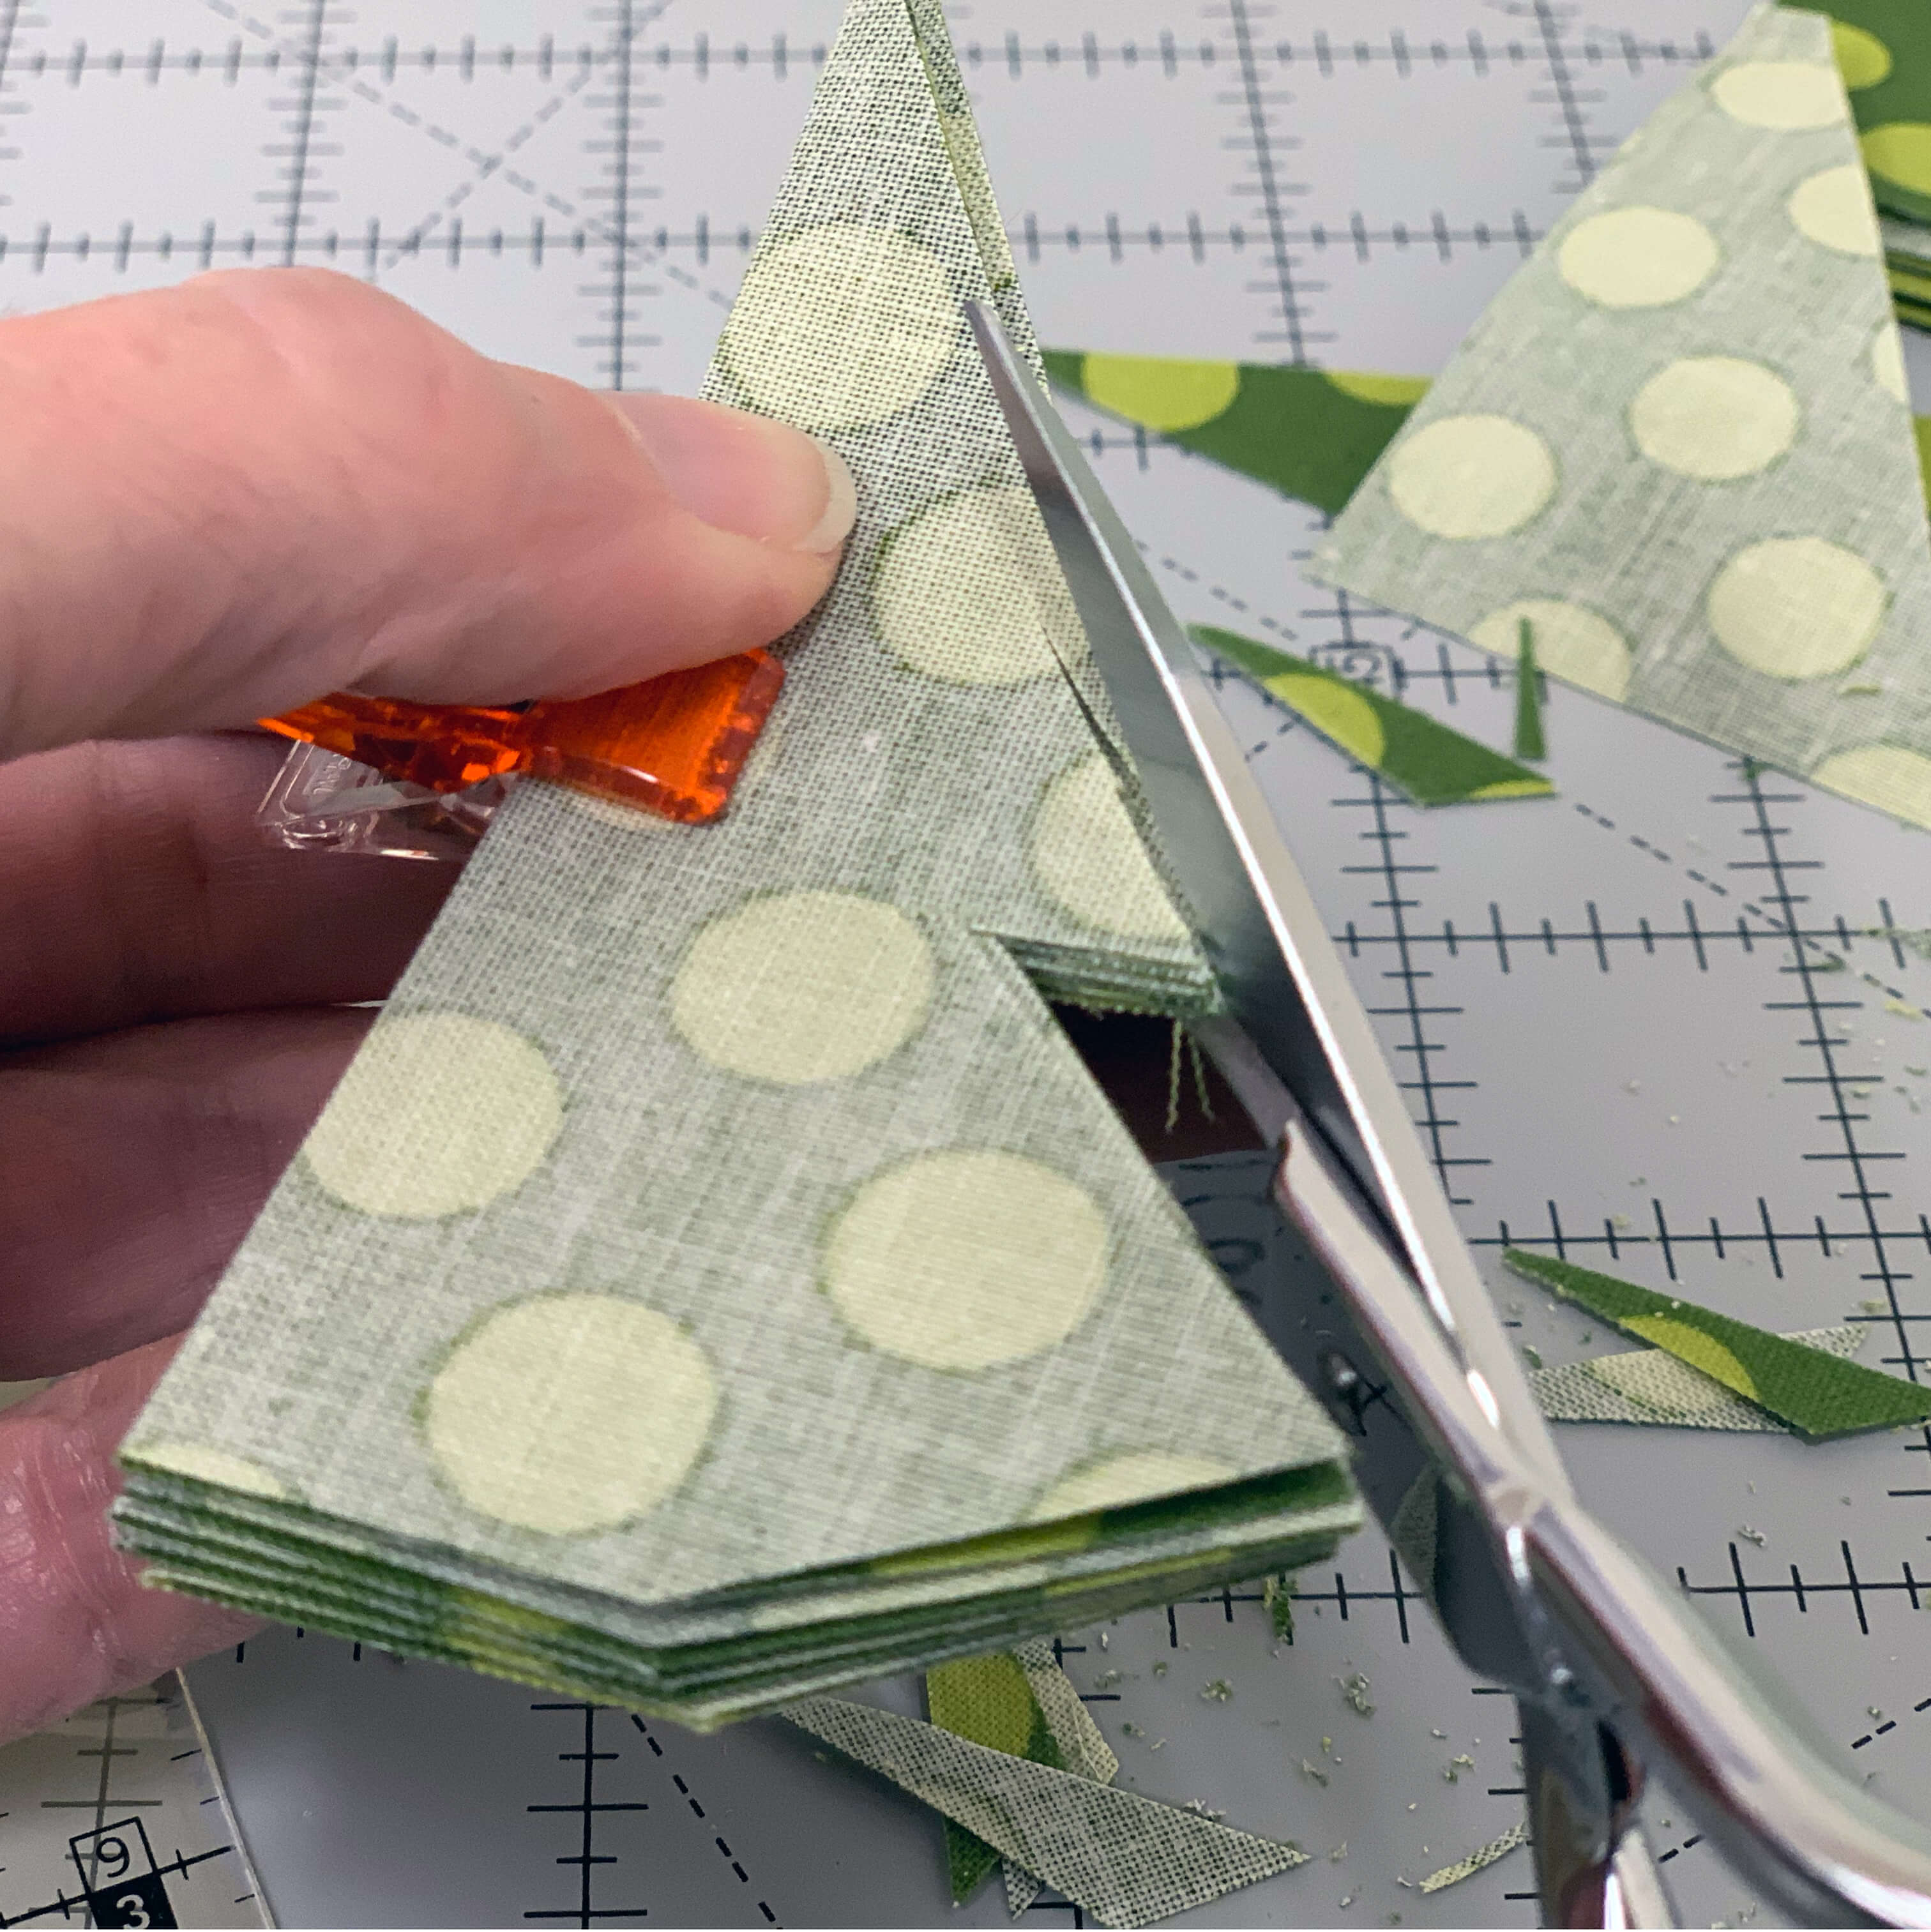
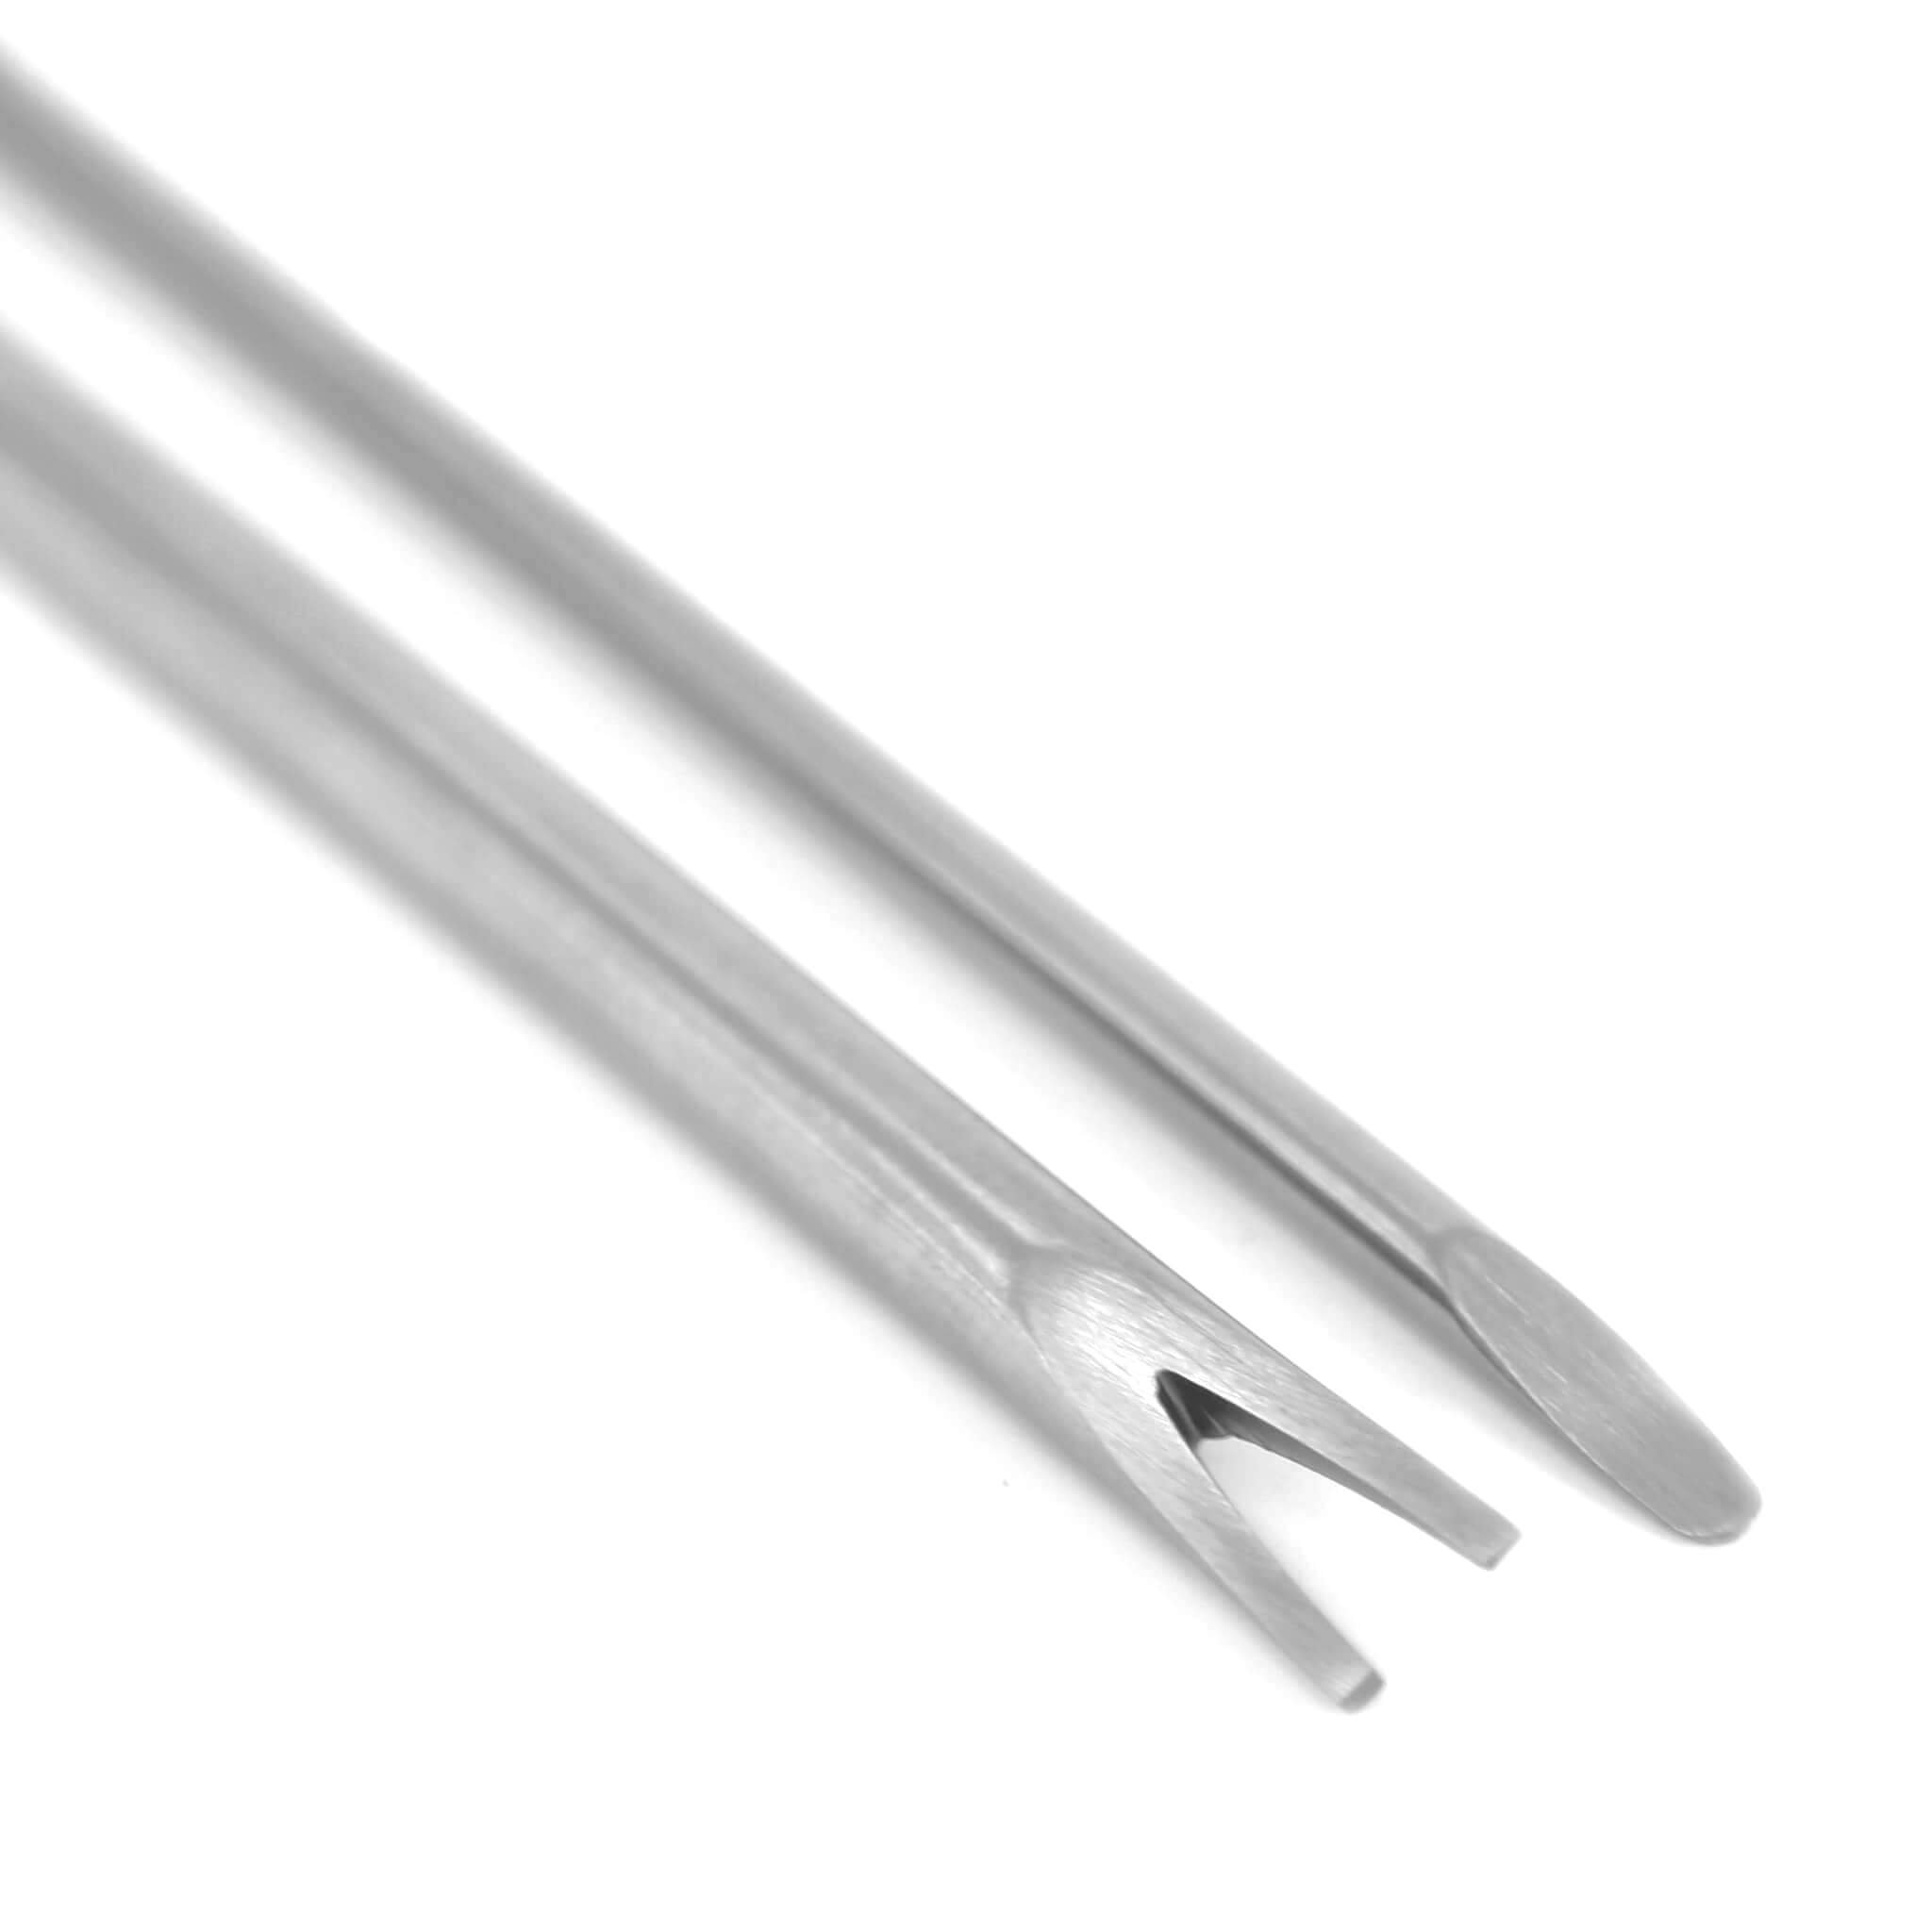
Using clips or holding your pieces very tightly to keep them aligned, use your sharp scissors (the duck-billed scissors in the photo are not necessary to the project - they are just very sharp!) to cut two or three horizontal notches into the outside edge of your tree pieces - these will be the bottoms of the branches. Cut from the outer side of the tree bottom up to the first notch, and then from the outer point of each branch up to the next notch up.
Step 5: Assemble your tree
Starting with one tree piece, apply fabric glue around the edges of one side. Place another piece on top of this one, being careful to align the edges (especially the folded edges). Press together. Repeat this process until each piece has been glued to the next.
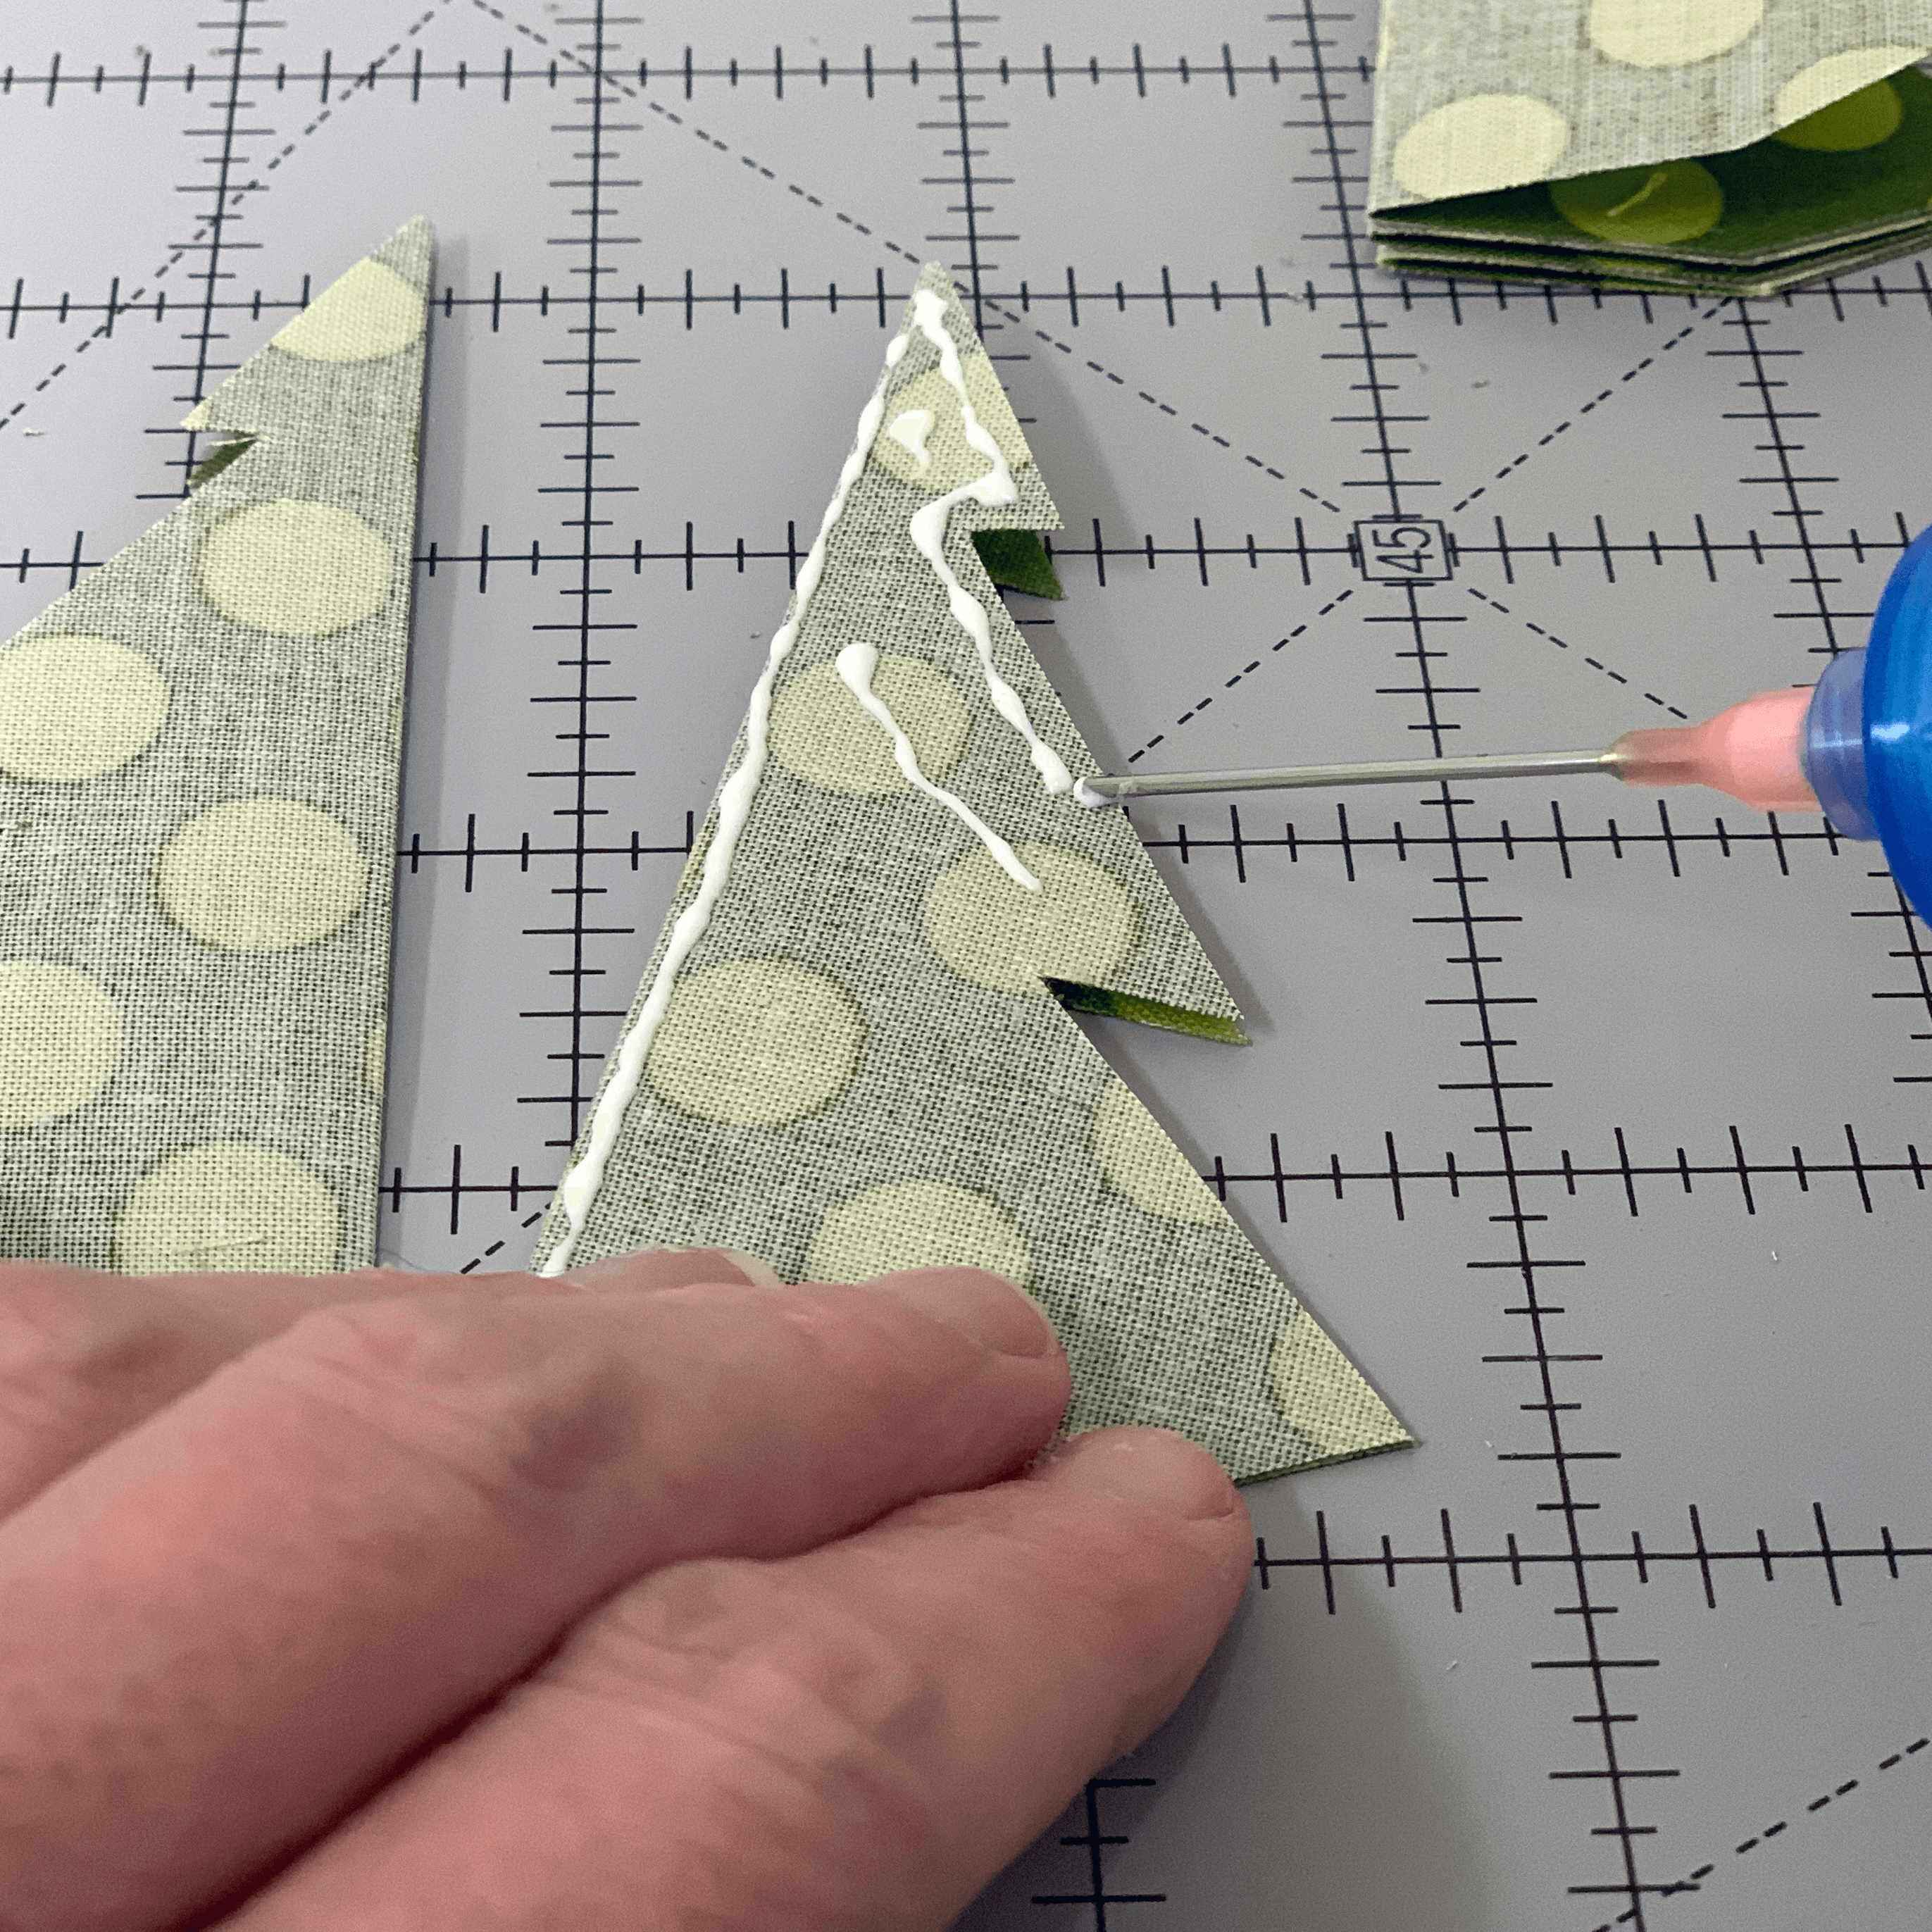
Allow the glue to dry and open out your tree! If you see any branch edges that aren't aligned well, you can trim them.


.jpg)


It works but recommend a first time using paper. I ruined first tree till I “got it”
RSS feed for comments to this post