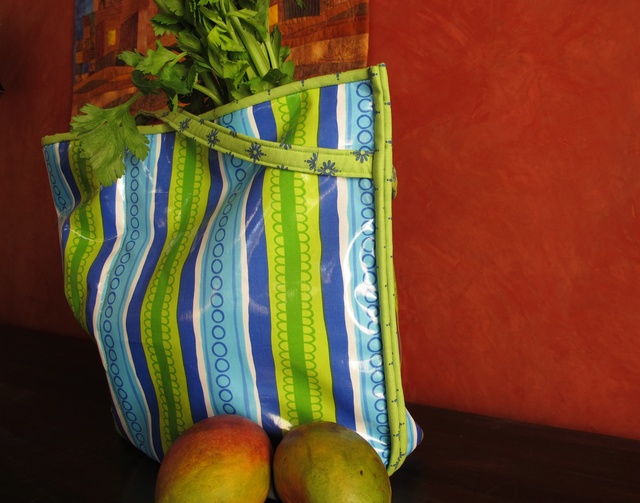
Sewing with Laminated Cotton by Lilo Bowman.
Walk into almost any quilt or fabric store nowadays, and you are sure to find a section dedicated to laminated cotton. These fun and colorful fabrics have been updated and offer the sewer many options. Most shops offering this fabric also have a range of patterns for using it, ranging from rain gear to totes to picnic blankets. Knowing how to work with this specialty fabric requires a bit of a "learning curve," and I'm here to help you glide through the process.
Laminated-cotton fabric comes in a range of widths, depending on the manufacturer, so keep that in mind when determining the amount you'll need for your particular project. I've found these fabrics in widths from 44" to 58" wide. Most laminated cotton drapes nicely, but some are a bit stiffer than others. Select a pattern that has simple lines, and avoid projects with too much shaping, especially when making raingear. I visit our local farmer's market on a weekly basis during the summer, so a tote was an obvious choice of project for me. I wanted my tote to be insulated in case I ran a few other errands before starting my trek towards home. My local quilt shop offered a pattern for an insulated market tote, so I'll be using my experience as a guide for you.
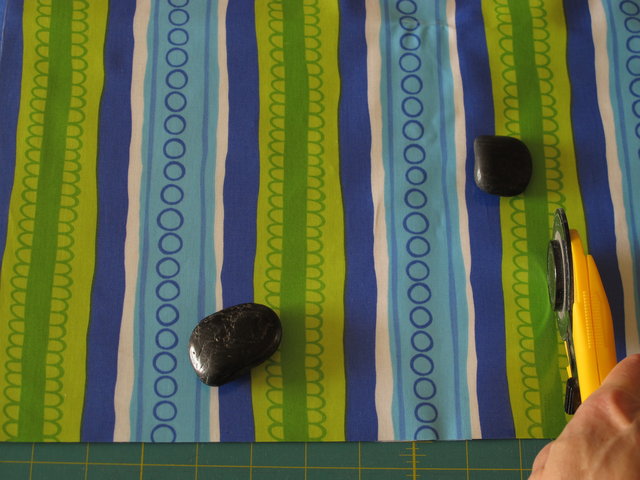
Cutting:
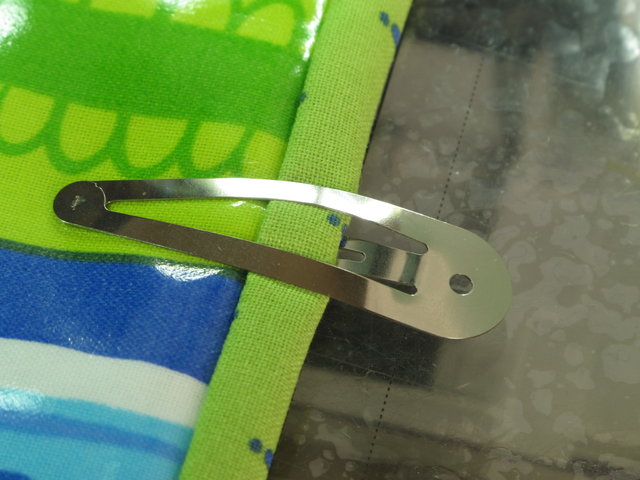
Cutting the pattern pieces was a breeze, as the fabric handled just like regular cotton. You'll want to be aware, however, that wherever you insert a pin, you'll leave a tiny hole, so substitutes are in order whenever possible! For large pieces, I used river rocks (or cans) to hold down the pattern pieces. Since I was sewing together three layers (laminate, insulation, and lining), I needed something to keep everything in place. Binding clips or clothespins worked great for this. They didn't leave marks and were easy to remove as I sewed up to them. The laminate keeps the cotton from raveling, so there is no real need to finish the edges, but I come from a garment-construction background, and some habits are hard to break.
Interfacing:
Do not use fusible interfacing when working with laminated cotton. Between the heat of the iron and the moisture that it produces, your fabric will develop wrinkles that won't come out. If your pattern calls for interfacing, use the non-fusible type.
Ironing:
Do I even need to state the obvious? Do not get your iron near this stuff! It will make a mess of the fabric and your iron. If you absolutely must get out a wrinkle, use a hairdryer on a LOW setting and slowly move back and forth over (not on) the fabric.
Needles & Thread:
Remember, every stitch leaves a hole...forever!! My local quilt-shop owner suggested using either a size 12 or 14 sharp needle to make the holes less visible. I used a Microtex needle. As for thread, either a 40 or 50 weight thread is recommended. Whether you use cotton or poly thread doesn't seem to make a difference.
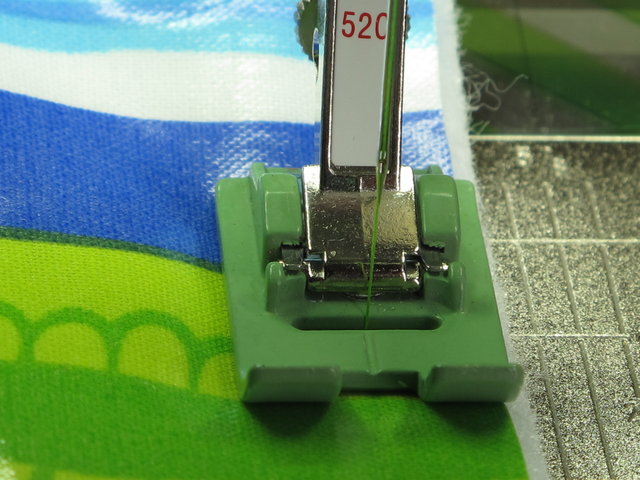
Bernina #52c
Sewing:
You'll want to increase your stitch length. The smaller the stitches, the more you stress the fabric and weaken the seams. On my Bernina, I used between a 3mm-4mm stitch length. My regular machine foot had a tendency to cause the laminate to bunch. Once I switched to the Bernina #52c or the #51 teflon foot, things went much more smoothly, although I did find it necessary to hold both ends of the fabric layers taut as I sewed to eliminate shifting.
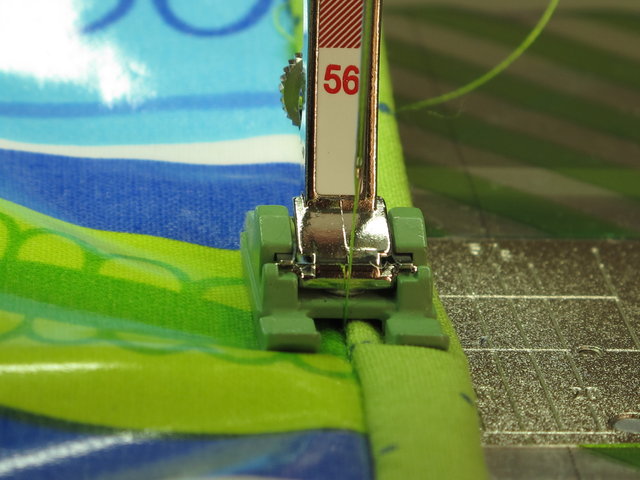
Bernina #56 Embroidery/Open Toe
If you are a speed demon where sewing is concerned, this is definitely the time to SLOW IT DOWN. A slow even pace will help the fabric glide along without any nasty puckers. Remember the mantra: Every stitch leaves a hole...forever!
A shopping tote is a perfect first-time project to practice on before delving into more complex patterns. If you make a couple of mistakes, no biggie. It's going to hold foodstuffs, after all. Just remember to take your time and have fun.
p.s. A little birdie just told me that on the blog, See How We Sew, by popular quilting instructor Laura Nownes, is a great idea for making a little roll-up bag for makeup brushes using laminated (vinyl-covered) fabric. Great gift idea! You might want to check it out here.
Click here to get the Roll Up Brush Case pattern.
Lilo
Photo Credit for all the photos in this article - Lilo Bowman


.jpg)
RSS feed for comments to this post