1

3113_dsc01383.jpg

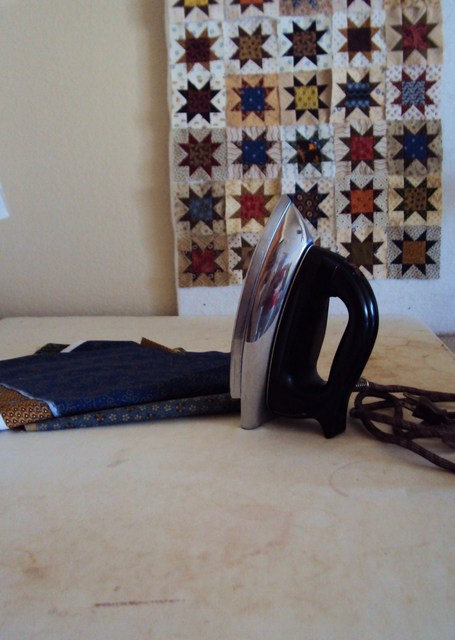
A good and stable ironing surface is a must for quilters of every sort.  But, the cost of custom made boards can make a girl think twice.  So why not build one yourself?  Actually, making your own custom board is a piece of cake when you get right down to it.  With a few tools and the help of your local hardware person you can have a nice, hard, pressing surface that will give you years of service. 

Materials: 

  • 3/4" pressed wood or plywood,
  • 100% Cotton batting
  • Muslin or other light cotton fabric
  • staple gun
  • scissors


1. Determine the size board you would like.  The board featured measures 36" x 29" and fits nicely on a tabletop.
2. Go to your local hardware store and ask to have your board cut to size.  You will probably have enough wood left over to make another ironing board for a friend.
3.  Cut two layers of batting large enough to fold around to the underside of the board on all four sides.  Center the two batting layers on the board; folding to the back and tacking in place with a few staples.
4.  Cut the muslin fabric large enough to fold around to the underside of the board on all four sides.  Center the muslin over the batting.  Fold muslin to the underside and tack in place on one side.  On the opposite side pull muslin taught and tack in place along the underside(wait to tack corner later).
5.  Repeat with other two sides. 
6.  Pull in corners and tack in place.  Cut any excess fabric and batting away.
You now have your own custom ironing board ready to go.  As the top gets stained just add another layer of muslin. 


If you have a great tip to share send it to us here.


  0

One of the VERY best things about hosting TQS is getting to play and hang out with the artists behind the scenes - Sometimes these folks are new to us and other times they are long time friends - such is the case with Sue. She is really one of "the good guys" in the quilting world - in fact it is safe to say, we adore her to pieces! If you are planning to attend Quilting in the Garden at Alden Lane Nursery in livermore, CA this weekend it is your chance to meet her, see her quilts up close and personal and learn why we feel this way - in fact - Do not miss her Friday night lecture at the Nursery - there are still a few openings available. It is not often in the quilting world where such a small and intimate gathering is possible. To sign up call 925-447-0280 and secure your spot today!

3101_suea.jpg

  0

3098_img_6272.jpg
Photo by Gregory Case Photography

Just as a good chef keeps his/her pantry filled with a variety of basic items that allows him/her to whip up a delectable dish at a moment's notice, so too should your "quilt pantry" be at the ready for whenever the creative urge hits. There's nothing worse than cruising along on a creative ride only to discover you're out of an essential item. To avoid this type of frustrating roadblock, we suggest you keep your "pantry" stocked with these basic items:

  • Assorted shades of gray thread for piecing; gray blends with most fabrics. Tan, black, and white are also good basics to have on hand.
  • A variety of threads to meet your needs for machine quilting. Your "essential" collection might include a mix of mercerized cottons, rayons, solids, variegateds, metallics, and invisible varieties.
  • Batting in the fibers (100% cotton, cotton/poly blend, poly, wool, silk) that you use most often, purchased in yardage or in large pre-packaged sizes that can be trimmed to the desired measurements. (Tip: You can use the remnants to build larger pieces by butting the pieces side by side and joining them with a large zigzag stitch.)
  • Machine and hand sewing needles in a variety of sizes for various needs (e.g., piecing, applique, quilting, embroidery).
  • Pre-wound bobbins; you'll minimize interruption when your current bobbin runs out.   
  • An assortment of pins (silk, glass-head, flower-head) to tackle any basic piecing, applique, or quilting needs.
  • Scissors and rotary cutters. Make sure that the scissors are sharp and the blade of the rotary cutter is not nicked or dull.
  • A large and a small rotary mat to cover the majority of your cutting needs. (Tip: Don't throw out an old or warped cutting mat! See how one TQS member recycled her mat here.)
  • A variety of rulers and drafting tools. Basic rotary rulers might include 2 1/2" x 18", 6" x 12", 6" x 24", and a 12 1/2" or 15" square. Don't forget to include an accurate drafting ruler if you like to draft your own quilt blocks or designs as Alex does. (Episode 604)
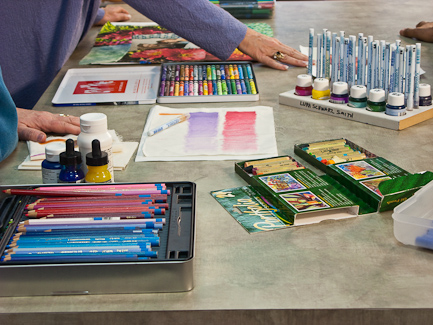
  • Drawing tools such as colored pencils, crayons, and pastel chalks. These are great for auditioning a design, and the ones designed for use on fabric are wonderful for adding a colorful little touch to a quilt (Episode 702).
  • Useful designing aids such as hinged mirrors (Episode 506), value finders, and a reducing glass.

These are just a few  "pantry" items that you might want to keep handy. Depending on the type of quilting you like to do, you may find other items to keep stocked on a regular basis. Be sure to keep a shopping list for items that are running low or need replacing so you're ready for that next trip to the quilt store. 

 If you have a great tip to share we want to hear about it here.

  0

3097_alex.jpg 3097_tqsstarcrazyfinishedquiltwhiteborderp1050457.jpg
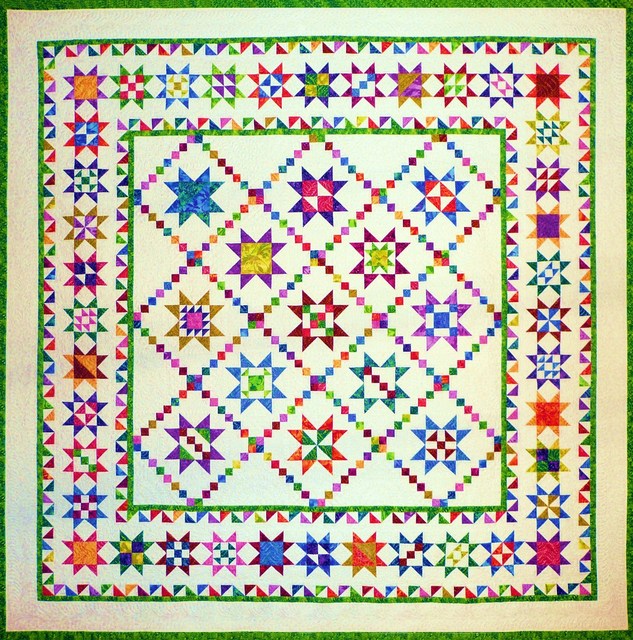
Time to gather all your supplies: Class is about to begin again! Join Alex for a new series of classroom lessons devoted to piecing, and featuring our TQS BOM Star Crazy, designed by Sue Garman. PIECING 101 classes are organized to make your piecing experience more accurate, efficient, and fun, whether you're a new quilter or a more experienced stitcher. You'll love all the great tips and tricks!

Catch a new lesson each Tue/Wed/Thu for the next five weeks, and join the fun of working on this colorful quilt--one that's sure to become a family favorite. It's not too late to begin. You might even have the top completed by the holidays! To join the class click here.

  0

By that I mean - someone who is new to the sport? If so, please give them the heads up that I am starting a new group of classroom lessons (based on this year's pieced BOM) geared for ANYONE who wants to learn about piecing basics and those who may want t learn some of my tips and tricks. All the person needs to do is register as a basic member and then enjoy the lessons - ETA: Next week the lessons should kick off.

3090__dsc0503.jpg

Katie working on her third quilt!

  0

Here's some more on copyright from earlier blogs:

Thou Shalt Not Steal.

More on Copyright.

Copyrights on Techniques and Ideas.

And from The American Quilter's Society:

An Explanation of Design Permissions.


  0

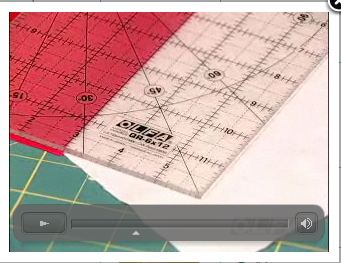
2944_frosted_rulers_video.jpgOur Good Friends at Olfa had a great idea.  In order to introduce you to their Non-Slip Frosted Advantage Acrylic Rulers they are giving away a Ruler Assortment pack worth over $150 to 3 of our members. 


It's easy to enter.  Just send an email to (if your email doesn't directly connect, copy and paste this into your email "To".)  frostedadvantage@thequiltshow.com and put "Olfa Rulers" in the subject line.  That's it.  Enter by Monday midnight PST and you will be in the random selection for 3 winners. 

Click Here or on the picture to see a short video about them.

If you have trouble with the video or are on a Mac:  Click Here and scroll down to the Ruler Video

  0

2909_1208_feathered_star_by_denisenh.jpg
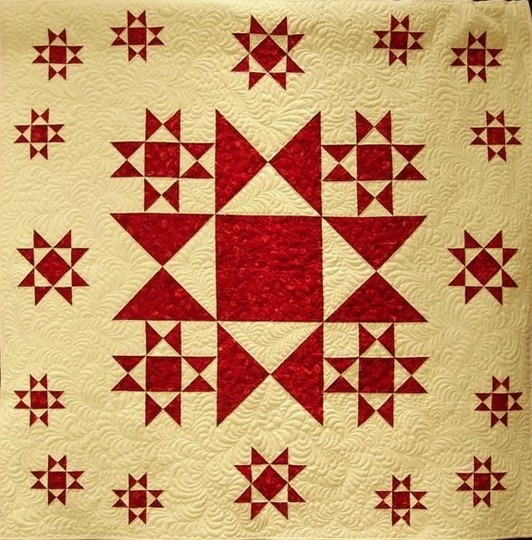
Feathered Star by TQS member MNQuilter


Can you imagine spending 25 days working at the most tedious and foul-smelling process just to obtain the color red for a piece of fabric? What is it about this particular color that captured the imagination, admiration, and envy of the world during the late 1800s?

In the 1880s, the range of colors available for fabrics was rather limited, and--due to the stress of washing (boiling and bleaching)--colors tended to fade fairly quickly. Typically colors were limited to available natural dyes or to the natural color of wool produced by animals. It must have been a thrill to add the luxury of a brilliant red fabric to one's quilt or wardrobe.  To read more visit our Articles page here.


  0

2899_sistersquilt3.jpg

Let's meet face to face!

If you are planning to be at the Sisters Outdoor Quilt Show on Saturday please schedule a visit to the TQS booth at 1pm for a TQS member gathering and photo. Alex and Ricky will both be there! Don't forget to wear your TQS badge!

Who will join us?


  0

2892_laundry_bag.jpg

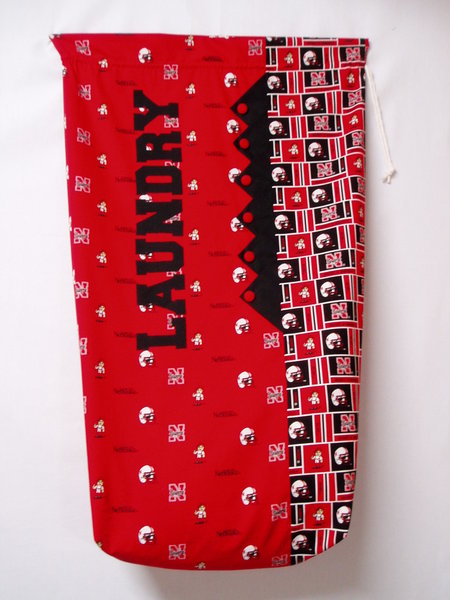
Hello Quilting Campers.  This week's project is something you probably want to get a better handle on.  Laundry is a fact of life – and Laundromats are something most college students have to live with. Check out this fun and easy laundry bag from Olfa that may help to make the chore a little easier for your favorite grad – if nothing else, it will remind them that you are thinking of them on laundry day.

Be sure to check out each week's project on our Projects page
here.   Share your creative versions of any of our projects in Show and Tell here.