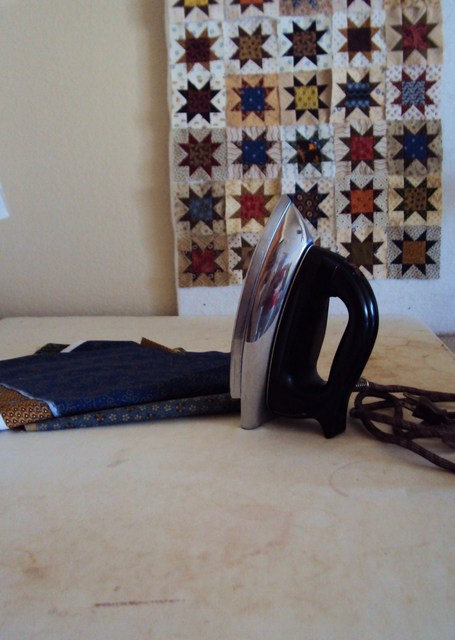
A good and stable ironing surface is a must for quilters of every sort. But, the cost of custom made boards can make a girl think twice. So why not build one yourself? Actually, making your own custom board is a piece of cake when you get right down to it. With a few tools and the help of your local hardware person you can have a nice, hard, pressing surface that will give you years of service.
Materials:
- 3/4" pressed wood or plywood,
- 100% Cotton batting
- Muslin or other light cotton fabric
- staple gun
- scissors
1. Determine the size board you would like. The board featured measures 36" x 29" and fits nicely on a tabletop.
2. Go to your local hardware store and ask to have your board cut to size. You will probably have enough wood left over to make another ironing board for a friend.
3. Cut two layers of batting large enough to fold around to the underside of the board on all four sides. Center the two batting layers on the board; folding to the back and tacking in place with a few staples.
4. Cut the muslin fabric large enough to fold around to the underside of the board on all four sides. Center the muslin over the batting. Fold muslin to the underside and tack in place on one side. On the opposite side pull muslin taught and tack in place along the underside(wait to tack corner later).
5. Repeat with other two sides.
6. Pull in corners and tack in place. Cut any excess fabric and batting away.
You now have your own custom ironing board ready to go. As the top gets stained just add another layer of muslin.
If you have a great tip to share send it to us here.


.jpg)
