Click here for link list to all the organization articles.
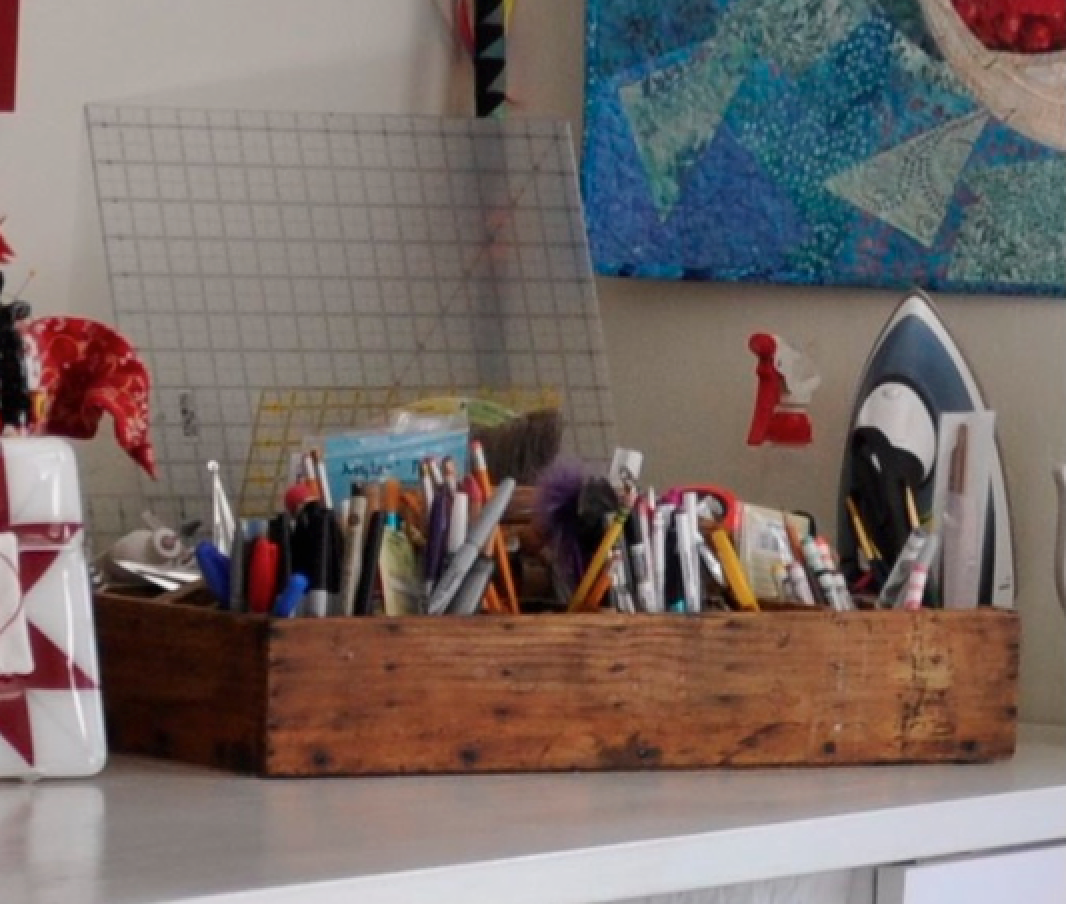
Many a quilter dreams of having a dedicated studio space. Often reality does not allow such dreams, while children, work and other obligations take precedence. When the time and budget does allow for a personal studio space, there might be a number of things to consider that just may not have been on your radar.
Like many quilters, Alex's studio was for many years in a 12' x 14' former bedroom. Over time, quilting items began migrating throughout the house, due to the lack of space in the studio. Fabric was stacked in piles in a nearby laundry room, while books found homes in various other areas of the home. Having things scattered around the house frustrated Alex. With little time to dedicate to quilt work, she wanted to be more efficient by containing everything in one area. Unfortunately, there was no extra space available in the house. The hunt for a new home began. It was during this time that Alex's father made the suggestion of bumping out an existing bedroom wall into a portion of the backyard that, at the time, was not being used. Thrilled with the idea, this solution allowed the family to stay in the house they loved while providing a dedicated studio space for Alex. With no house purchase needed, money was saved for the expansion, which began in 1999.
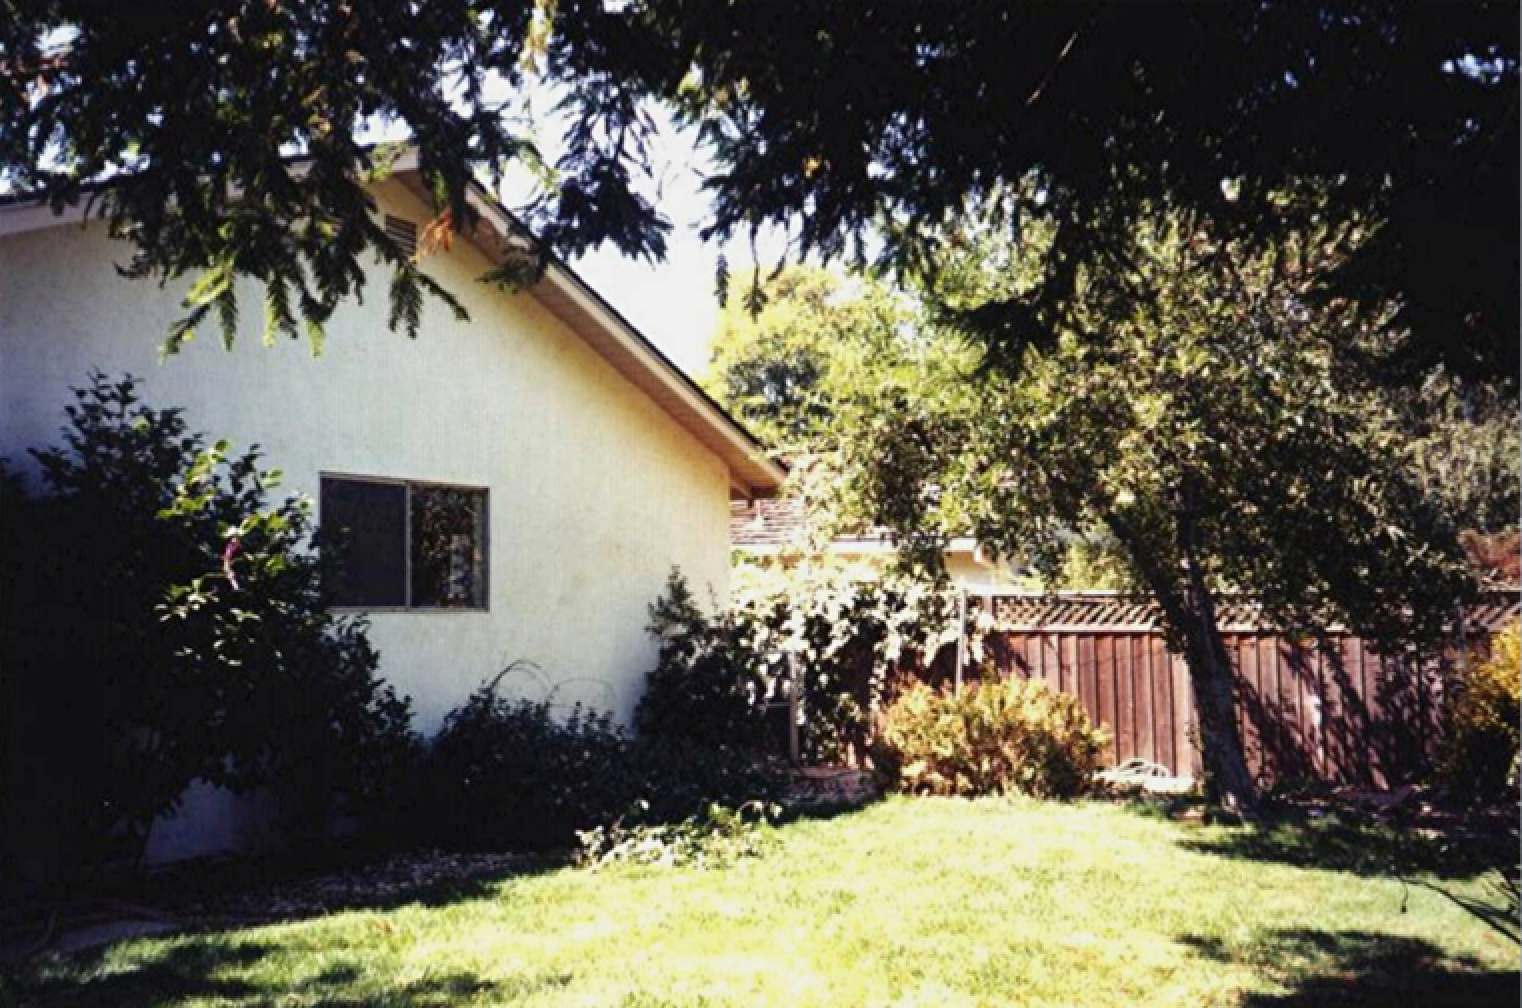
View of the backyard from Adair's bedroom.
What were the 'must have elements' of the studio?
I don't like a lot of visual distraction in my work space, so storage for fabric, batting, completed quilts and others supplies needed to be out of sight. I prefer to design on a design wall, so I needed a large amount of dedicated wall space. To keep a unified and neutral color scheme, I chose creamy white as it would allow me to add interest with colorful art and family mementos. Good natural light and a dedicated office, separate from the studio, were on my must have list as well.
How did you approach the project?
I visited the studios of Yvonne Porcella and Freddie Moran to gather ideas as well as to determine what would work/not work in my space and budget. Seeing another artist's approach gave me good ideas for how to incorporate them into my own area. Talking with Yvonne and Freddie also gave me the opportunity to ask questions from those I trusted.
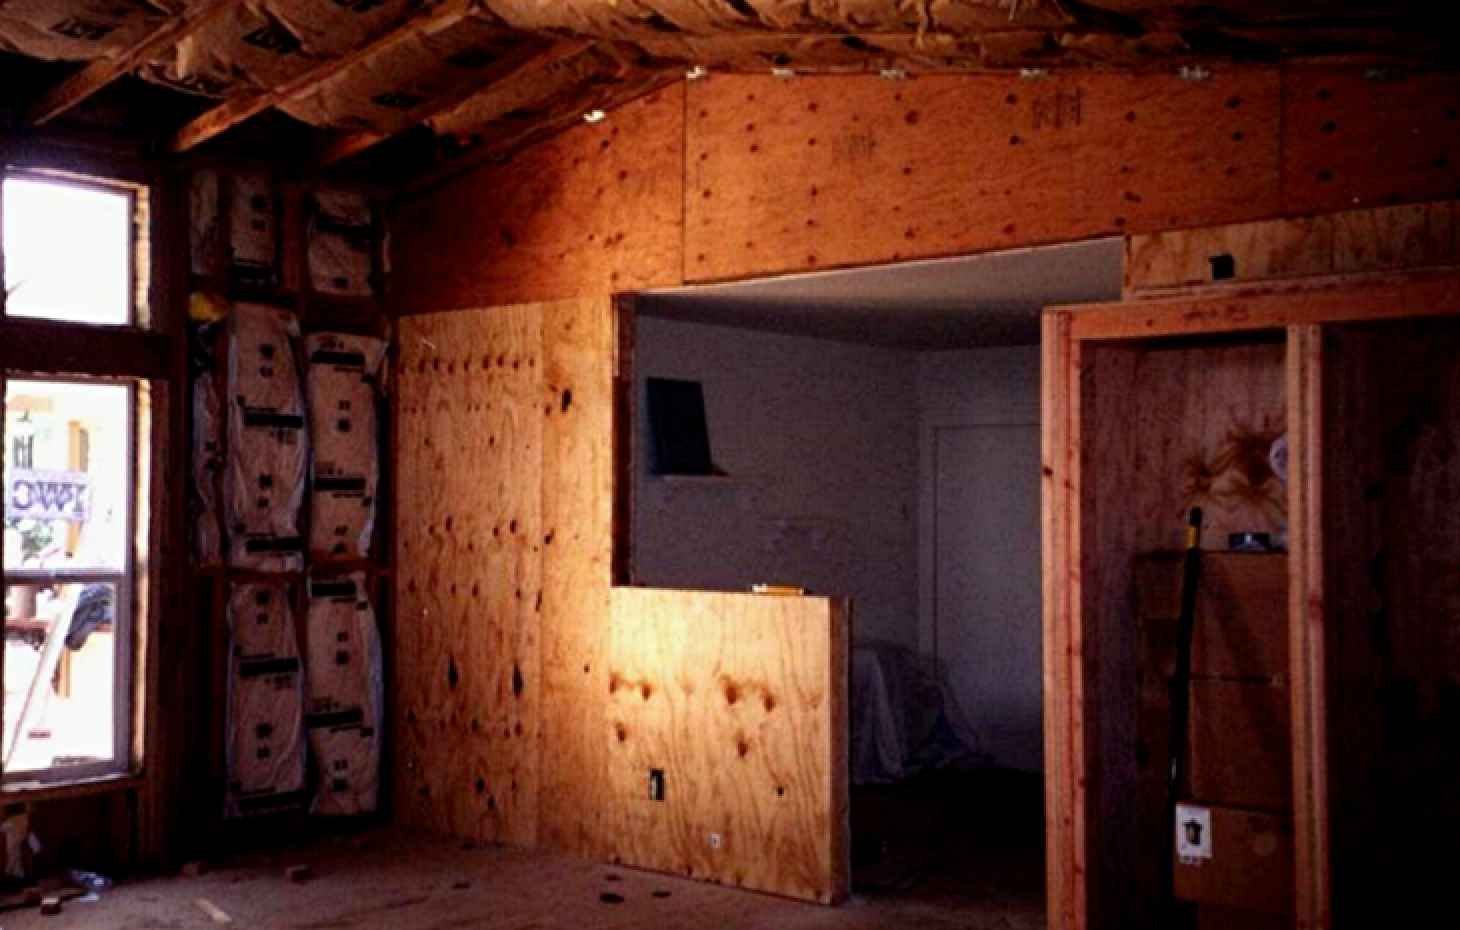
(Adair's bedroom window is removed and a half-wall is built to enclose the new office space)
Did you use an architect or designer? What was your budget?
An architect worked on the initial design while another design expert tweaked it a bit. Both individuals spent a great deal of time listening to what my needs and desires were. With a budget of $60,000, most of the cost went for structural work (Framing, roof, floor, plumbing, windows, electrical, etc.). We did include plumbing in the subfloor as it would be a plus for resale. The idea being that the space could at a later date become a family room with a small bathroom.
What did you have to eliminate or edit on the project?
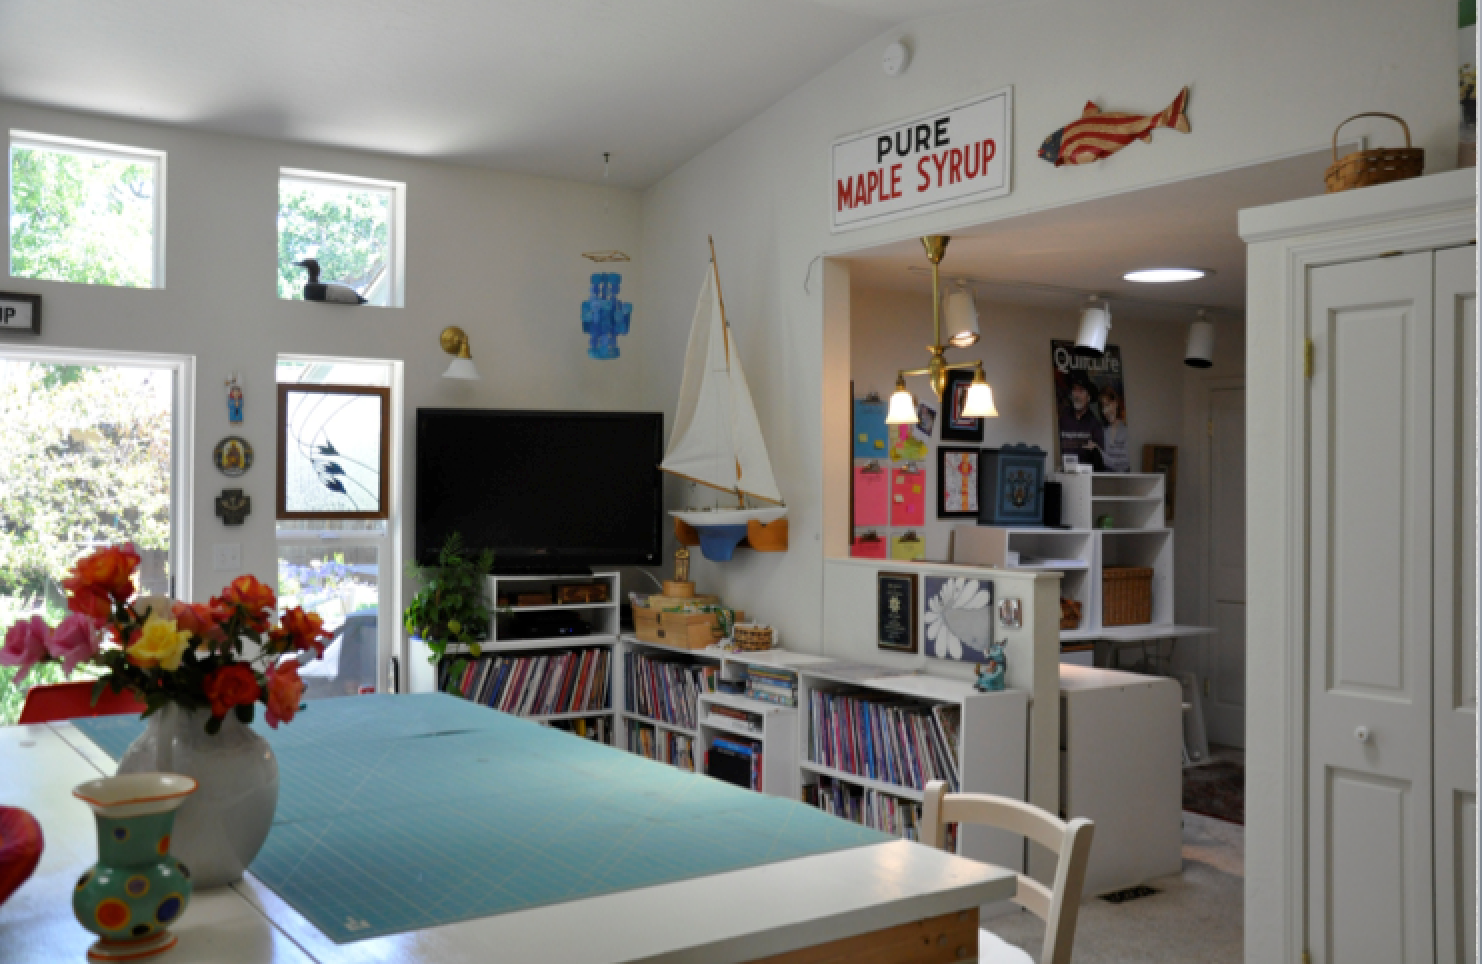
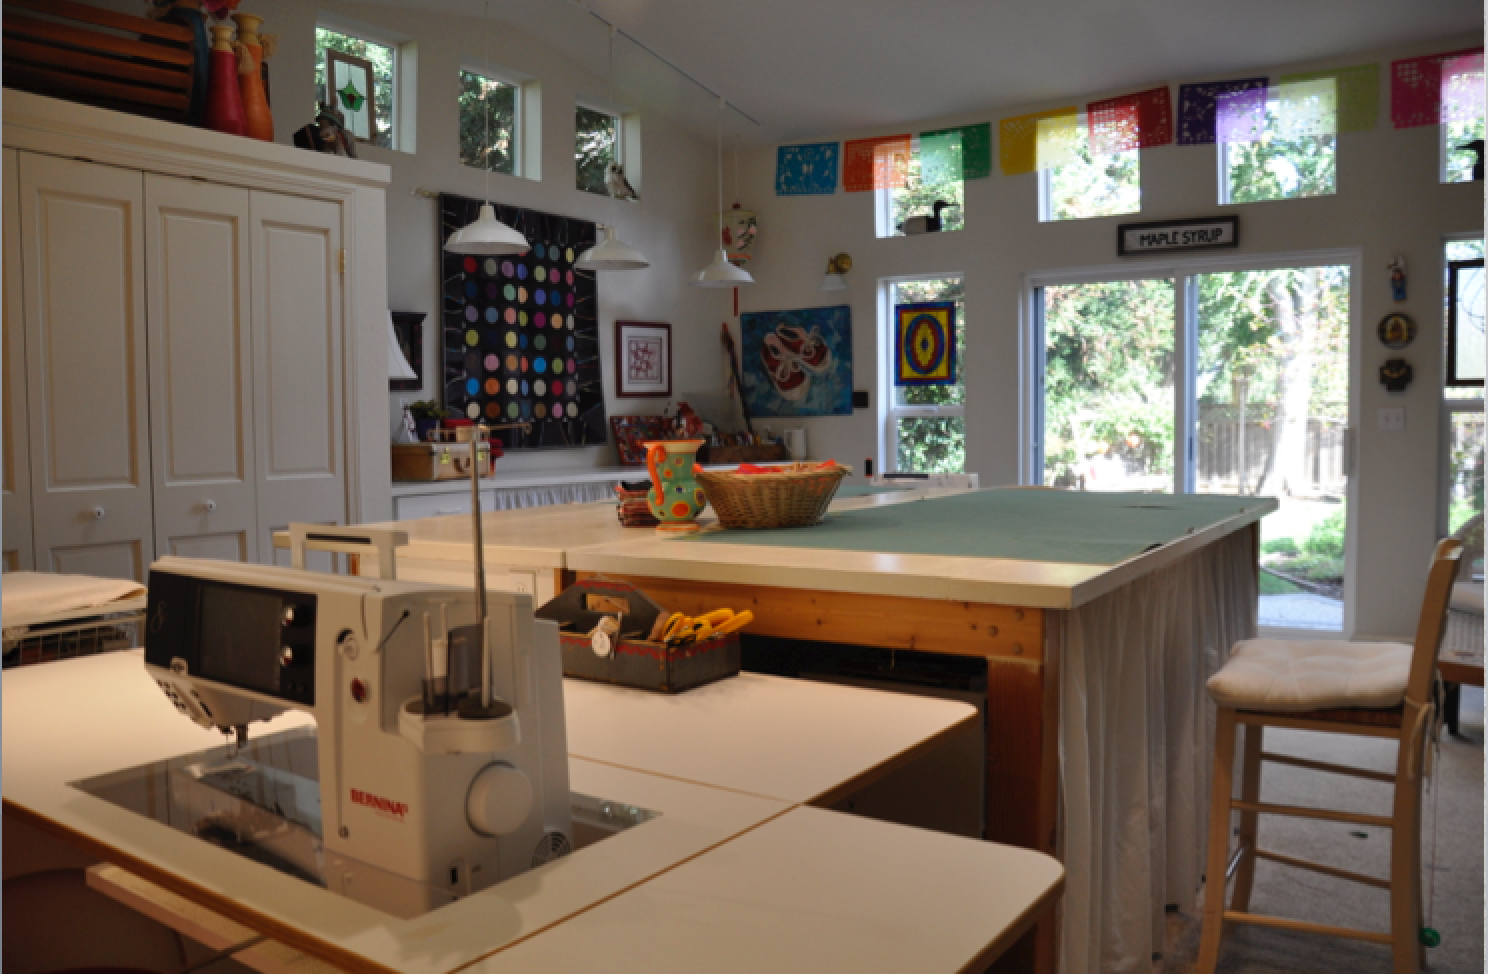
I would have liked to have included custom built-in work/cutting tables, book cases and other items, but with $56,000 going for the majority of structure that meant that the remaining funds had to be seriously stretched. To stay within budget, my Dad helped to build the cutting table using two doors that rest on sets of stock kitchen cabinets. Curtains hide large storage areas underneath. Along the far wall (under the circle quilt) another laminate counter hides more storage.
By making the cutting tables I was able to still have enough in the budget to allow for the Elfa storage system that is in the cabinets. It was a big investment, but the cabinets are still in great shape after all of these years.
(My father built the sailboat when he was 16.)
Tell us about the process. How long did it take?
The entire job took four months start to finish. We could have made the space larger, but at just under 500 sq. feet we stayed within our original tax bracket. This was something we did not know until the architect made mention of it.
Along with the new floor, framing and roofing of the structure, a portion of the wall in the existing bedroom was opened to house and hide my office. The other side of the wall (in the studio) allowed for built-in bookcases and a television. The electrician installed plugs into the floor to avoid the need for cords along the floor. Skylights were installed in the roof and clerestory windows provide natural light. The sliding patio door was installed so that I could enjoy my garden and have easy access to the backyard.
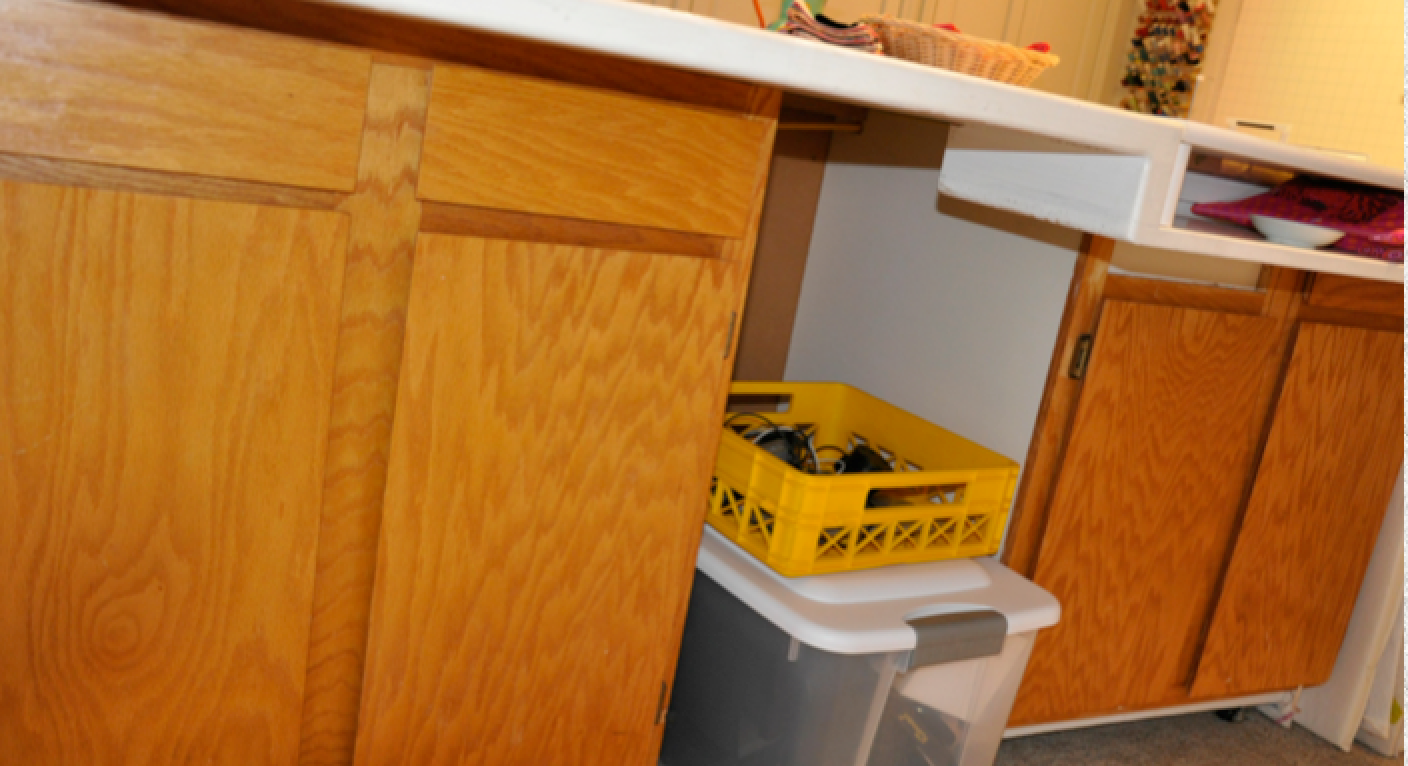
(Kitchen stock cabinets provide storage under the large cutting table)
Describe the completed studio and how you feel about the space?
The studio is a light, open and airy space. With everything in shades of creamy white, it is a calm space while color is introduced with art and family mementos.
Two walls of tall cabinets hold my fabrics, batting and other things out of sight. Along the back wall of the studio is a very large design wall. The cutting/work tables sit in the center of of the room. The space has good energy and lots of natural light from the windows, skylights and patio door. I love the large design wall, worktables and my Horn cabinet. White non-loop carpeting is there to ensure that this area is 'off limits' for small children. I don't want to have to worry that someone might step on a pin.
Two white wicker chairs by the patio door provide seating for reading or drinking a cup of coffee. It's a great place to relax or look out into the garden. John and I often spend our evenings reading, or watching TV while I stitch in this studio space. It is one of our favorite places in the house.
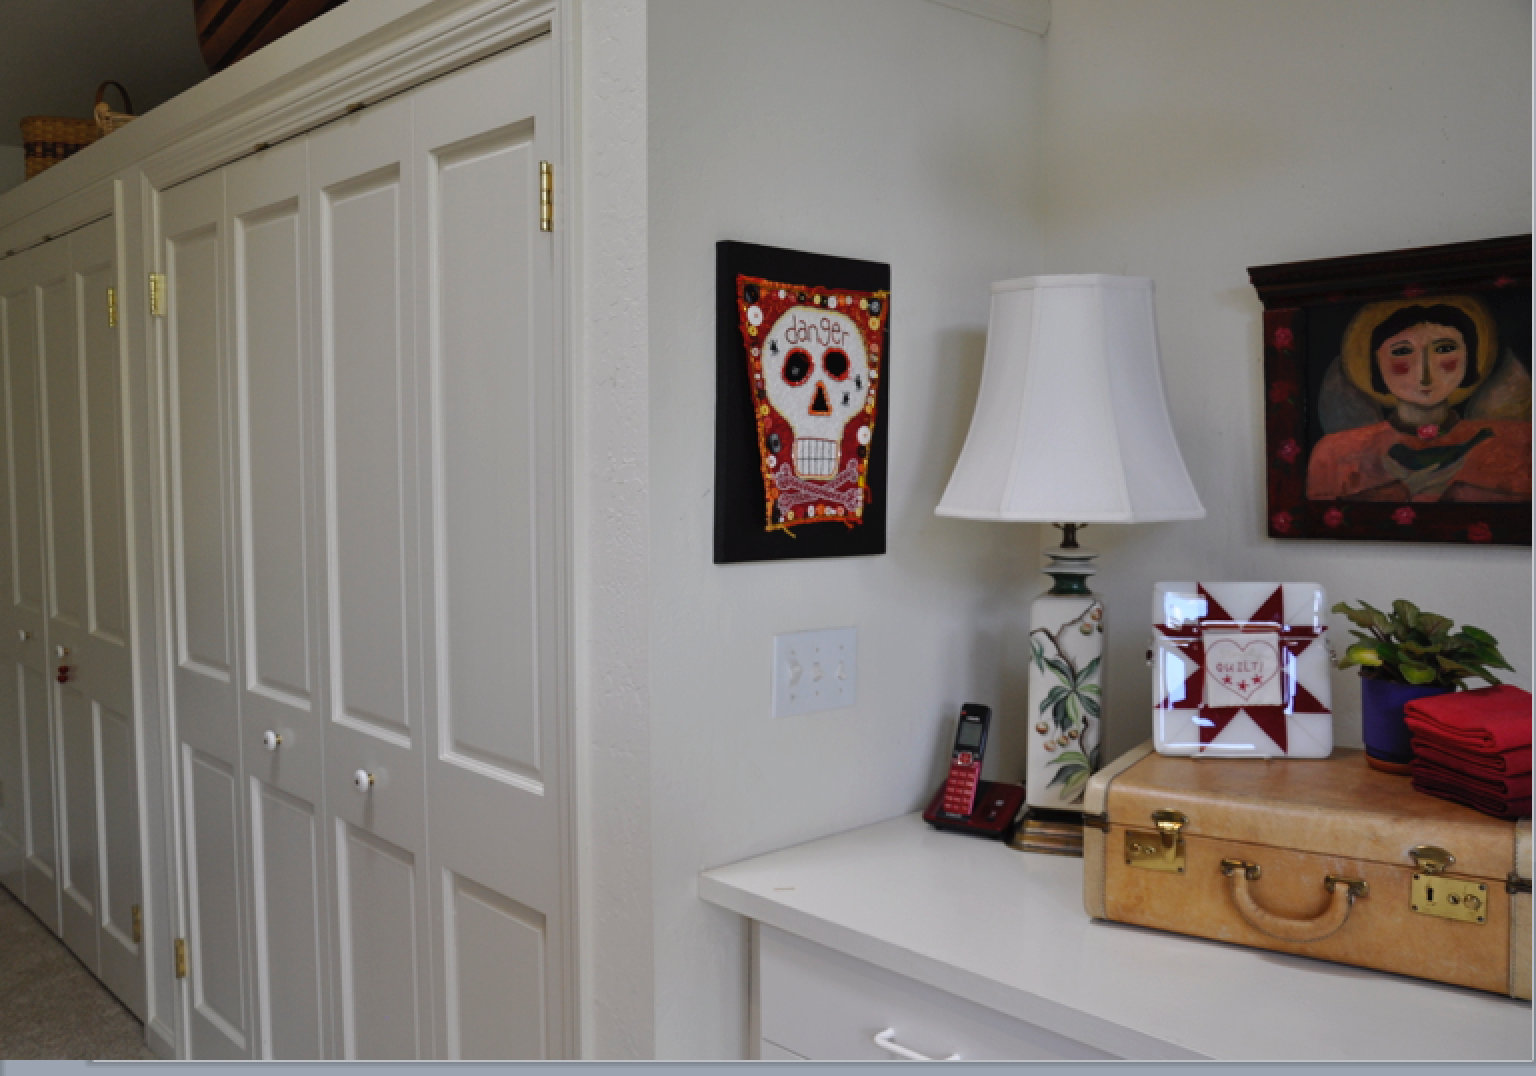
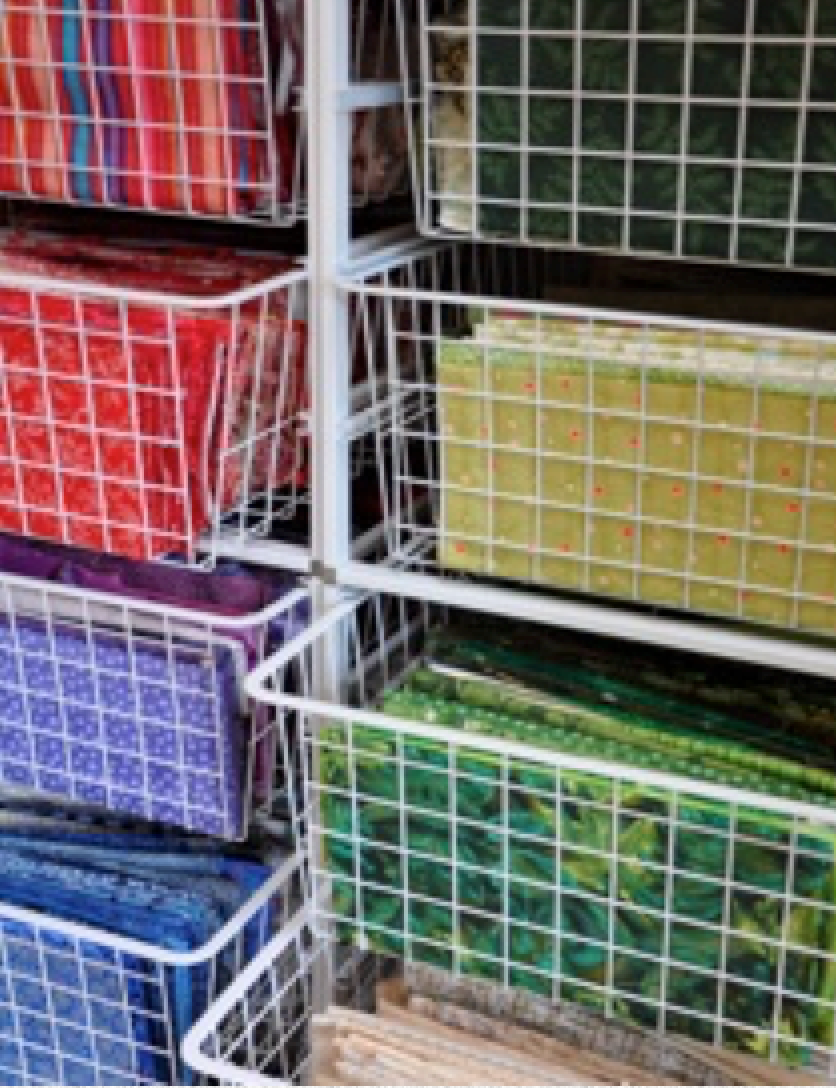
(Closets for fabric, quilt batting, completed quilt storage) (Elfa Storage System)
What do you wish you could change?
After many years, the worktable furniture is starting to show wear. It was built on a very tight budget and is not very ergonomic. At some point in the future I will replace the system I currently have, but otherwise I love this space.
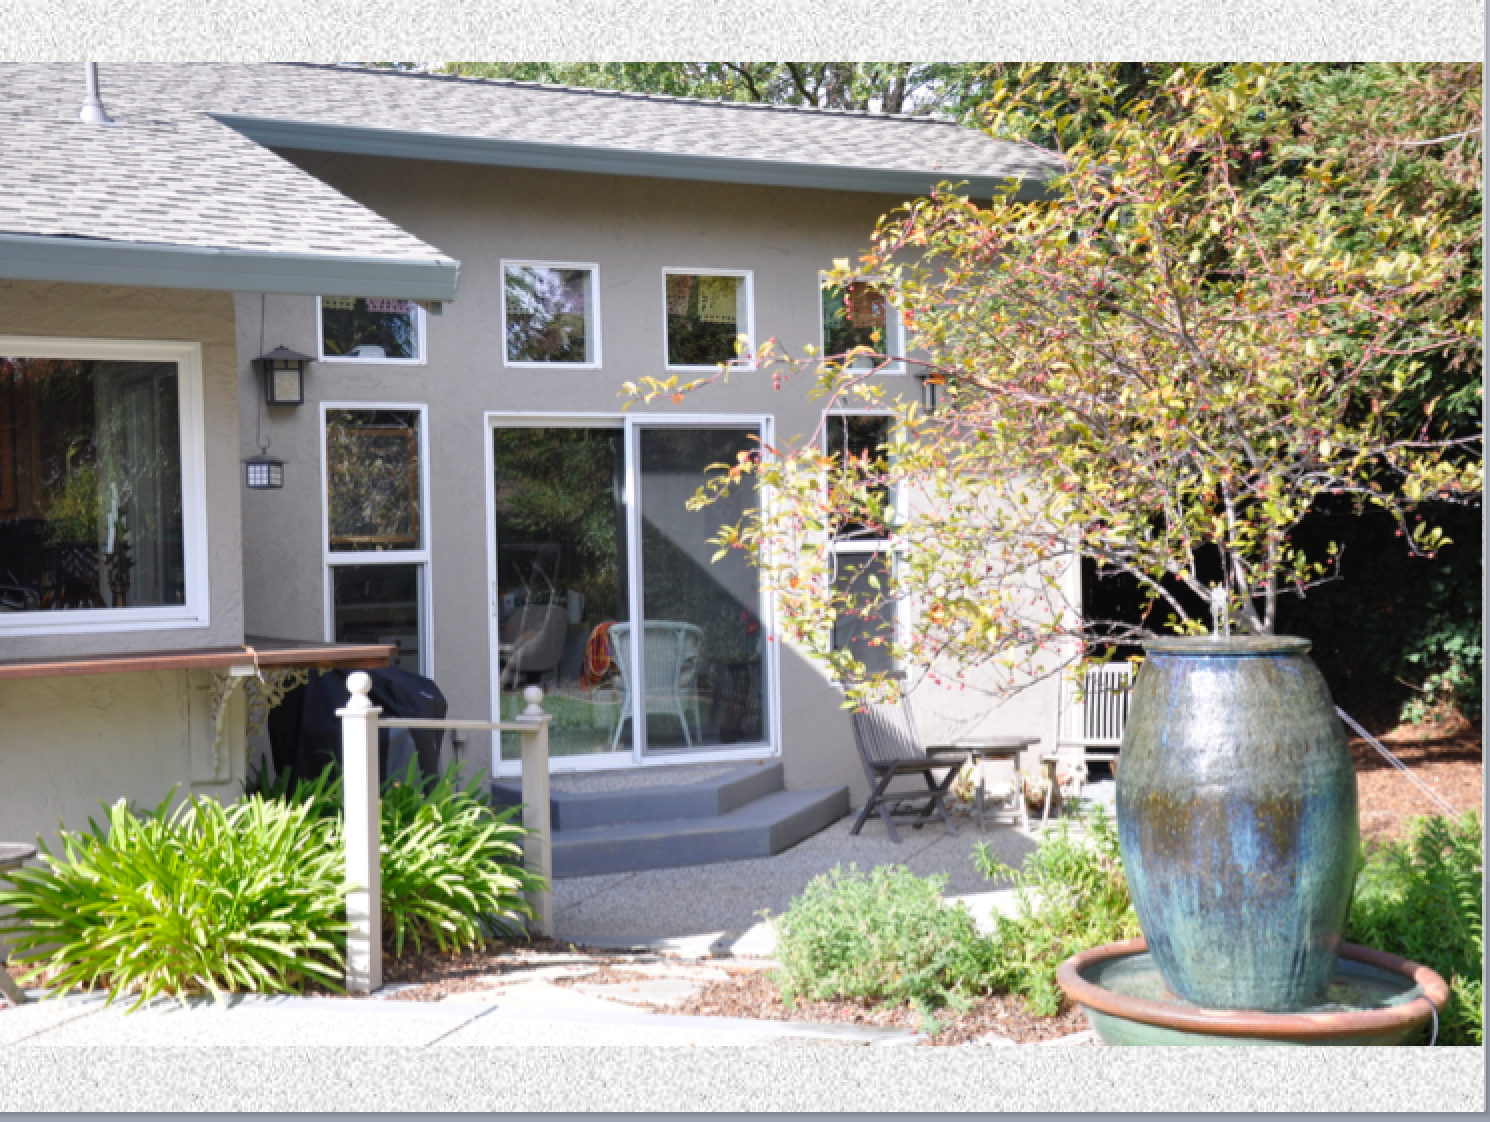
(Backyard view towards the studio)






 CALL (719)-742-3755














 It was pretty scary for Melissa Sobotka when her award-winning quilt, Silk Road Sampler, didn't return home from Houston as planned. After many anxious hours, it was finally discovered in Michigan.
.jpg)
