0

Many a quilt class has been ruined by a student that was ill prepared, demanding, or loud.  Being curteous and respectful of others applies whether it is a class for twenty or a lecture for two hundred.  A few general rules to follow will make your class experience more enjoyable for you as well as the instructor.3566_tools3.png
  • Read your class materials list well before the day of the class to ensure that you have all of the necessary supplies together.  This will avoid you having to purchase something from the teacher at the last minute, or worse yet, borrow from another student.
  • Make sure that your sewing tools (sewing machine, iron,  are in good working order before the day of the class.  You are not the only student in the class, and it may not be possible for the teacher to take time out to help you 'repair'.  A sewing tool not in good working order also means that you miss out on valuable learning time.
  • Bring extra needles, thread, bobbins, or other items needed for the class in the event you need a replacement.  It is not always possible to count on those speciality items being available for purchase at the class venue.
  • Arrive on time or a bit early.  This allows you time to get your area settled when the instructor is ready to begin.  Often there is an overview of the class activity.  If you arrive late, not only do you disturb others, but you miss the often valuable overview information.
  • Please don't monopolize the instructors time.  Remember, you are not the only student in the class and others may have questions or need help with the class activity.
  • Please don't interrupt the instructor while he/she is teaching or offering assistance to another student.  Remember, these other students also paid for this class and deserve the right to receive as much from the class as you.  Often there is time set aside during the class to allow for questions.
  • Please ask permission to take photographs of a teachers work.  Most do not mind, however, it is always polite to ask.
  • Please don't assume that you can photo copy a teacher's handouts to teach this same technique at a shop or guild.  This could be infringement on copyright laws.  Always contact the teacher to ask for and receive permission.

  0

3560_stripsandscraps.png

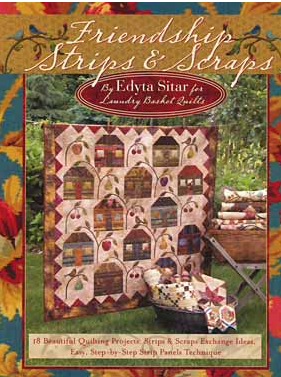
Only Three more days to enter to win an autographed copy of Edyta Sitar's book Friendship Strips and ScrapsEdyta's books features a number of stunning quilts to make using all of those fabric strips you will receive as a member of the Sensational Strippers Strip Exchange.  The winners will be announced on Tuesday February 22, 2011 in both the eNewsletter and the Daily Blog.

To enter the contest, send us an email with Sensational Strippers Book Contest in the subject line to:

bookcontest2@thequiltshow.com or click on the button below.

             3560_enter_to_win_1.png                               3560_join_the_strip_exchange_1.png

  0

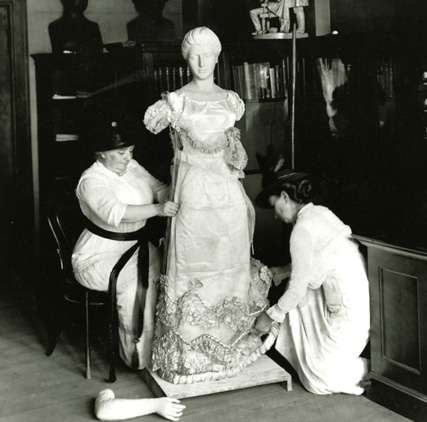
3554_firstladies2.pngSometimes watching what goes on "behind-the-scenes" at a museum event can be just as fascinating as the event itself.

That said, we think you'll love this insider's look at the making of the National Museum of American History's "First Ladies at the Smithsonian" exhibition, which features 24 gowns worn by the wives of the Presidents.

Whether it's building the proper mannequin base or putting final touches on the lace, there's more than meets the eye when it comes to presenting the gowns worn by America's First Ladies.

Rose Gouverneur Hues and Cassie Mason Myers Julian-James dressing a mannequin with a gown worn by Louisa Catherine Adams. Photo courtesy of the NMAH.


  0

3553_treasure_box.jpg
Treasure Box by Edyta Sitar

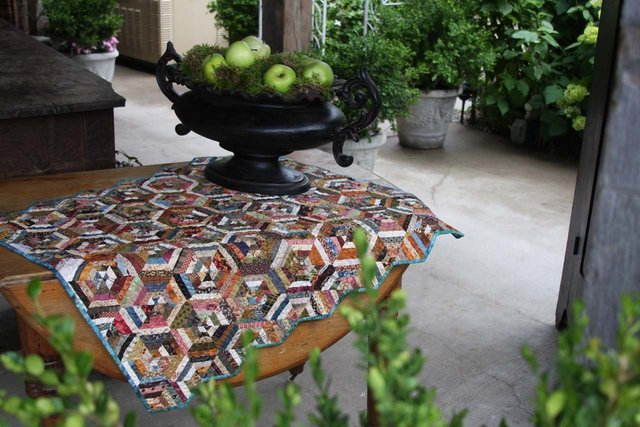
When choosing fabrics for the "Sensational Strippers Exchange," keep in mind Edyta's "Rule of Five." For a quilt that will be both visually appealing and diverse, cut your batik strips from the following fabric categories:

  • A large print
  • A medium print
  • A small print
  • A stripe
  • A polka dot

Check out Edyta's show for inspiration, and to see some spectacular quilts featuring strips.

3553_watch_edytas_show_0.png

  0

3524_theheartbeatsstrong.png  3524_elephant.png  3524_stars.jpg
The online auction is in full swing. Don't miss your chance to bid on your favorite Alzheimer's Art Quilt Initiative piece. Better hurry, though: bidding ends Feb. 10, 2011!!  See the quilts up for grabs here... and/or help the cause by donating a piece yourself.

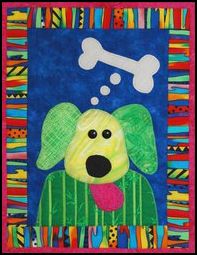
Perhaps you'd like to stitch your own version of the adorable Puppus Doggus featured in Episode 712 with Ami Simms. This show is open again to everyone for the next 3 days.

His wet nose and slurpy kisses are sure to bring a smile. Trot on over to our Projects page here to find this adorable pattern...and while you're stitching, why not make a second quilt to donate to the Alzheimer's Art Quilt Initiative?

3524_puppusdoggus.jpg


3524_watch_amis_show_0.png                                                         3524_get_the_pattern_0.png

  0

3523_bemyvalentinepillow.png

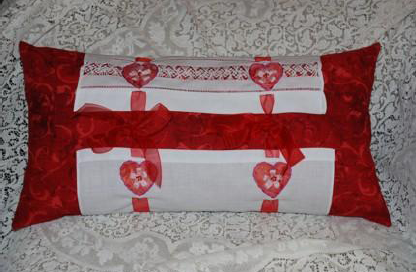
Are you stumped for something to give your sweetie for Valentine's Day? Why not make this romantic pillow, sent to us by Susan Schrempf? It's a wonderful little project that can be completed in less than three hours, while at the same time teaching you two machine-applique silk-ribbon stitches and beading by machine.  With Susan's clear, step-by-step instructions, you'll stitch with ease!

Want more? Check out additional "sweet" silk-ribbon-embroidery techniques for your machine in Susan's show (Episode 412); Is this in your library? If not, check your "My Account" area for unused past show gift certificates. For the pillow instructions, click on the button below right.

3523_watch_susans_show_1.png      3523_get_the_pattern_0.png

  0

3514_printingtips.png
When it comes to printing quilt patterns, usually you just need to "click and print." Sometimes, however, as is the case with our BOM, you may need to make a few adjustments to be sure that your printed paper-piecing patterns are sized accurately. Join us as we give you a quick tutorial for ensuring that your printed pattern is the correct size.  It takes just a minute!

3514_read_printing_tips_0.png

  0

3470_weighted_pincushionorganizer.png

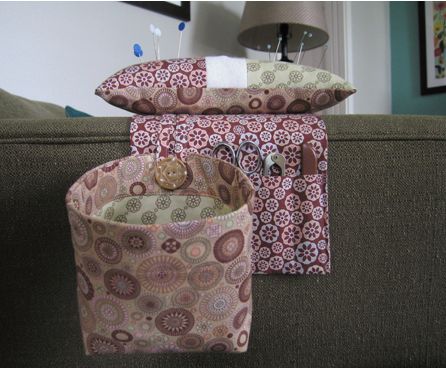
Stitch and then store your pins and needles in this handy, weighted pincushion/ organizer from Sew, Mama, Sew! The hanging, divided pocket provides a home for those easily misplaced notions, and the detachable scrap bag helps keep stray clippings and threads from littering your workspace.

3470_get_the_pattern_0.png

  0

3468_img_0403.jpg
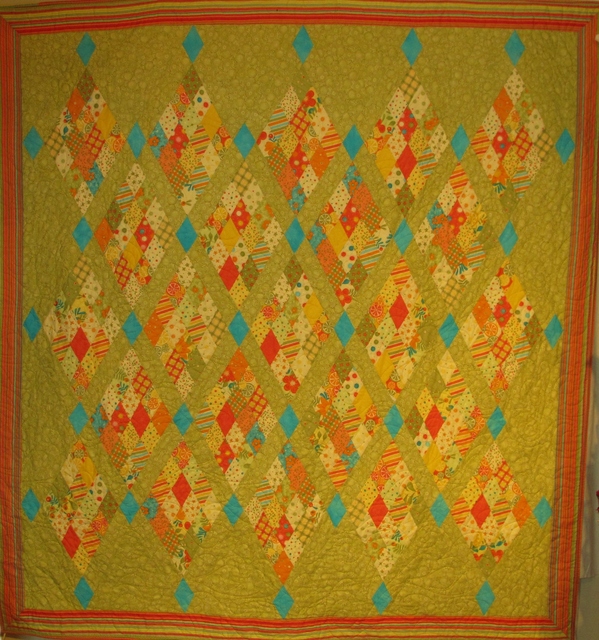
Completed UFO-Sangria Diamonds by TQSWizard

"Trimming down" seems to be on cateveryone's mind at this time of year, and that includes those of us quilters who are faced with a looming stack of UFOs built up over the past year. Why not let TQS help you plan a strategy for "battling the bulge?"  We've collected several painless ideas for trimming your UFO "collection" down to a more manageable size.

  • Collect 12 UFO's and assign each one a number (1-12).  Write down the numbers on individual pieces of paper.  Place papers in a small bag.  On the first day of each month, pull out one number.  This will be the quilt you will complete during the month.
  • Use a UFO as a quilting practice piece.  Then donate the quilt to a guild, charity, or other organization that needs quilts.
  • Trade UFOs with your friends.  Working on someone elses quilt is often more fun.
  • Quilt by check.  Have a professional quilter complete the quilting for you.
  • Give yourself a deadline.  Enter the quilt in a show.  The deadline will keep your work on track.
  • Donate your quilt to a local quilt shop for practice quilting by students.

Share your ideas by leaving a comment for others.


  0

3438_deep_blue_sea.jpg
Deep Blue Sea.  Photo courtesy of  Edyta Sitar at Laundry Basket Quilts

Edyta's helful tips

1. Press triangles before removing paper.  The paper will push the seam allowance in the right directions and it's easier to hold onto the triangle with the paper.
2. Always remember-do not use steam when pressing triangles.  You don't want to fuse the paper to your seam.
3.  Clip bunny ears with the paper still on as the triangle will remain stiff and easier to handle.  Don't use your best scissors since you will be cutting fabric and paper.
4.  Have fun!  Try to use up some of your stash that has been sitting around.  I love the triangle surprise of mixing a variety of fabrics.