 Piecing an unruly word quilt can be very liberating. The letters can be as wonky as you please: seams don't need to match and the spacing between letters is completely up to you.
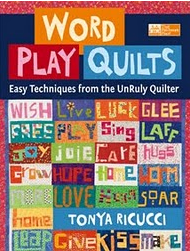
With all this freedom, author (and Episode 907 guest) Tonya Ricucci does say, in her popular book Word Play Quilts, that observing a few simple guidelines can make your word play more successful. Guidance about the following, from her book, caught our eye:
Turning mistakes into creative opportunities
a. Mistakes will happen as you are learning the process. Rather than discarding backwards letters use them to add a bit of charm to your quilt.Overall, Tonya stresses that this whole process should be FUN!! Relax and enjoy!

Calling all quilters. The Emerald Isle is proud to be holding its first International Quilt Festival of Ireland located on the beautiful campus of National University of Ireland in Galway. And this is your chance to showcase your newest creation. With a variety of themes there is sure to be one category that fits your work to a tee. But you must hurry, submissions are due January 31, 2012. Find out more on the IQFOI website here.
Need a little inspiration? Get in the mood with these glimpses of Ireland.
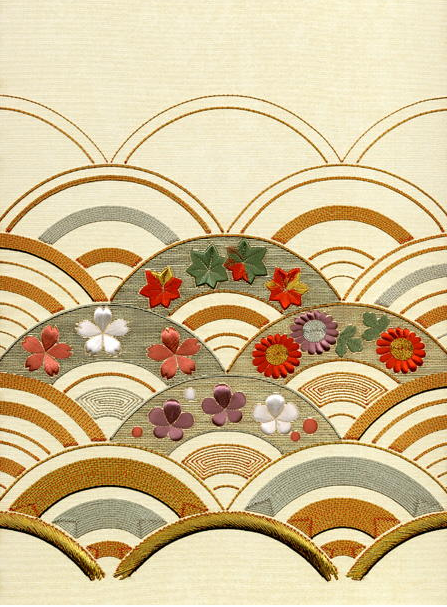
Journal Cover. Nuido Fall 2004-413 Embroidery Sculpture. Courtesy Japanese Embroidery Center
Don't miss this rare opportunity to view over 100 magnificent works that embody the tradition, skill and discipline of this ancient art, the works in the exhibition have been created by people in 19 countries on five different continents. The OzAsia Festival, held in Adelaide, Australia continues through October 16, 2011.
Japanese embroidery (nihon shishu in Japanese) is an embroidery technique that goes back more than one thousand years. Shishu originated in China and was eventually introduced to Japan by Korean artisans; around the same time that Buddhism entered Japan. In its early stages Japanese Embroidery was only used for decorating items used during religious ceremonies. Over time, as shishu developed its own unique Japanese qualities and characteristics, it took on a more artistic purpose. According to historians, from the early Heian Period Japanese embroidery was primarily used for decorating costumes of the Ladies of the Court. During these early stages shishu was only available to a select group; only the highest ranks of society could afford such costly work. However, after a thousand years' sleep, this cultural heritage, the fruit of countless predecessors, is now available to a wider audience.
Journal Cover. Nuido Fall 2004-413 Embroidery Sculpture. Courtesy Japanese Embroidery Center
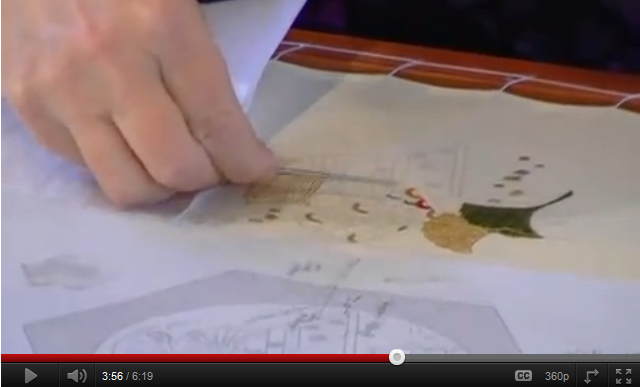
Click on picture above to learn about the art of Japanese Embroidery.
To learn more about the Japanese Embroidery Center outside Atlanta, Georgia, click here.
Sharon's back with more great tips to make your quilting more productive.
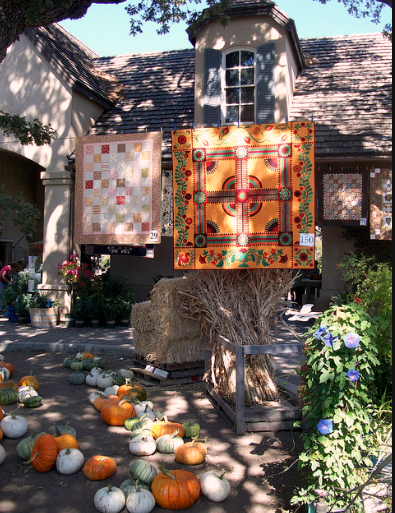
"Quilting in the Garden" at Alden Lane Nursery in Livermore, CA, is this Saturday and Sunday, September 24 and 25 from 9AM to 4PM. Admission to the show is free. This year's two featured artist's are Verna Mosquera, whose work you saw and admired in Episode 806 as well as Rob Appell from Episode 812.
On Saturday from 6:30-8:30, "An Inside Look at Quilt Artist, Verna Mosquera," will include a glimpse into her past and will give you an idea of how she became an artist and designer. The $25 fee includes coffee and dessert.
And, Pincushion Mania will display an amazing range of very creative pincushions. Come and visit and you can vote for Viewer's Choice!
Join the folks at Alden Lane, and maybe a glimpse of Alex, for a great fall-weekend event.
We at TQS need to increase our knowledge of World Geography. Here is a good way to test yourself. Click on the picture and go find out what you should know.
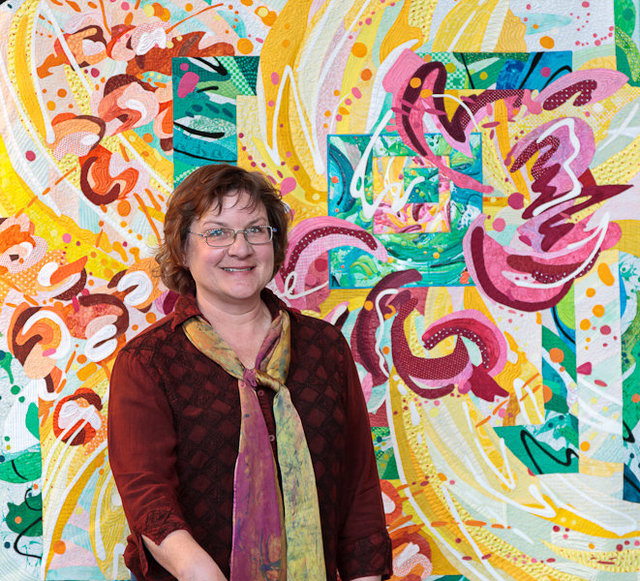
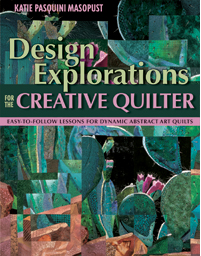
Becoming a creative art quilter does not always happen overnight. So why not take advantage of the lessons learned from an expert. Here are six great tips to guide you along the way from Katie Pasquini Masopust's (Episode 906) book Design Expolorations For The Creative Quilter.
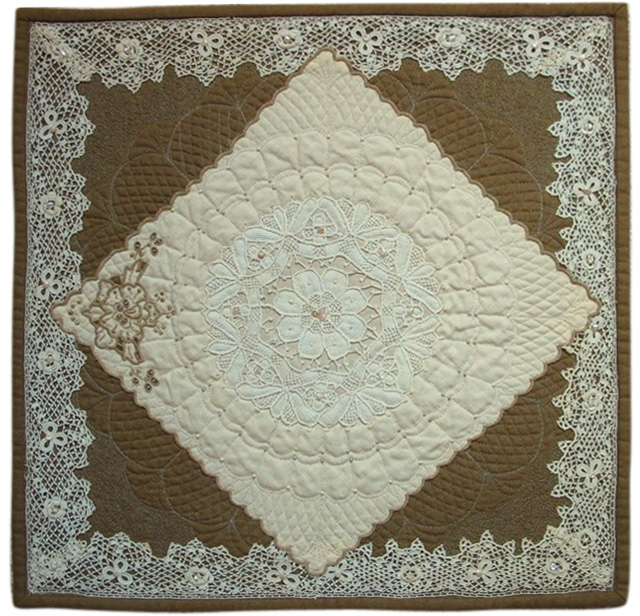
Nowadays, most of us don't use delicate linens and other textiles on a daily basis; however, while styles and tastes have changed over the years, many of us have collections of these lovely items--often family pieces--that we can't bear to toss out or give away. Usually these cherished textiles stay tucked away and are viewed only on rare occasions. What a shame!
Recently I had the opportunity to take a "Linen Ladies" workshop with Cindy Needham (featured in Episode 202). Cindy is a quilter known for taking beautiful useable pieces of beautiful antique textiles, and giving them new life in a quilt.The vintage pieces are the "stars," but with Cindy’s beautiful handiwork, the new creation takes on a whole different dimension. According to Cindy, the idea is not to overpower the original maker's beautiful work, but to showcase and incorporate the old with the new and give life to the piece in a way that can be passed on to future generations.
Class participants were asked to bring old linens to be audition as potential "new" works. As the students began revealing the treasured pieces that they had brought from home, there were many "oohs" and "aahs" heard around the classroom. It was fun to walk around the room and hear each person share the story behind the pieces she had brought. Many were family pieces that had been saved, as expected, in a drawer for many years.
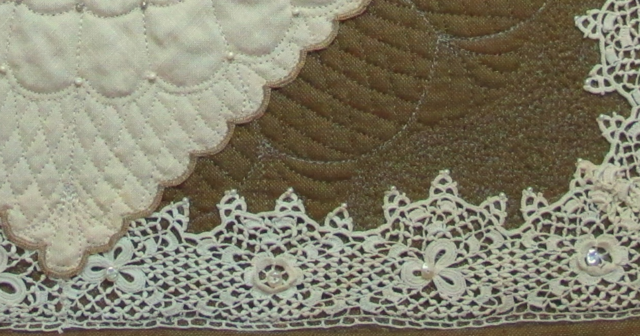
As the class got underway, Cindy began sharing the unique challenges and pleasures of working with antique textiles. She covered a variety of topics, including how to deal with stains and holes, and the selection of marking tools, threads, peek-a-boo fabrics (that is, the foundation fabrics for the vintage pieces), batting, and beads. While covering these topics, Cindy frequently used completed pieces as examples. It was during the discussion of peek-a-boo fabrics that Cindy unveiled a piece that caught my eye immediately. It was a small piece, about 15" square. The center motif featured a doily centered on a small napkin, with a beautiful lace edging along the outer border. For more...
